
Updated September 29, 2026 12:23PM
Olive Walton is a yoga teacher and mixed movement coach. Since 2018, they’ve been sharing their passion for exploring ways in which we can move our bodies—and improve mobility—through yoga.
Your body certainly lets you know its displeasure when you sit for hours on end with no reprieve—tight hips, an achy lower back, and hunched shoulders. However, perhaps the less talked-about survivor of sedentary life is your mind. Those moments during work when you can’t seem to read a single email without taking an Instagram break might be your mind’s way of saying you need to get up and gain some inspiration through movement.
After all, it’s no secret that moving your body can feel like a desperately needed reset for your mental health. And that’s exactly what yoga for mobility can feel like. This yoga-inspired movement practice guides you into positions that you might literally have never done before. Not only does your body get to experience the excitement of moving in ways it misses out on during the workday, but your mind will likely be just as welcoming of the challenge and the disruption to your routine.
Take a few minutes and find out whether sitting through reading that email doesn’t get way easier after this practice.
16-Minute Yoga-Inspired Mobility Practice
Before, during, or after work—you pick the time that works best for you to practice either the full mobility routine or just a few exercises of your choice. All you need is yourself, some comfy clothes, and a bit of space.
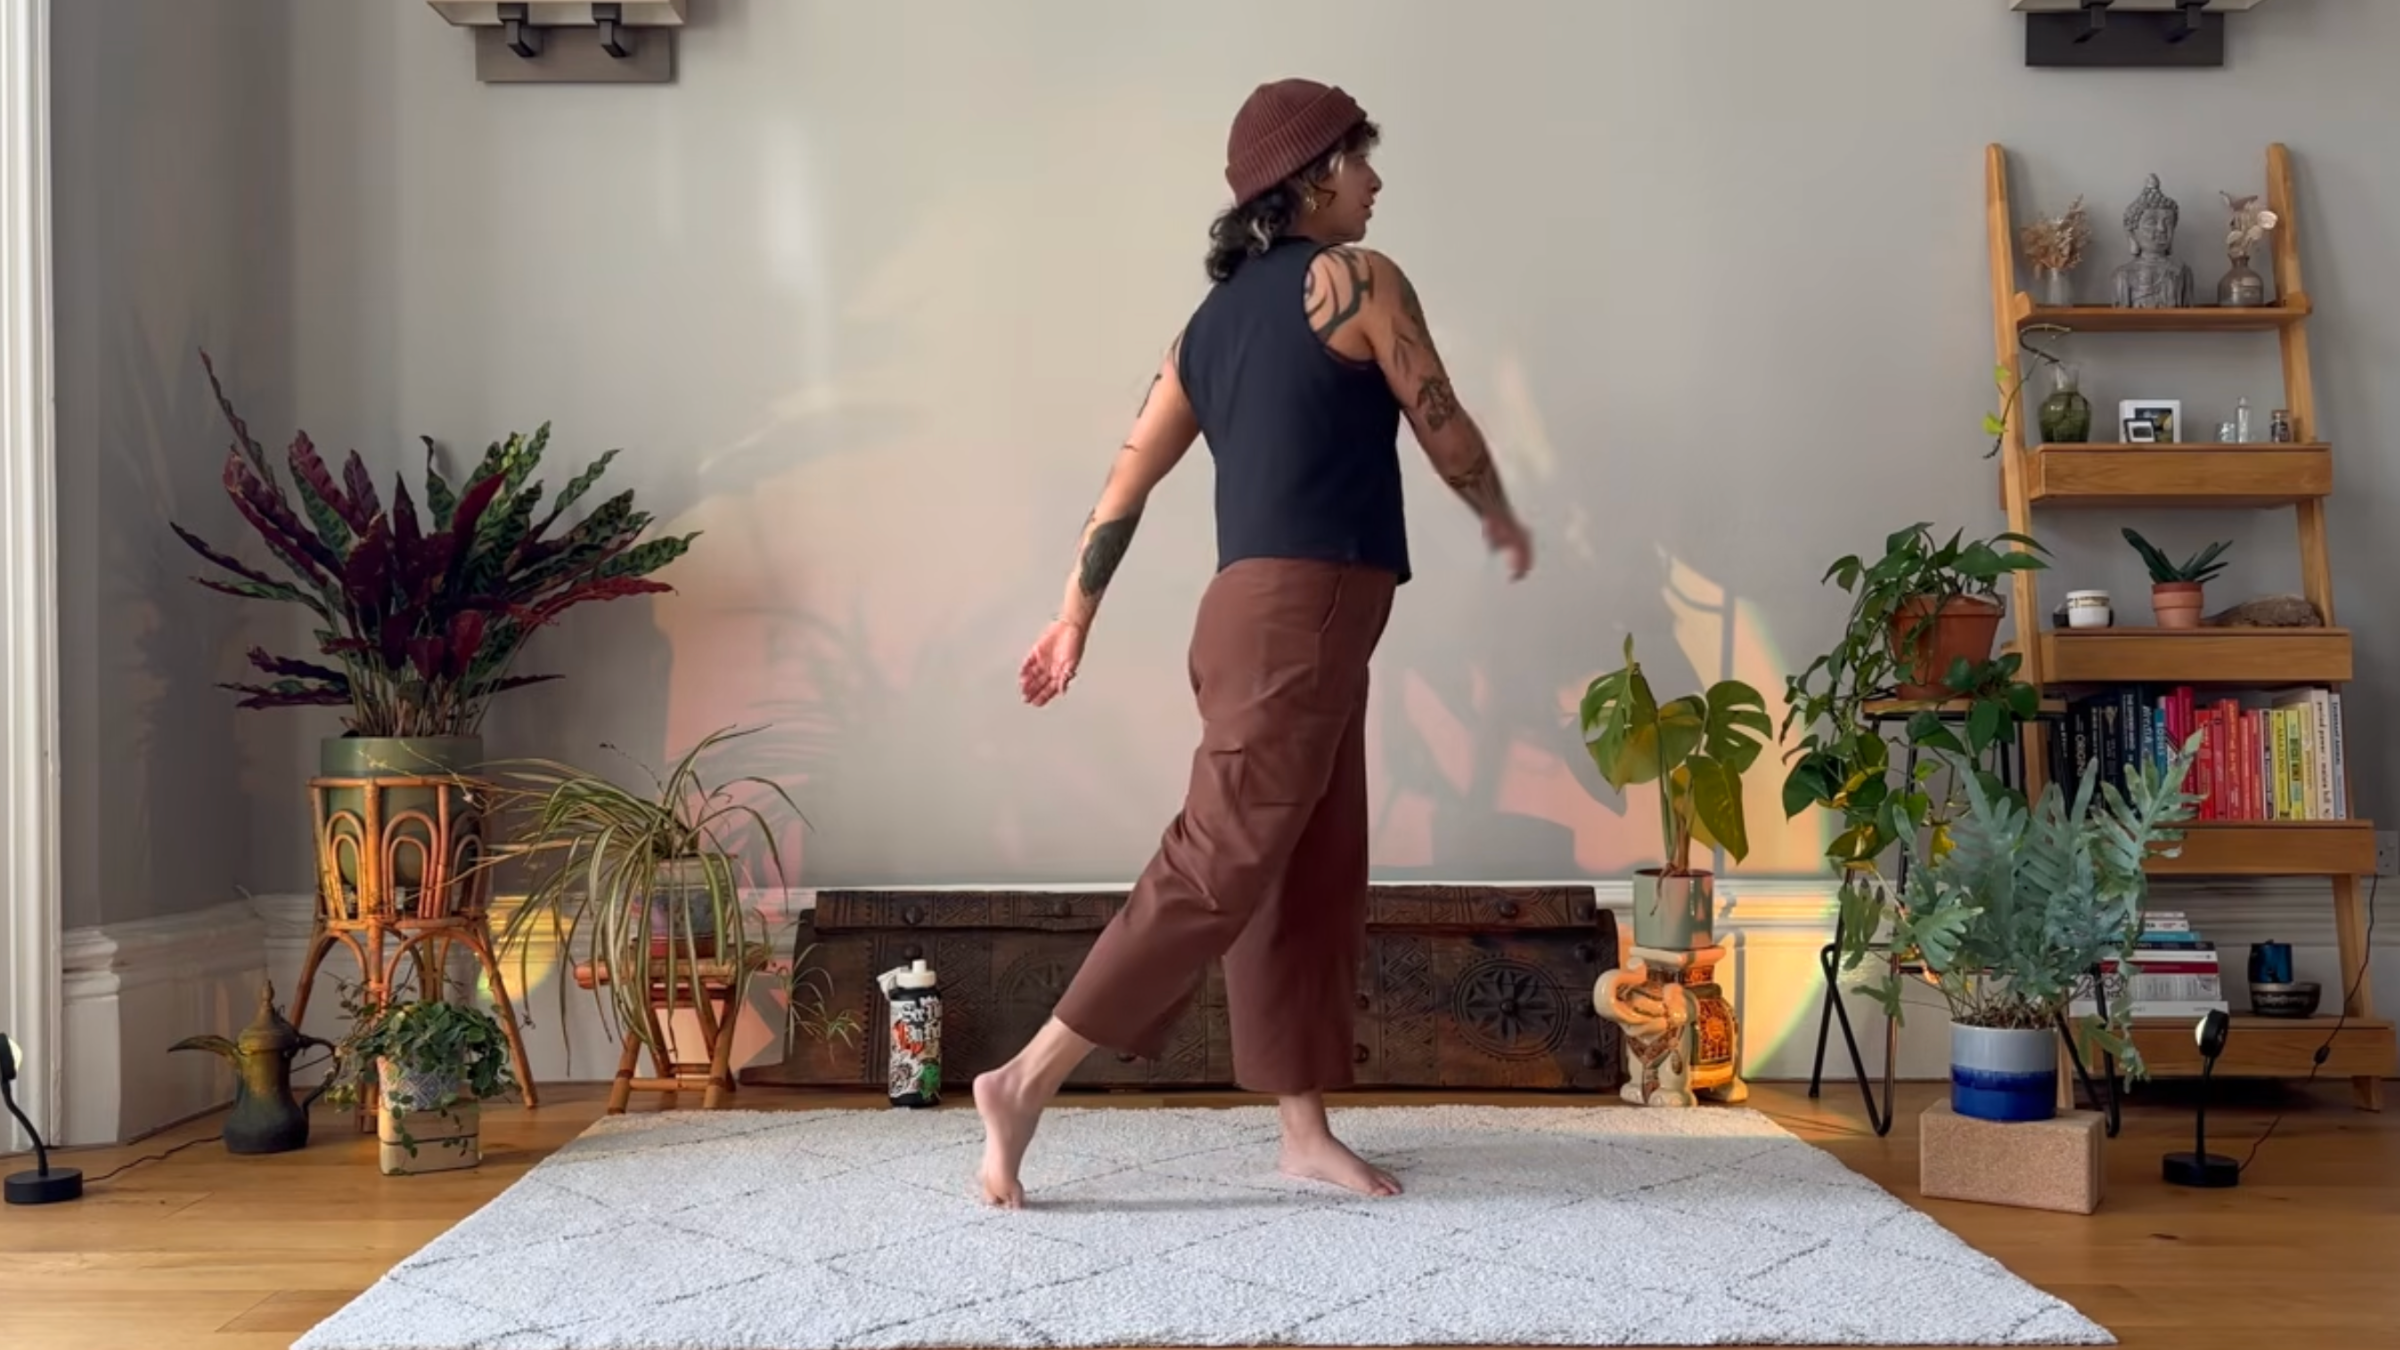
1. Standing Spinal Rotation
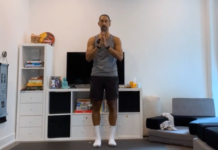
Stand with your feet about hip-distance apart. Relax your arms by your sides. Think about moving from your mid-section as you twist your body toward the right, letting your left knee turn toward the right and your left heel lift off the mat. Then twist toward the left as you lower your left heel and let your right heel lift off the mat. Keep twisting as you start to find a bit of momentum. Let your arms naturally swing as your body moves. Keep going for as long as you like.
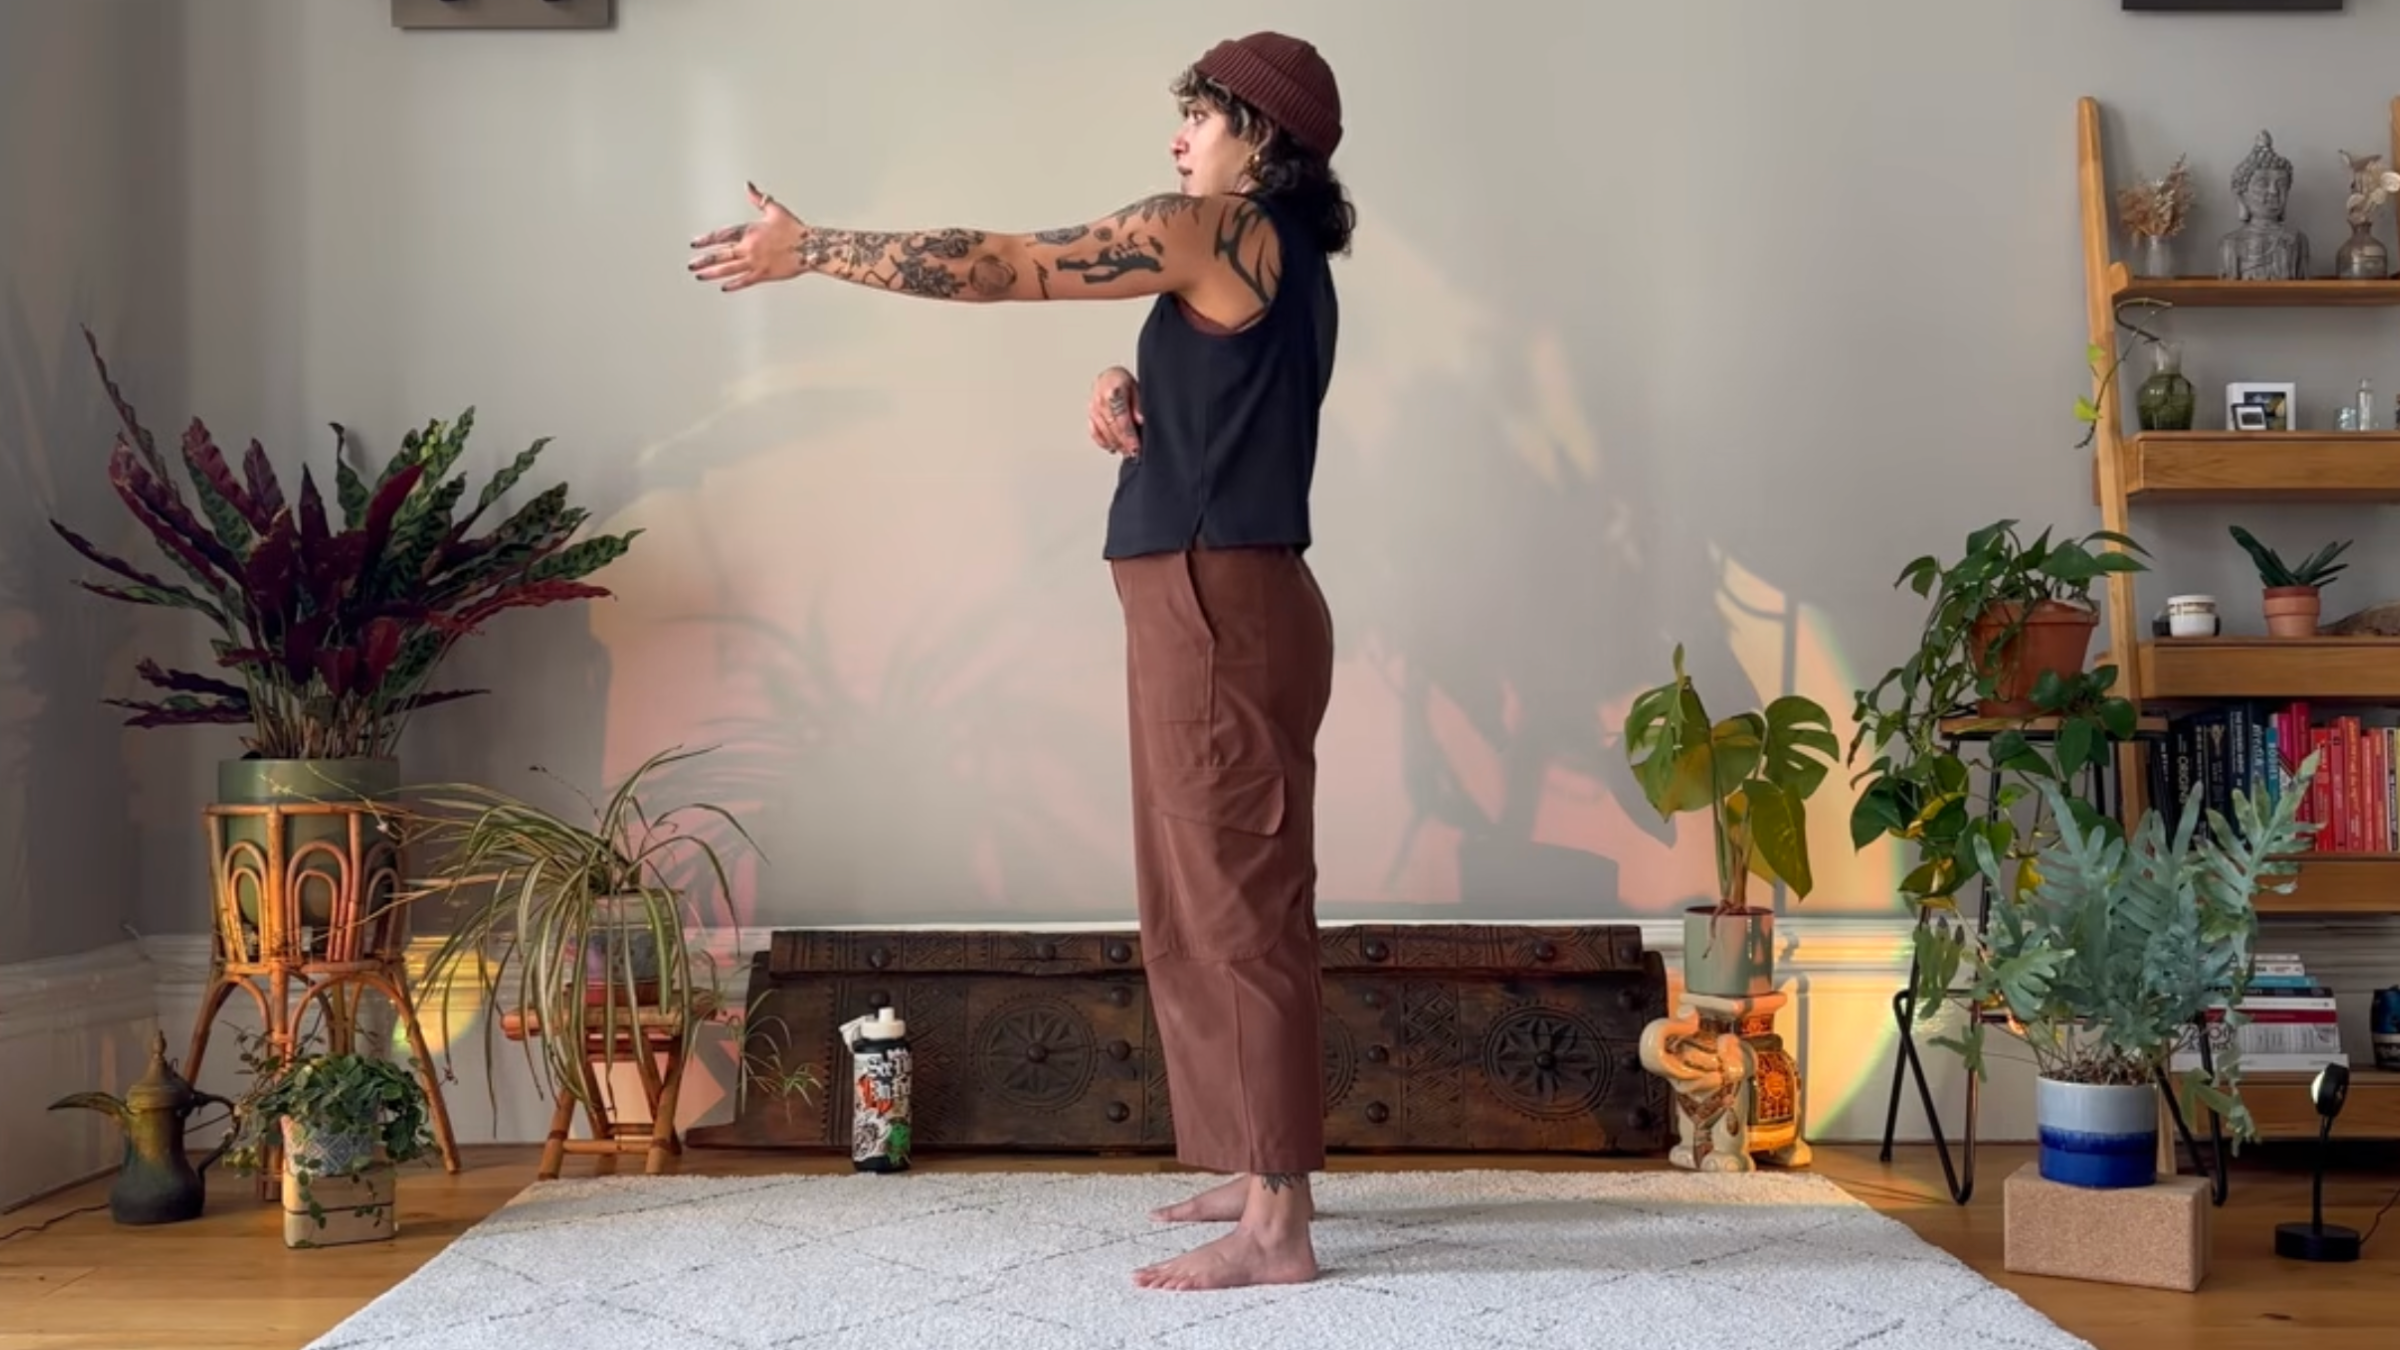
2. Shoulder Circles
Reach your left arm straight in front of you, parallel to the floor. Draw your left shoulder toward your ear, then forward, down, and back in a circular motion. Remember to only move your shoulder joint—avoid moving your arm or chest. (It might feel a bit clunky at first—that’s okay.) Continue for a few rounds, then shake out your arm and switch to your right arm.
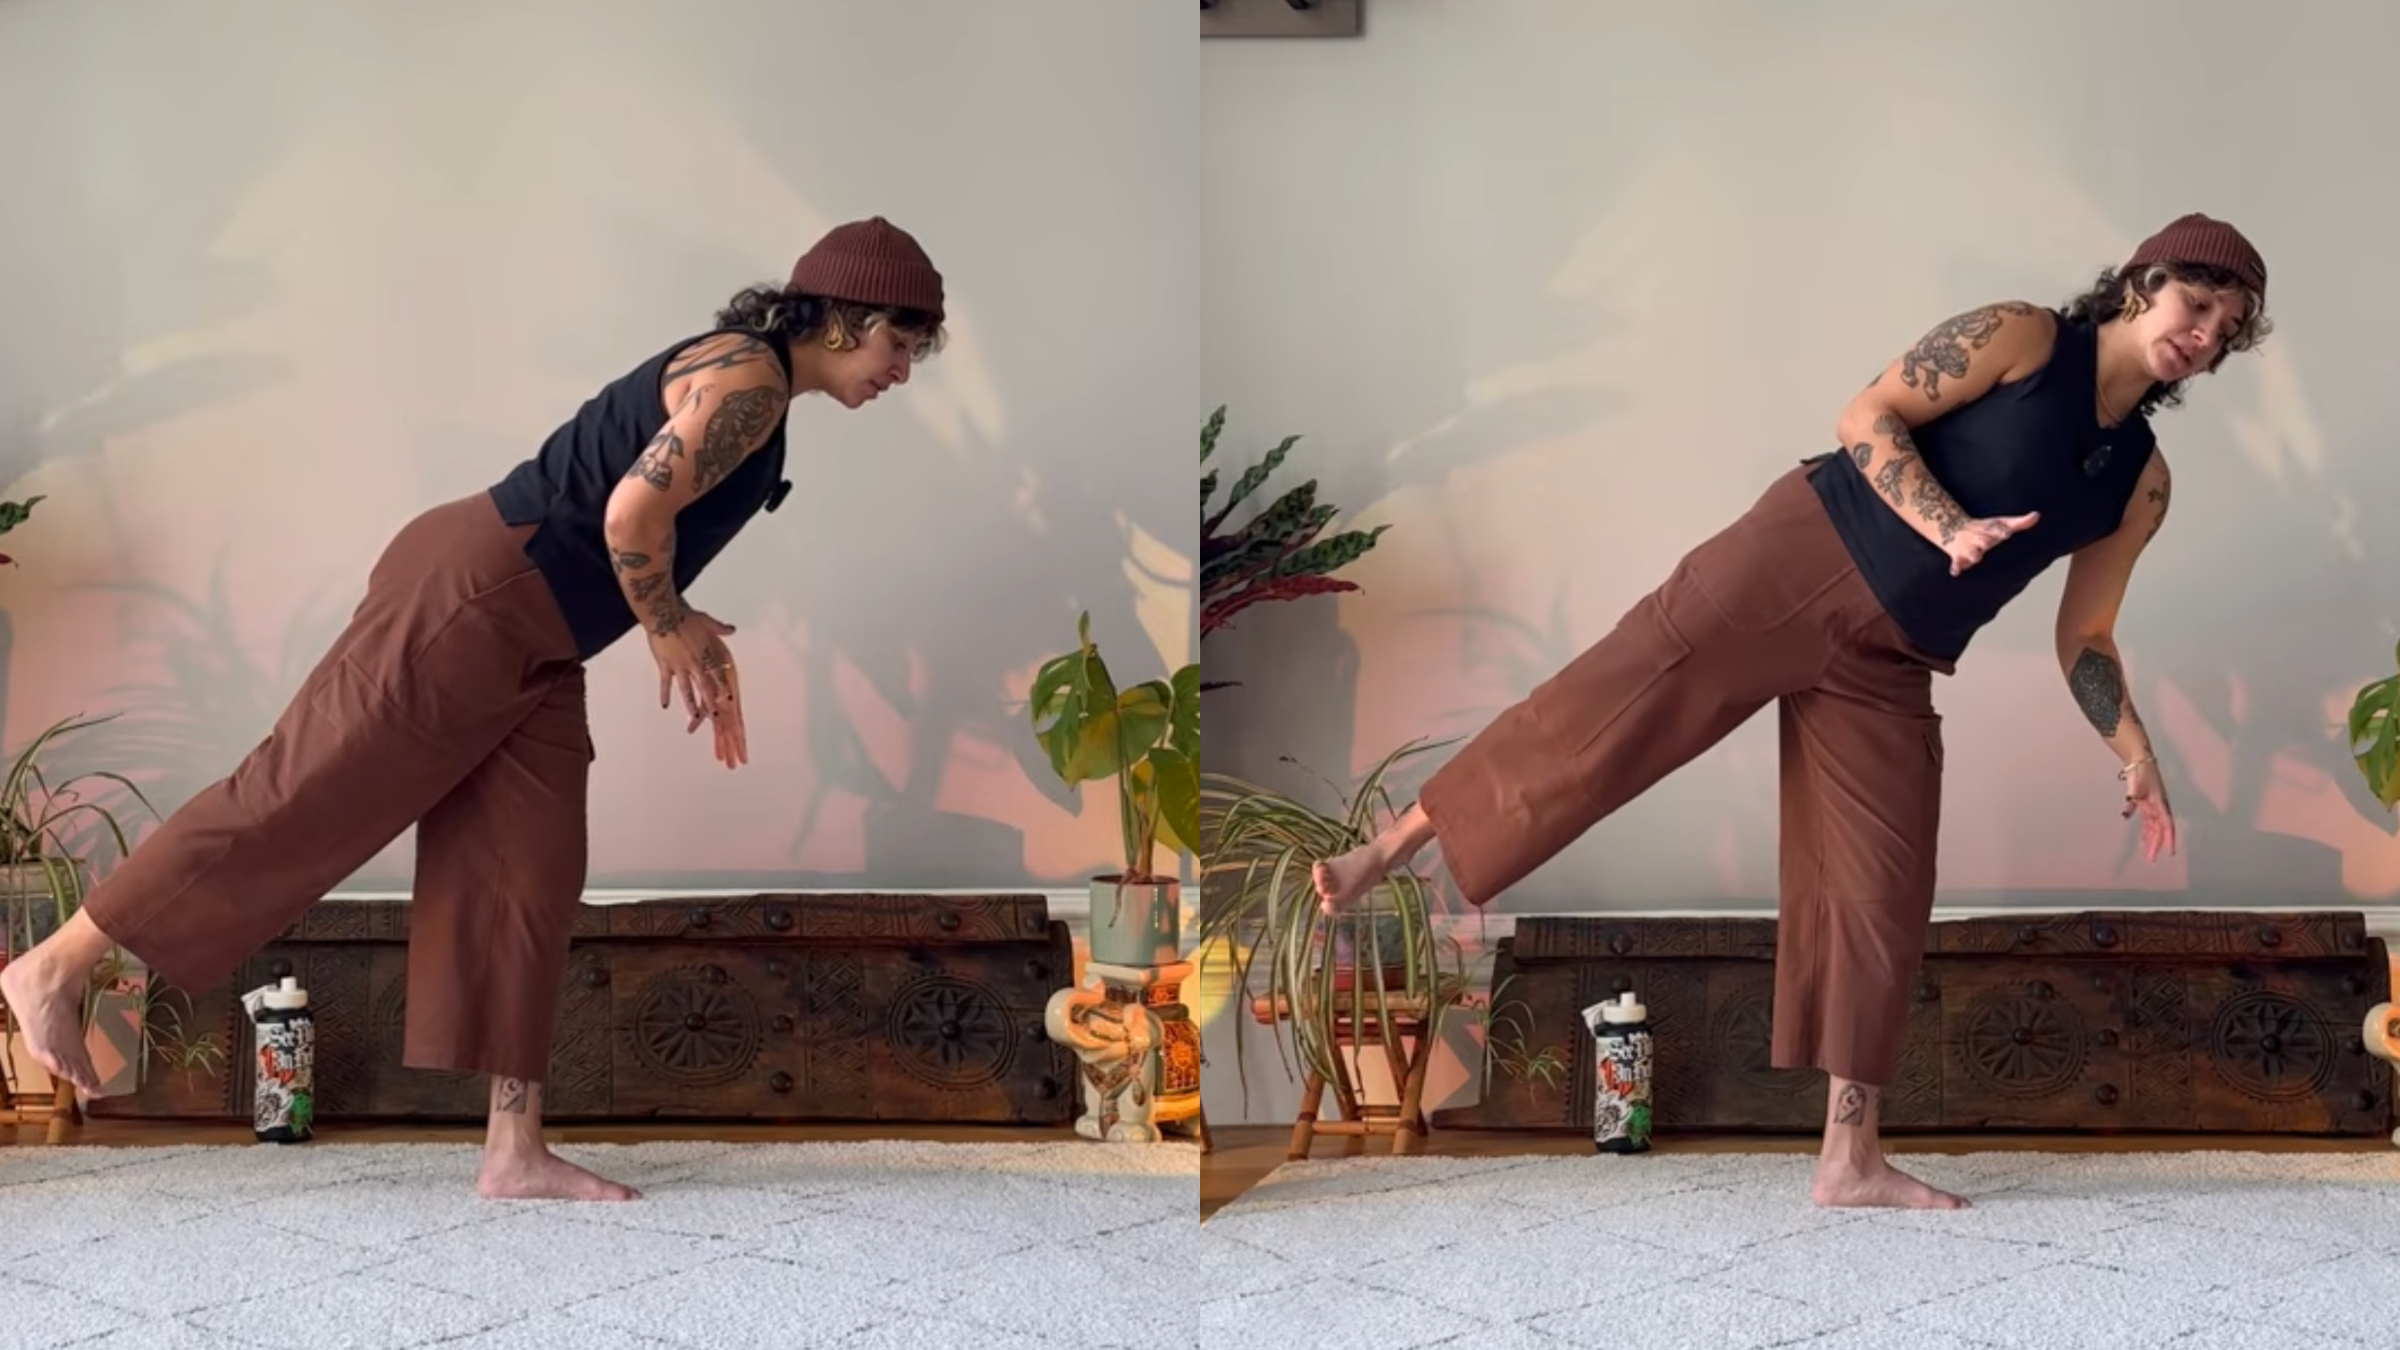
3. Hip Airplanes
Stand with your right hand against a wall or a chair for balance. Shift your weight into your right foot, lift your left foot a little, and extend your left leg behind you at a diagonal. Bend your right knee slightly and reach your chest forward.
Imagine a beam of light shining from your belly button and pointing toward the mat. Now imagine pointing that beam of light toward the left wall as you open your shoulders, chest, and hips to face that same side. Take a breath here. Keeping your left leg lifted, return to face the floor.
Then point that beam of light toward the right side as you rotate your shoulders and hips and point your left toes toward the right as much as you can. Return to center, then lower your foot to the mat. Shake out your right leg, then switch sides.
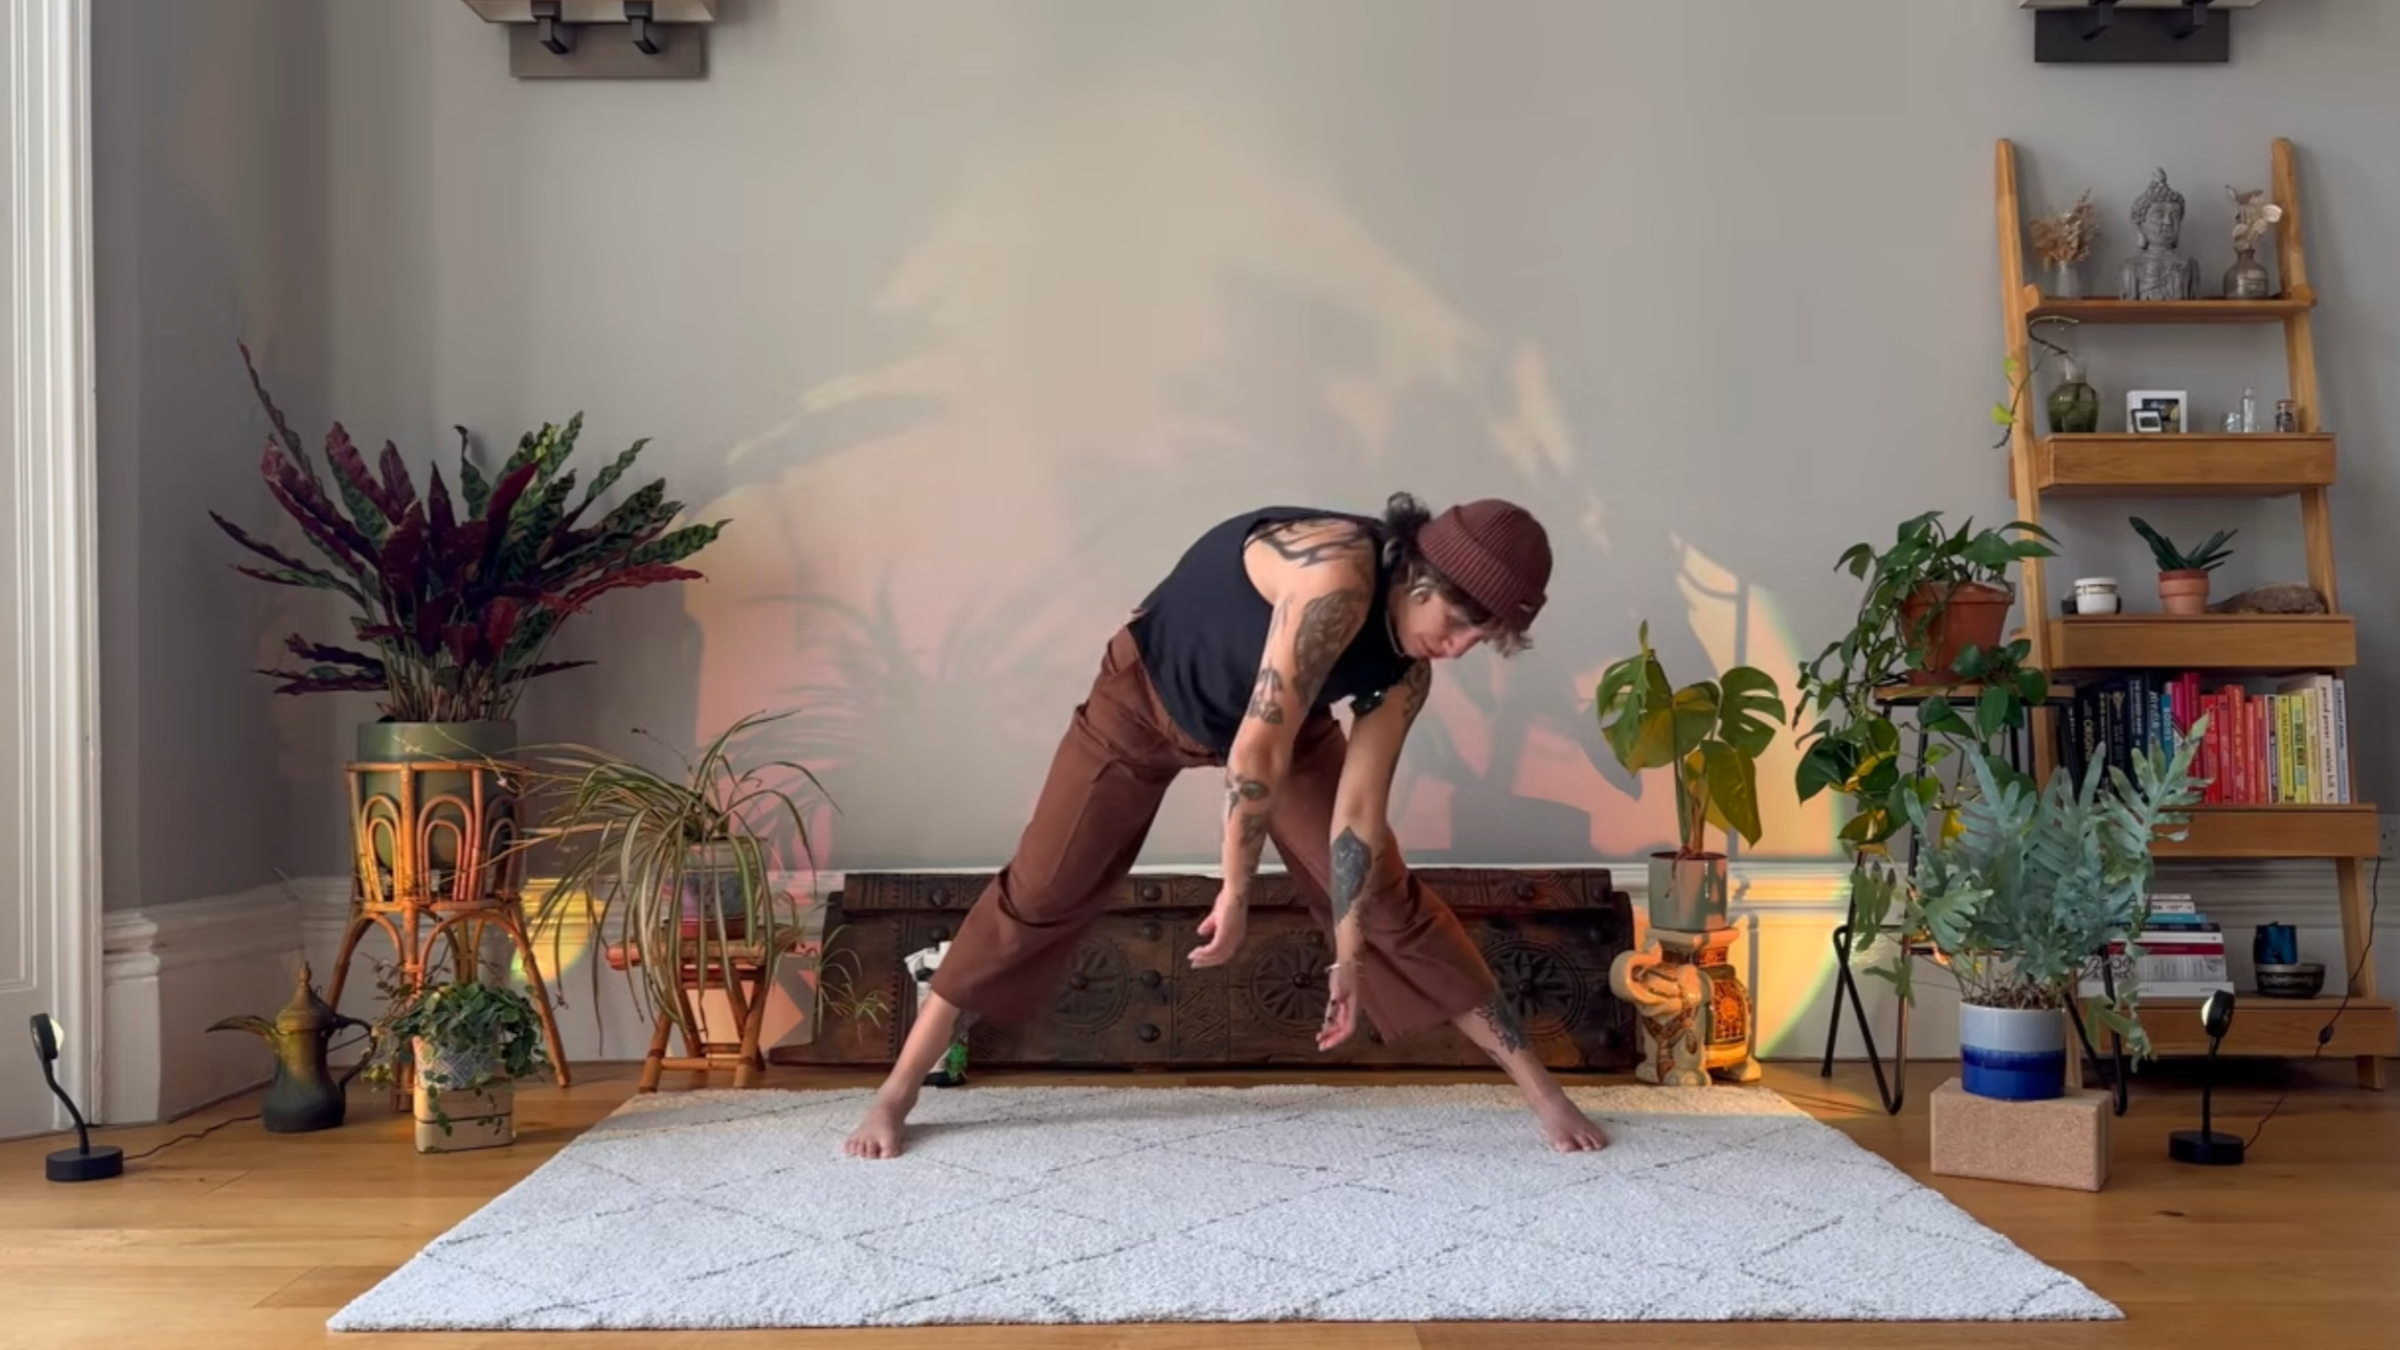
4. Upper Body Circles
Step your feet wider than hip-distance apart and relax your arms. Round your neck, shoulders, and upper back toward your right, then forward, then toward your left, and back up again in a circular motion. Keep making a circle with your shoulders in one direction for a few rounds, then switch directions.
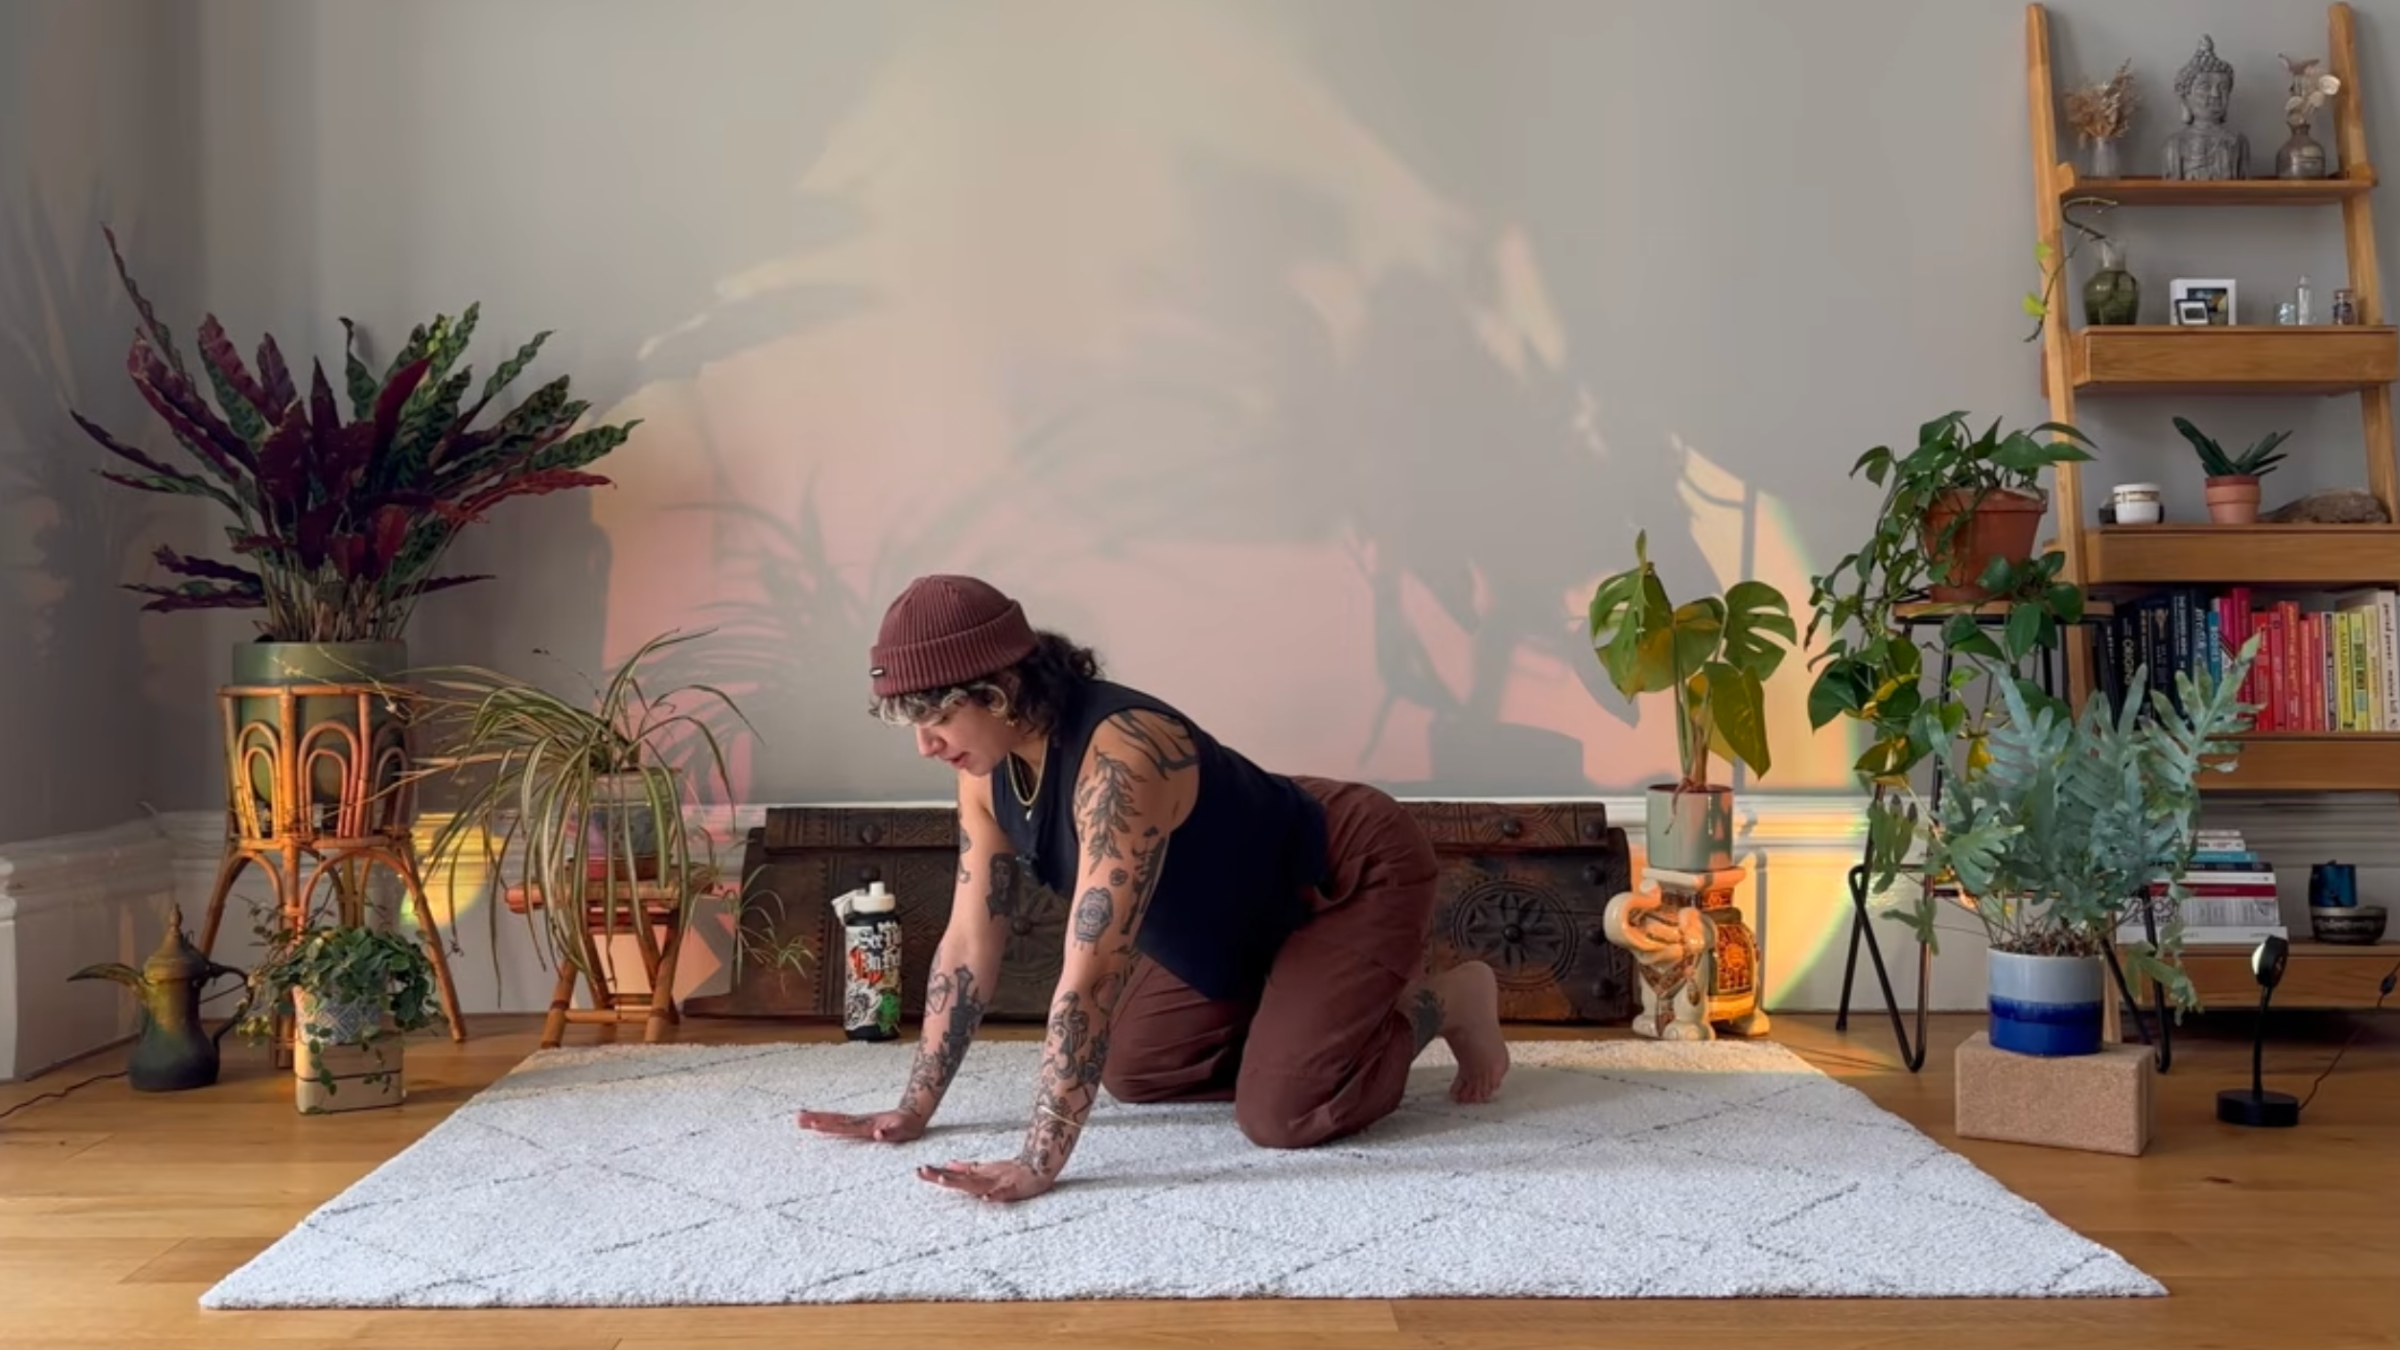
5. Wrist and Forearm Stretches
Come to your hands and knees. Spread your fingers nice and wide. Shift your hips back toward your heels, then shift your weight forward onto your hands and knees. Rock back and forth a few times.
From your hands and knees, lift the heels of your hands off the mat and press your fingers into the mat. Pause here for a few seconds, then lower the heels of your hands to the mat. Shift your weight into the heels of your hand and lift your fingers off the mat. Pause here for a few seconds, then lower your fingers back to the mat. Shift your weight between the heels of your hands and your fingers for a few rounds.
Still on your hands and knees, turn your fingers slightly out to the sides. Press into the mat as you rock your shoulders side to side, shifting your weight from hand to hand.
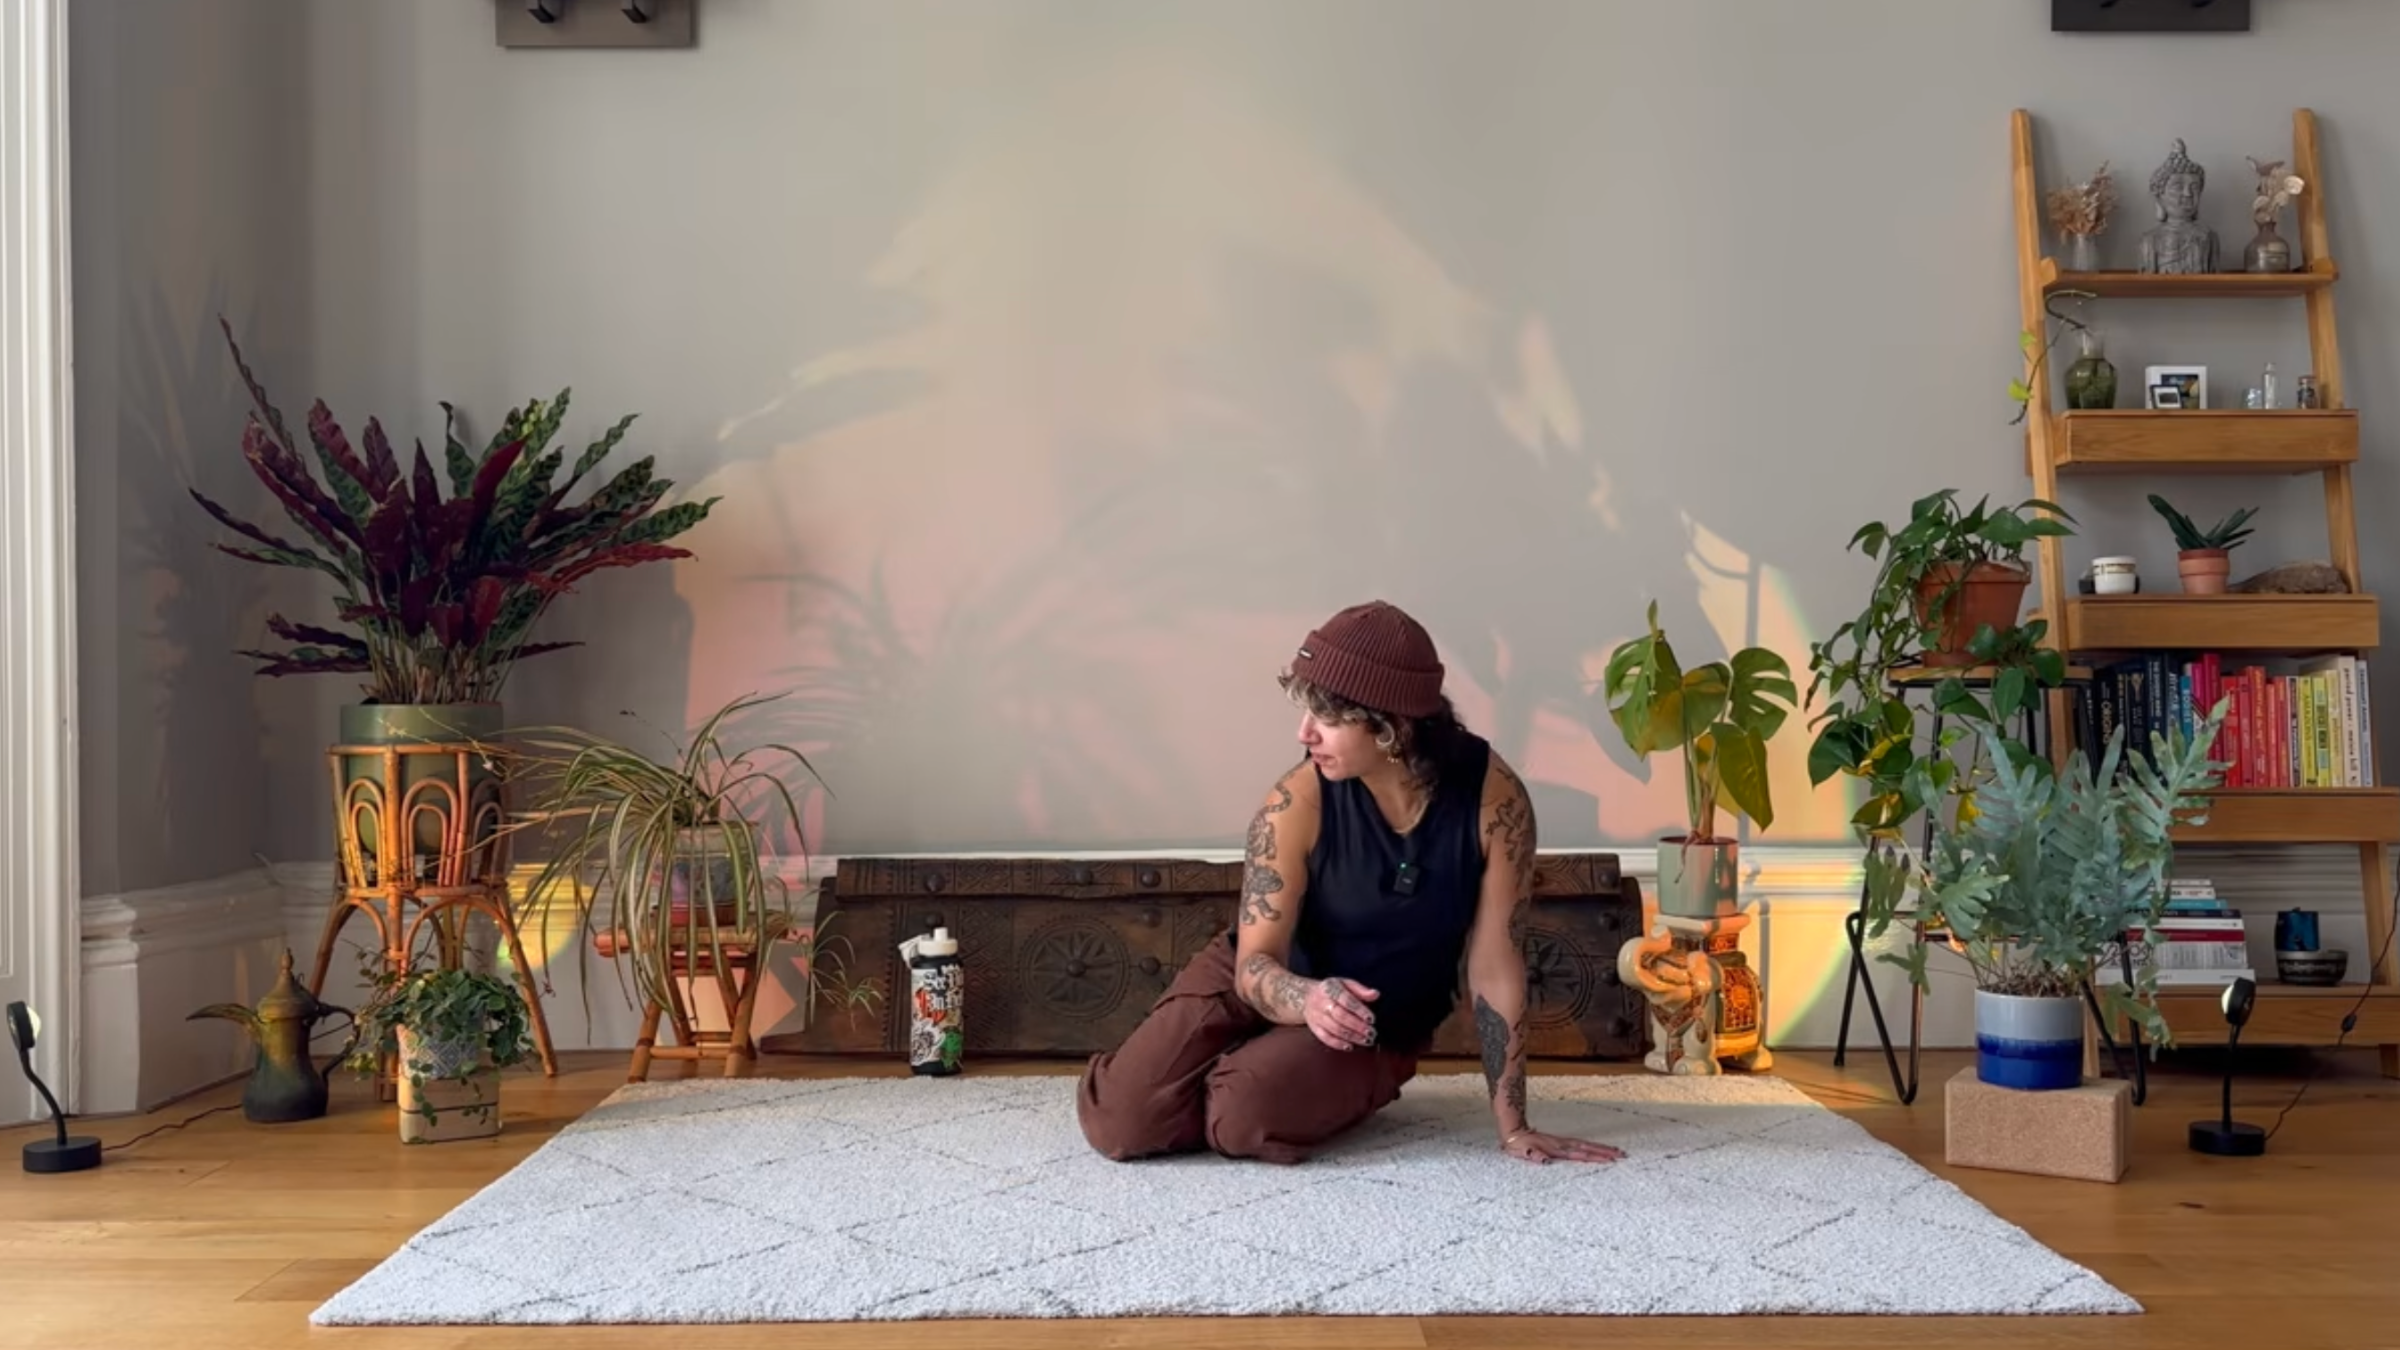
6. Ankle Stretches
Sit on your heels with the tops of your feet flat on the mat. Lower your right hand to the mat as you slide your sitting bones off your heels and rest your right hip on the mat. Picture yourself like a mermaid with your bent legs like a tail on your left side. Use your hands to push yourself back to center to sit on your heels. Repeat on the left side. Continue switching sides for a few rounds.
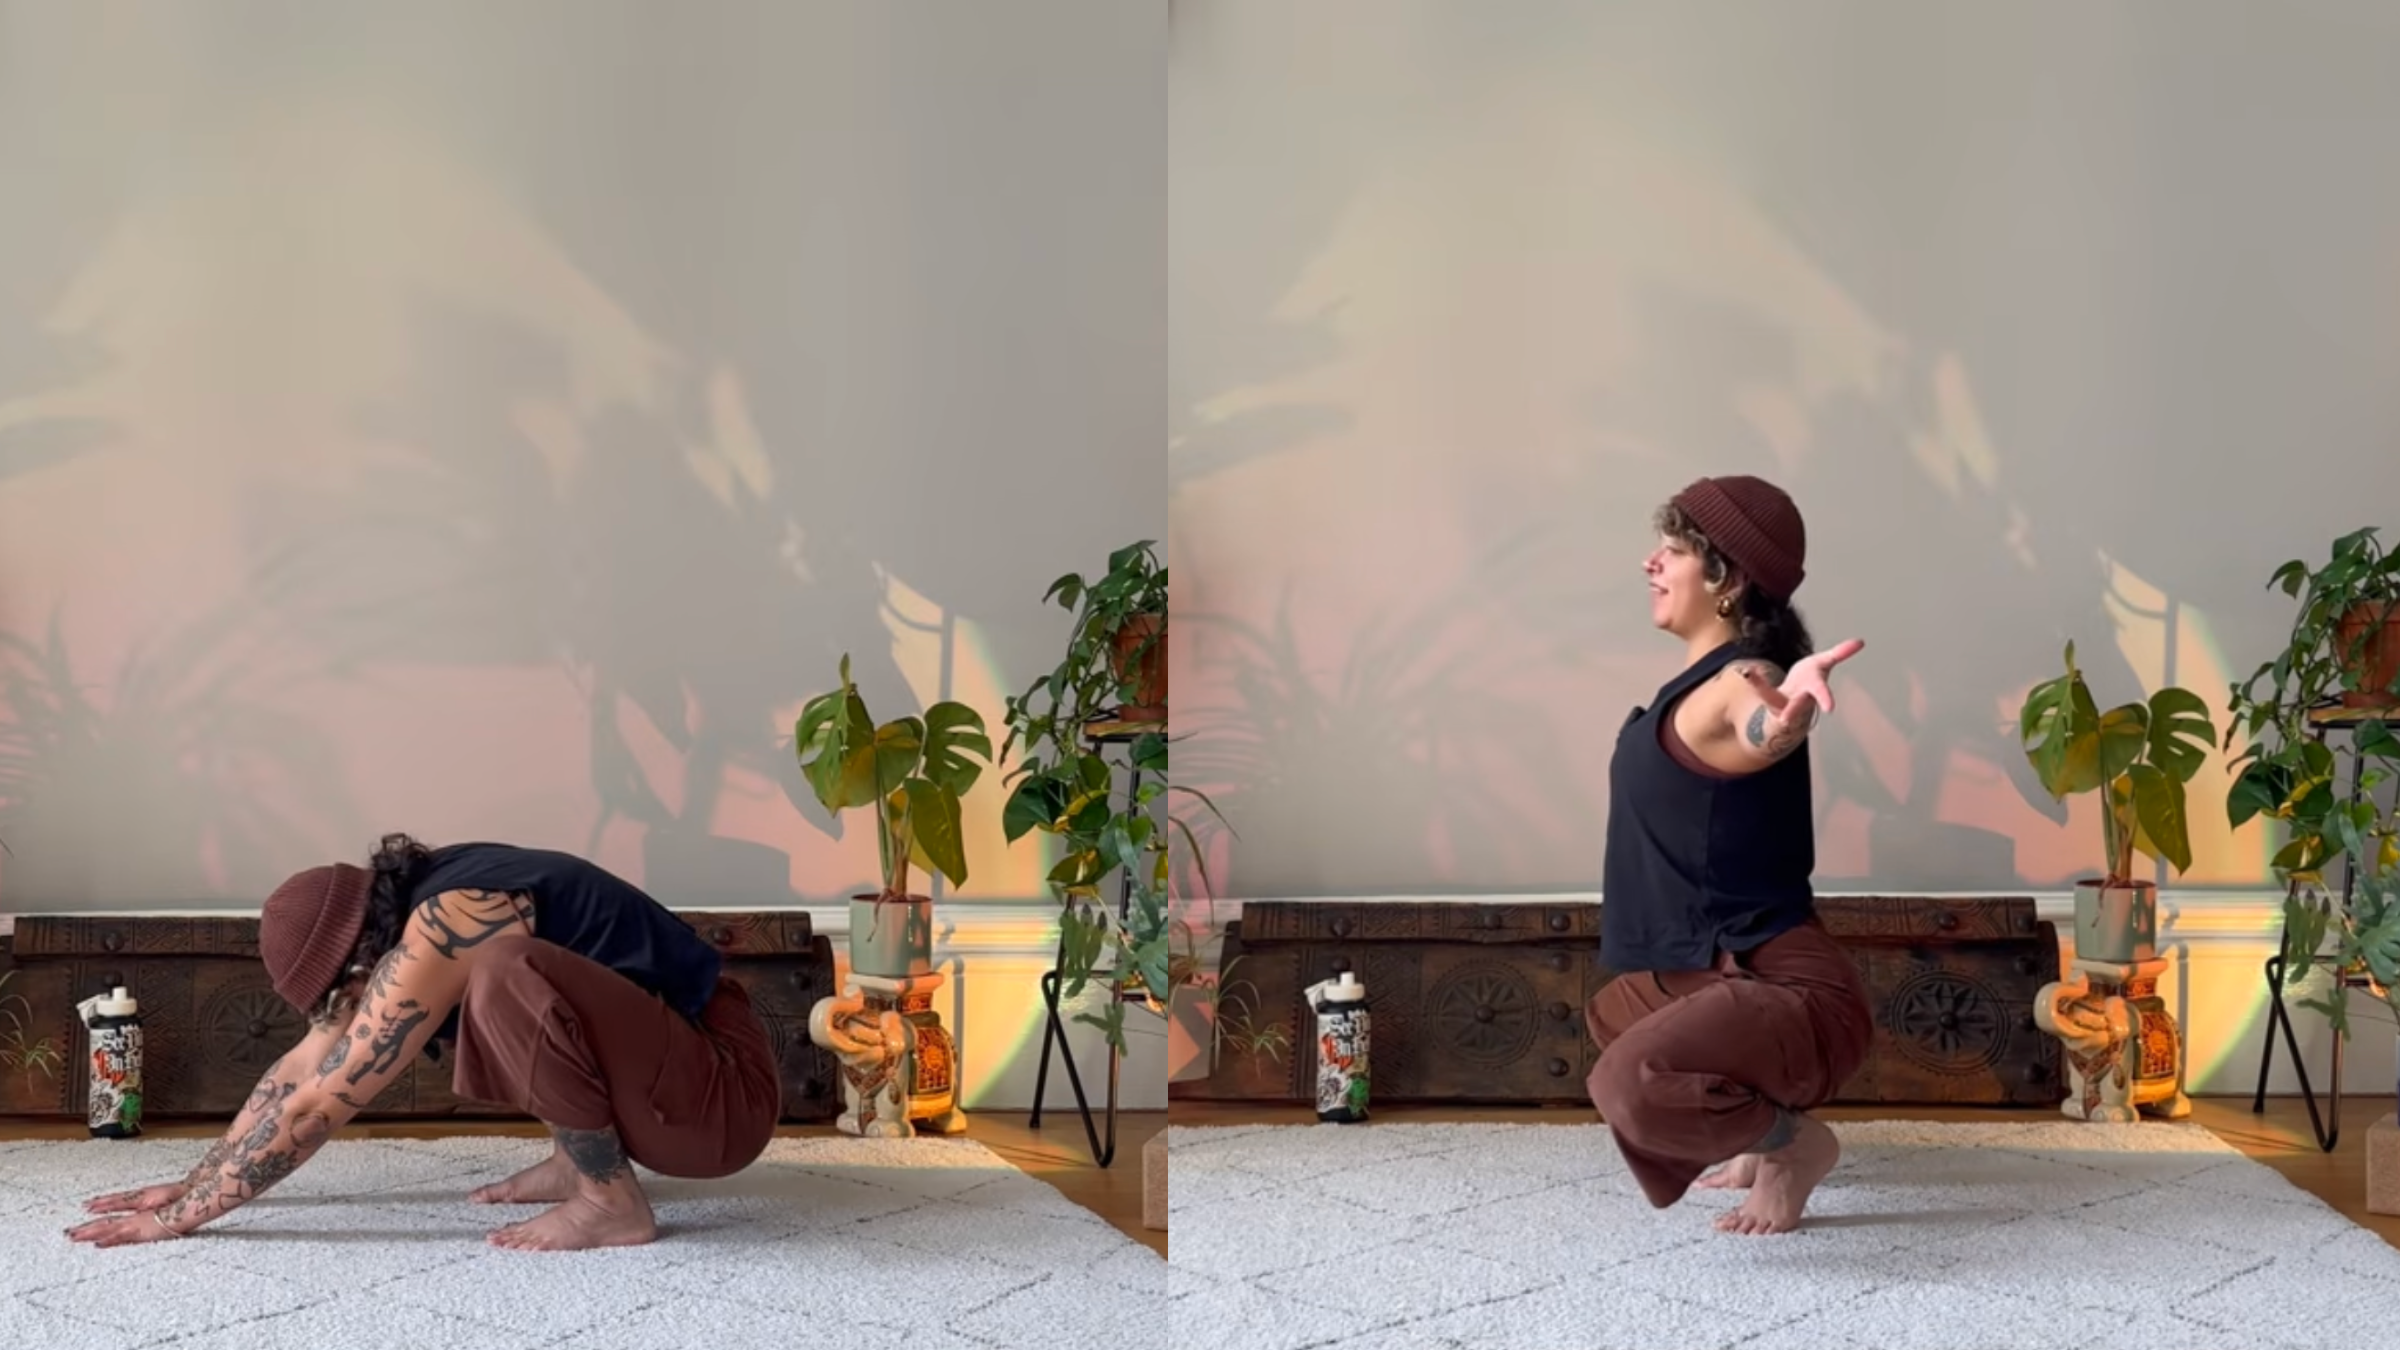
7. Squat Stretches
Come to your hands and knees. Tuck your toes and use your hands to push your weight into your heels and lower your hips toward the mat as your knees fall open in Squat. It’s okay if your heels aren’t flat on the mat. Walk your hands forward, round your back, and lower your chin toward your chest. Pause here for a couple breaths.
Slowly roll up, open your arms straight to the sides in a T shape, lift your heels off the mat (if they aren’t already lifted) and separate your knees a little wider. Pause here for one breath. Then lower your heels as much as you can, reach your hands forward and lower them down to the mat, and round your chest and chin back into the forward fold in Squat.
Still in Squat and folded forward, walk your hands toward the left. If it feels good, rock your hips side to side, shifting your weight between your feet. Pause for a few breaths. Return to center, then walk your hands toward the right side. Return to center.
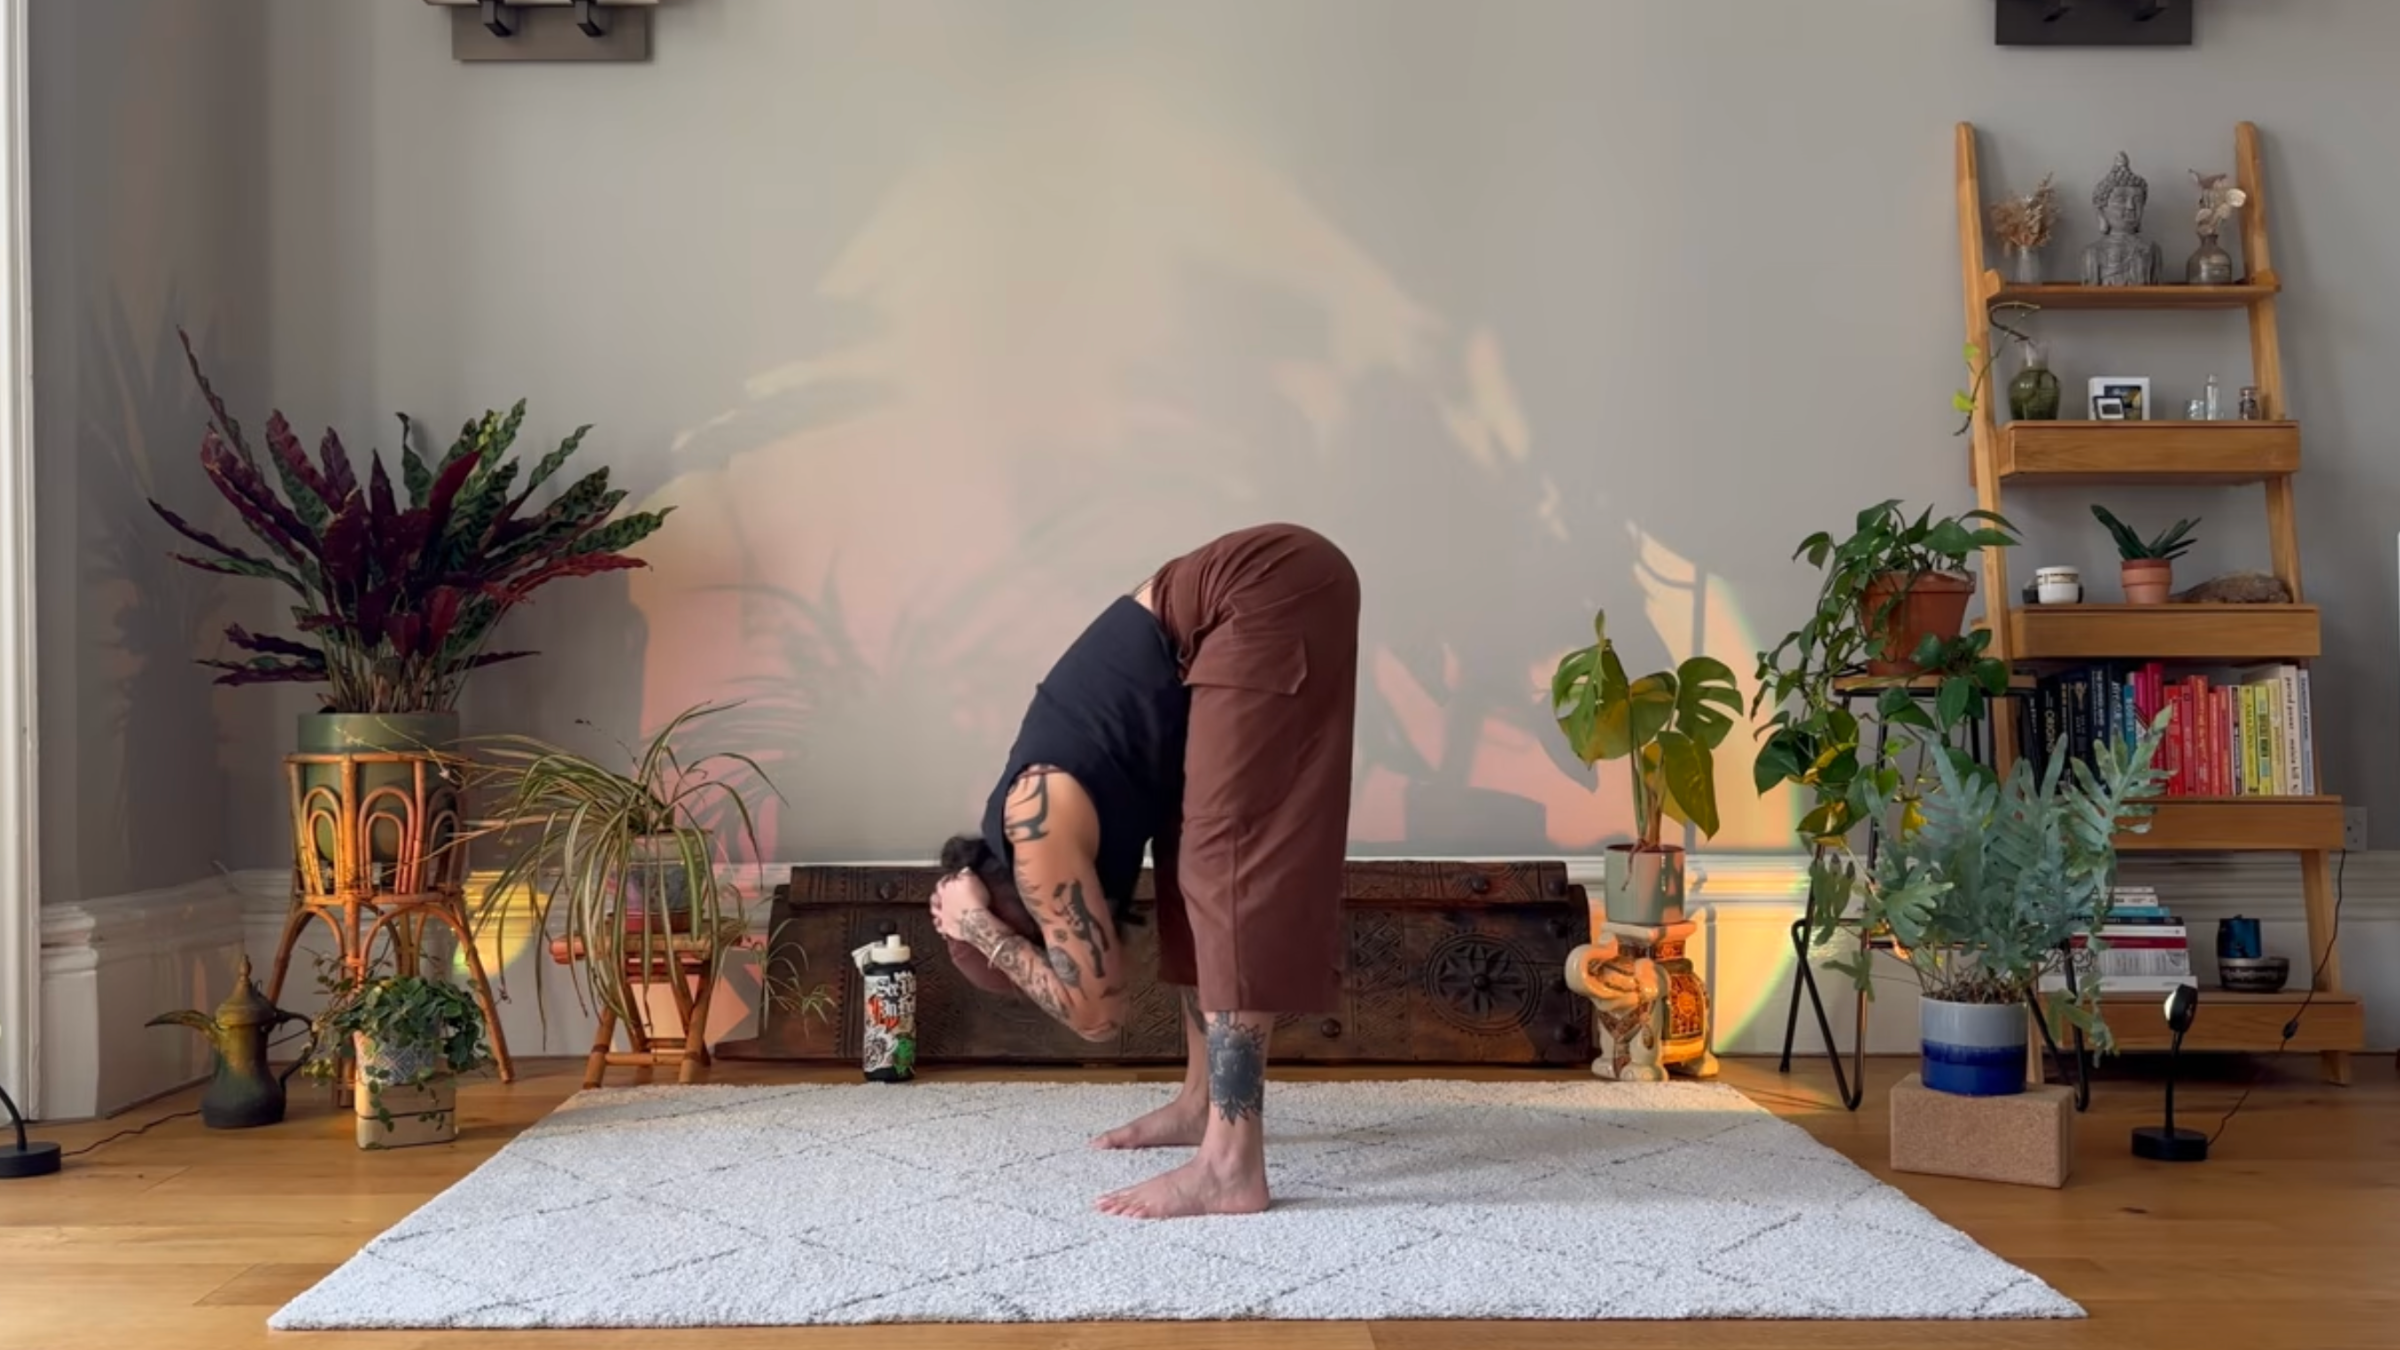
8. Rag Doll
From your forward fold in Squat, slowly start to straighten your legs as you grasp opposite elbows or clasp your hands behind your head. Keep your legs slightly bent as you relax your head and neck in Rag Doll. If it feels good, gently rock side to side. Take a few breaths.
Slowly roll up and take a deep breath in through your nose and out through your mouth. Notice whether your body feels a little looser and more relaxed.