
Let gravity do the work for you.
(Photo: Michael Burke | Design in Canva by Laura Harold)
Published August 11, 2026 05:37AM
Ever practiced yoga poses for tight hips only to feel even more muscle tension afterward? Nothing against Pigeon or Squat, but the hip stretches you know and (usually) love might feel a little—or a lot— too active and intense if you’re needing muscle relief. What you need on your radar are passive yoga poses.
These less-common poses for stretching your hip flexors and the muscles that surround them—glutes, hamstrings, and inner and outer thighs—allow gravity to take over for a gradual stretch. You remain in charge of how much or little sensation you feel. Using props creates the ideal recovery vibe and helps you become ready to resume your usual activities with more mobility and ease in your hips.
6 Essential Yoga Poses for Tight Hips
These stretches can be a warm-up or cool down for a yoga practice or workout. You can also do them while lying in bed before you go to sleep or after you wake up. For this practice, you’ll want to grab a strap or bathrobe tie and a bolster or foam roller.
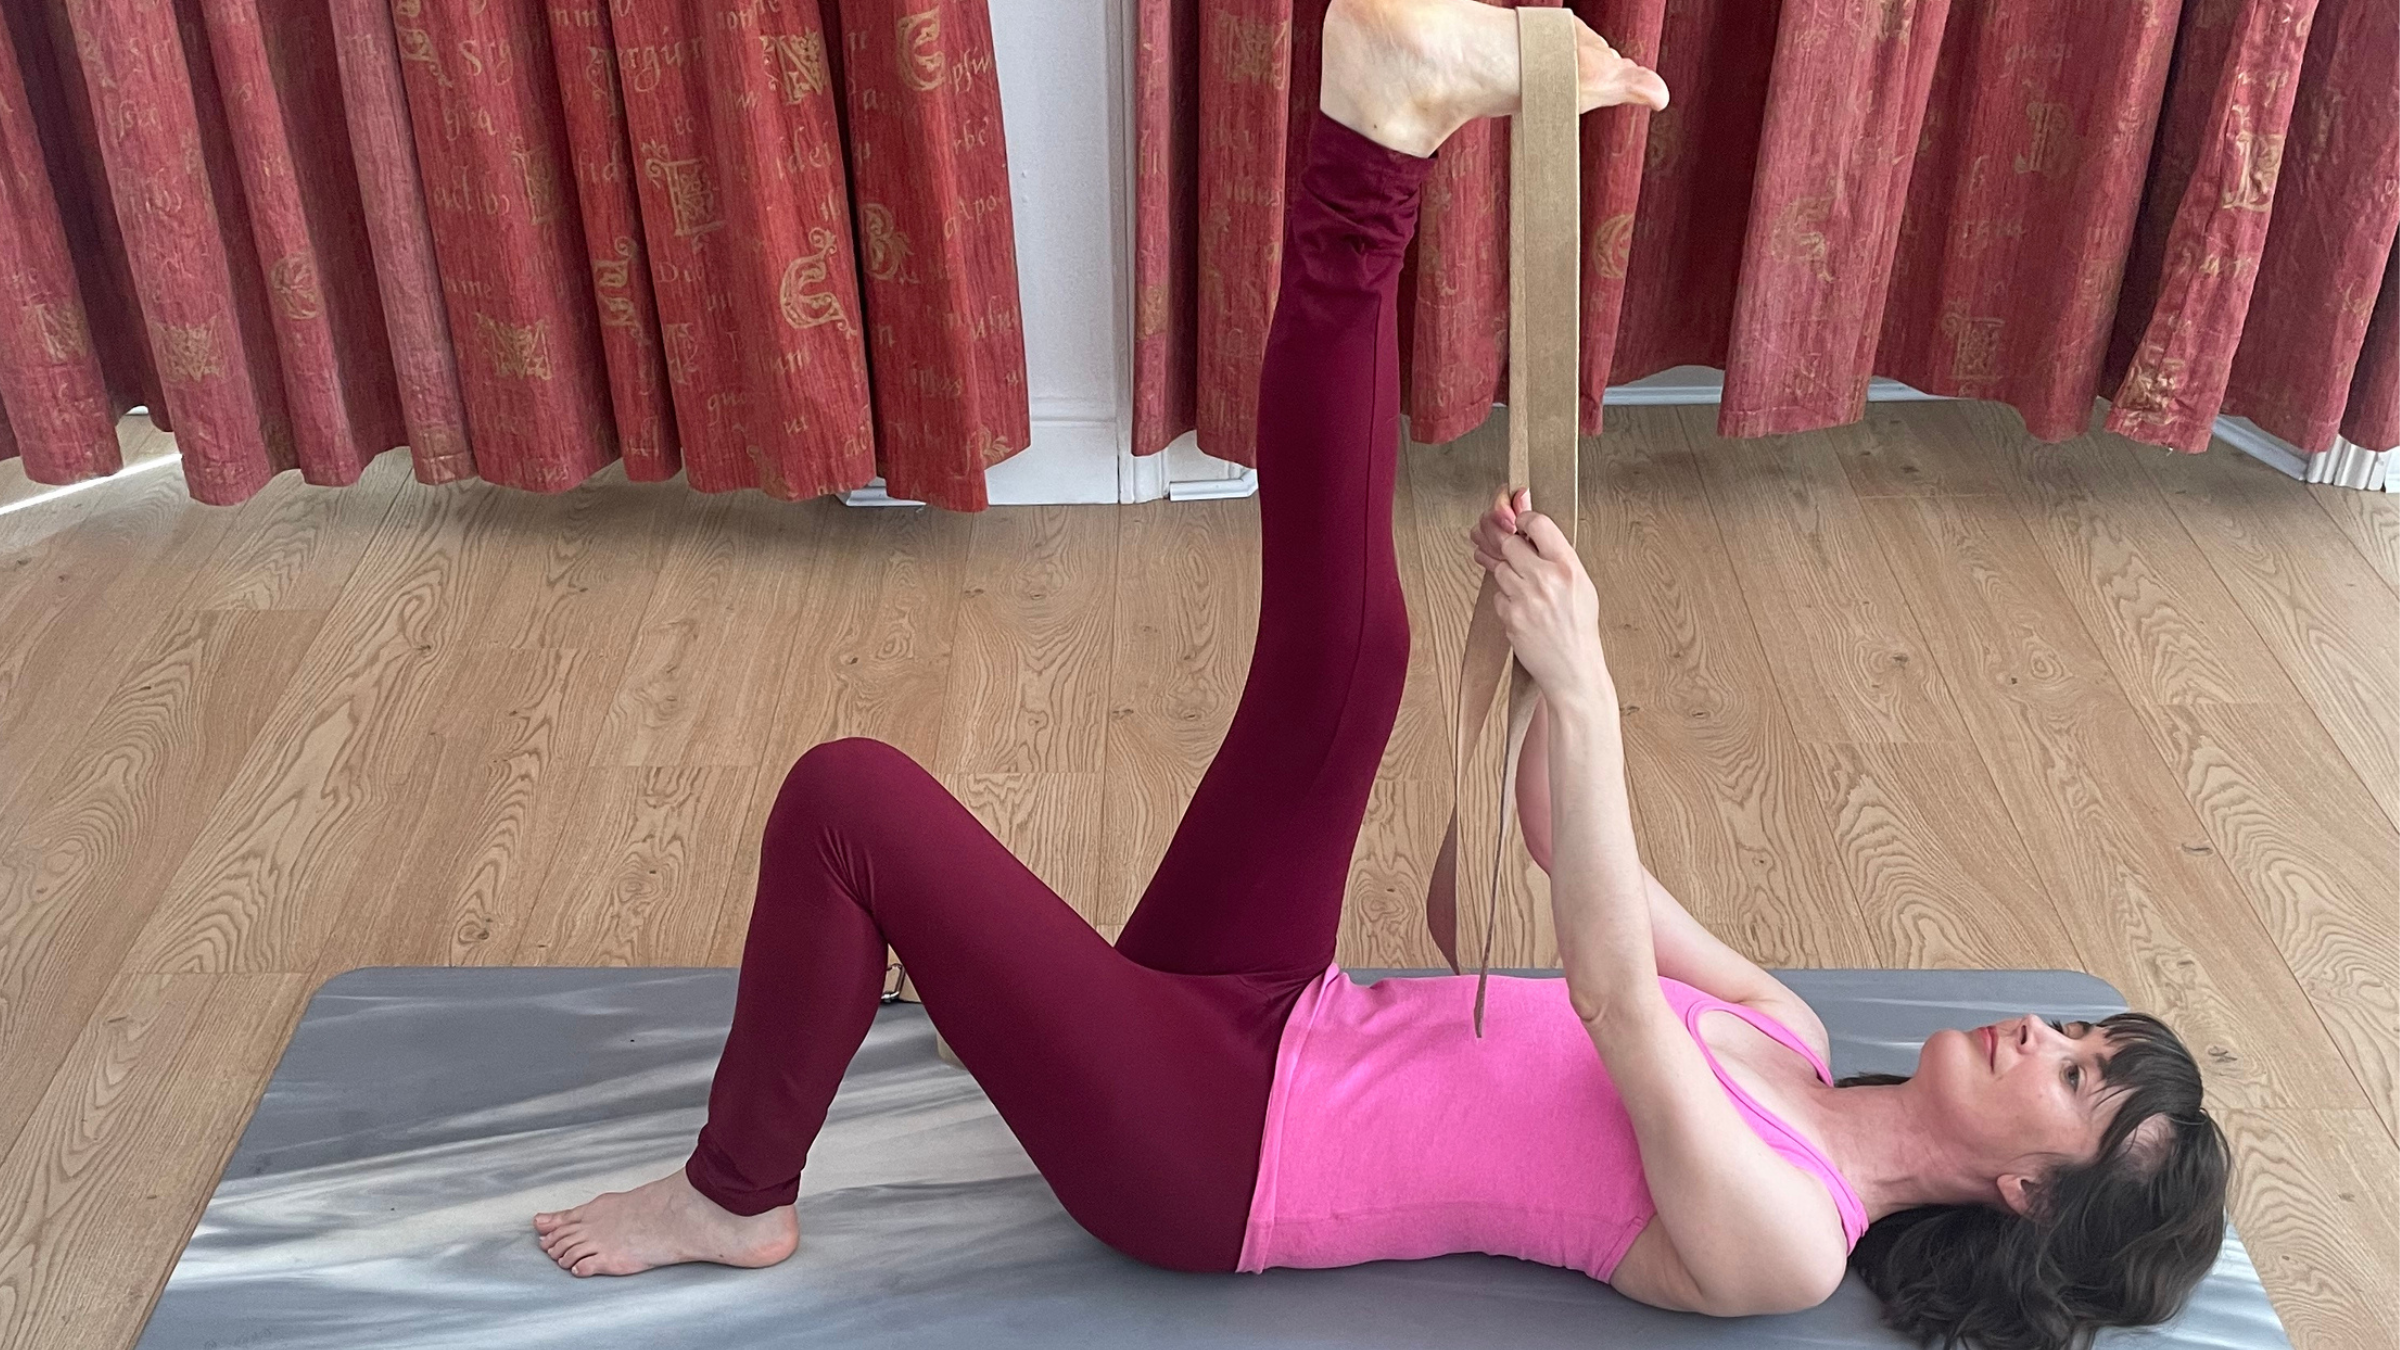
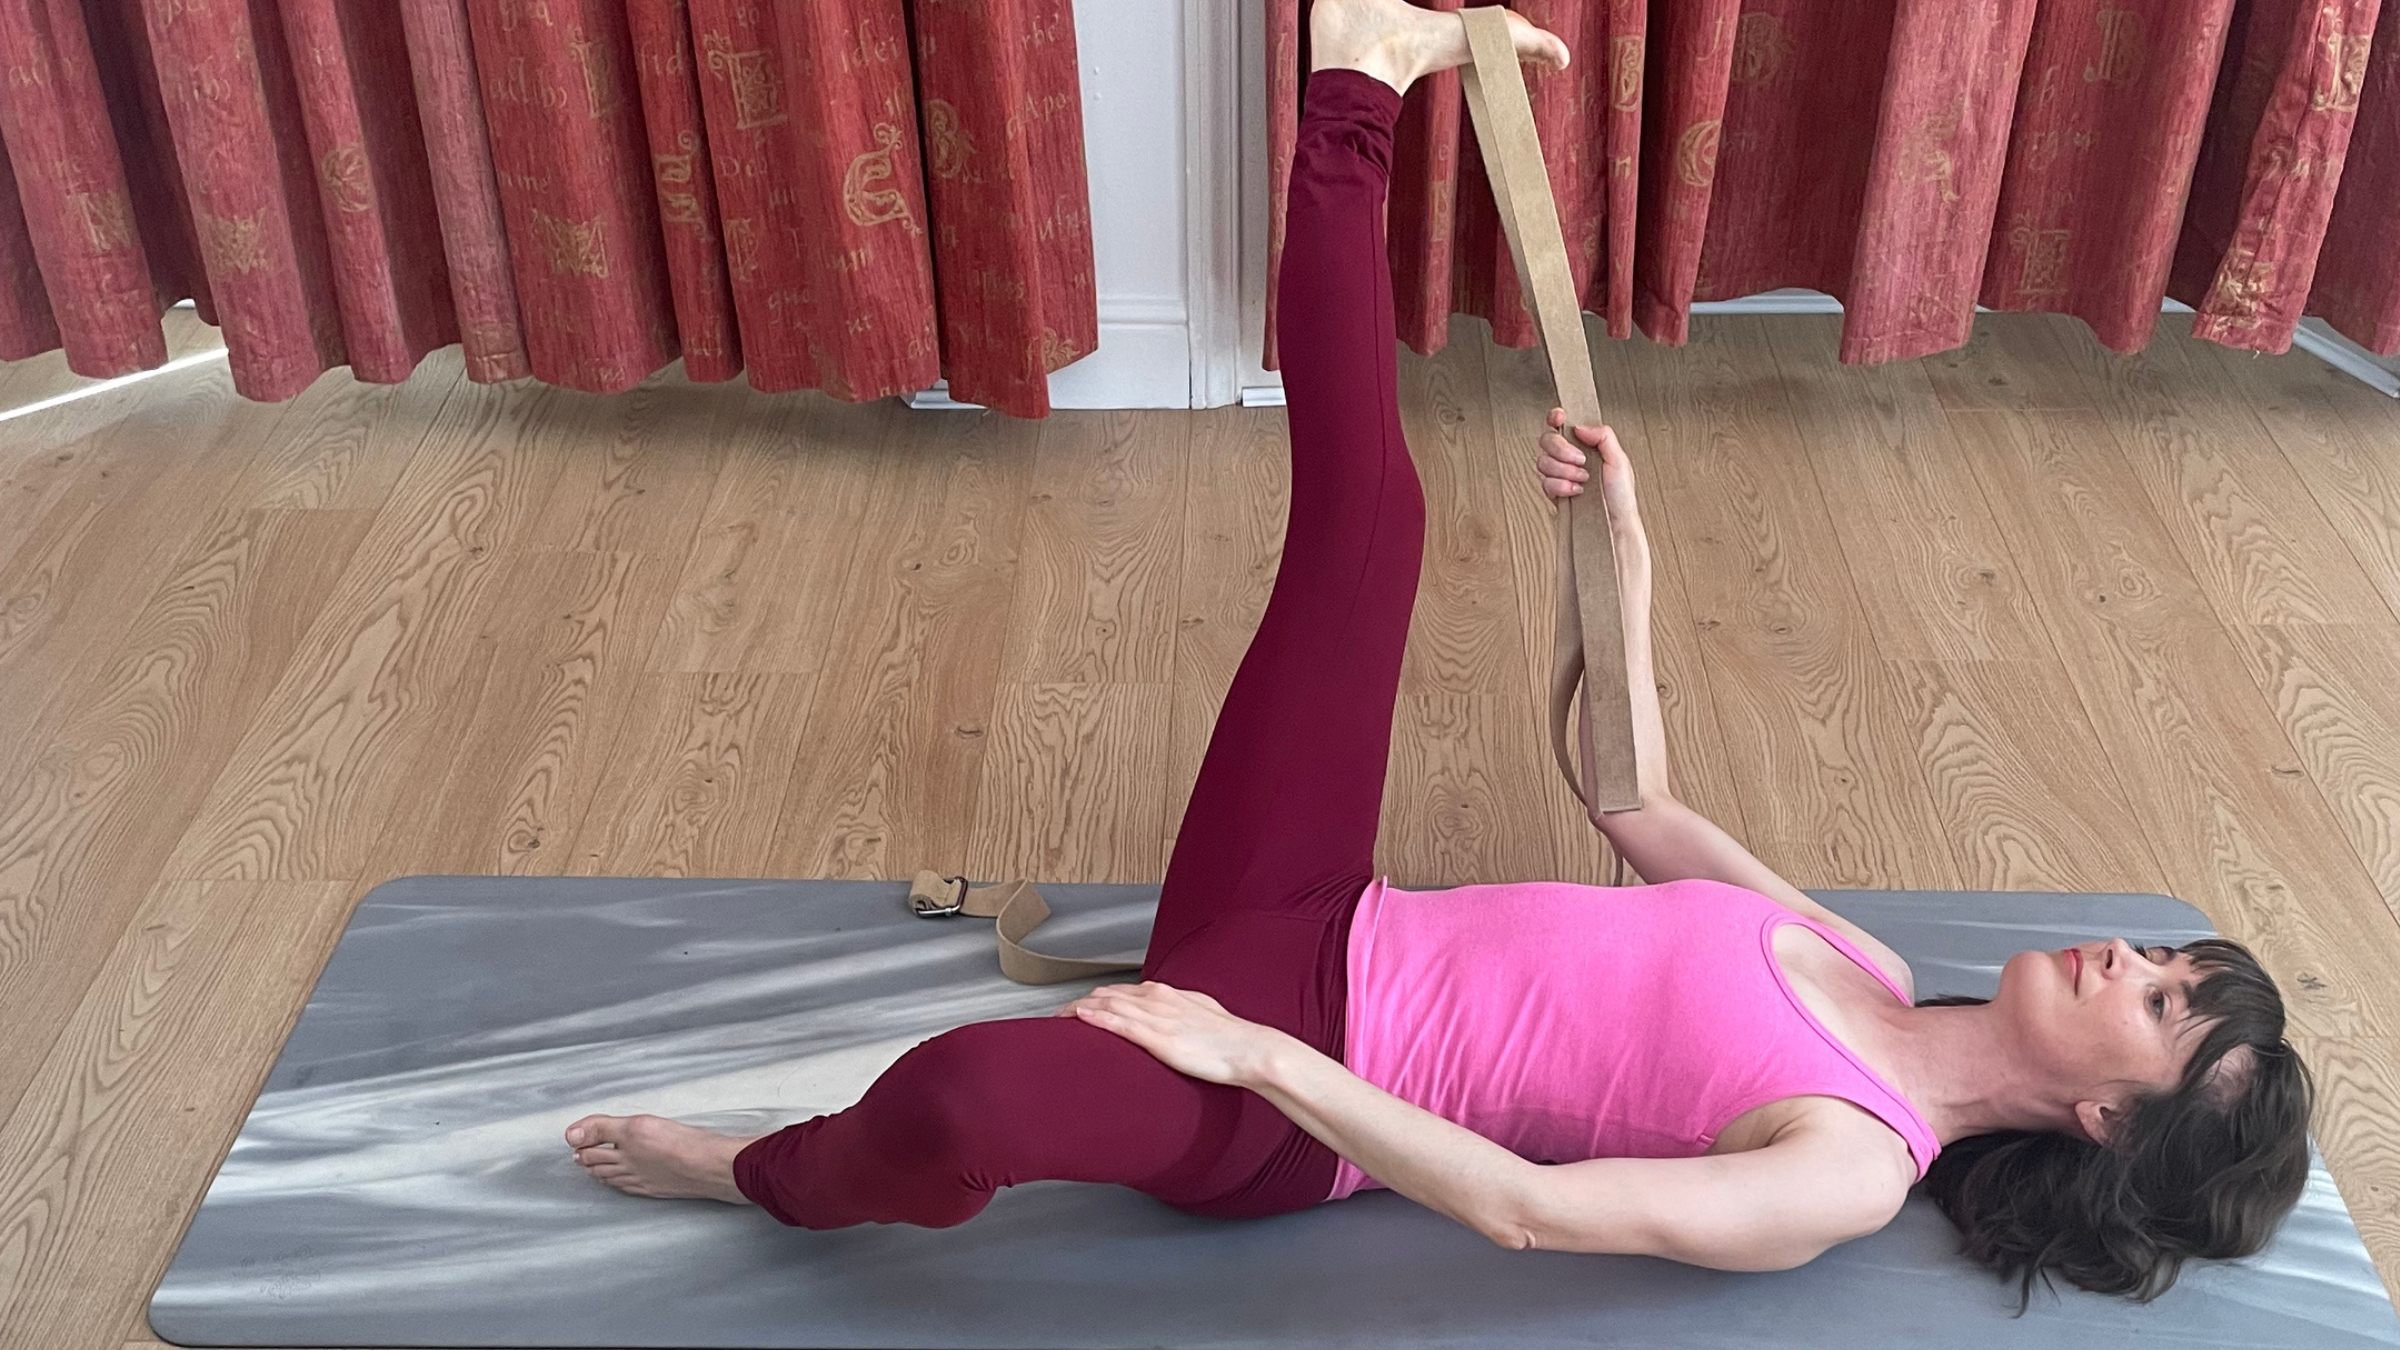
1. Reclining Hand-to-Big-Toe Pose (Variation 1)
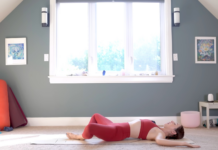
Lie on your back with your knees bent and both feet planted on the mat. Draw your right knee toward your chest, wrap a strap or belt around the ball of your right foot, then straighten your right leg toward the ceiling. Keep a loose grip on the strap with both hands and allow your shoulders to relax toward the mat in Reclining Hand-to-Big-Toe Pose. Move your right leg in any way that feels good—straighten and bend it or draw small circles with your foot. Keep your left knee pointing toward the ceiling. Spend several breaths here.
2. Reclining Hand-to-Big-Toe Pose (Variation 2)
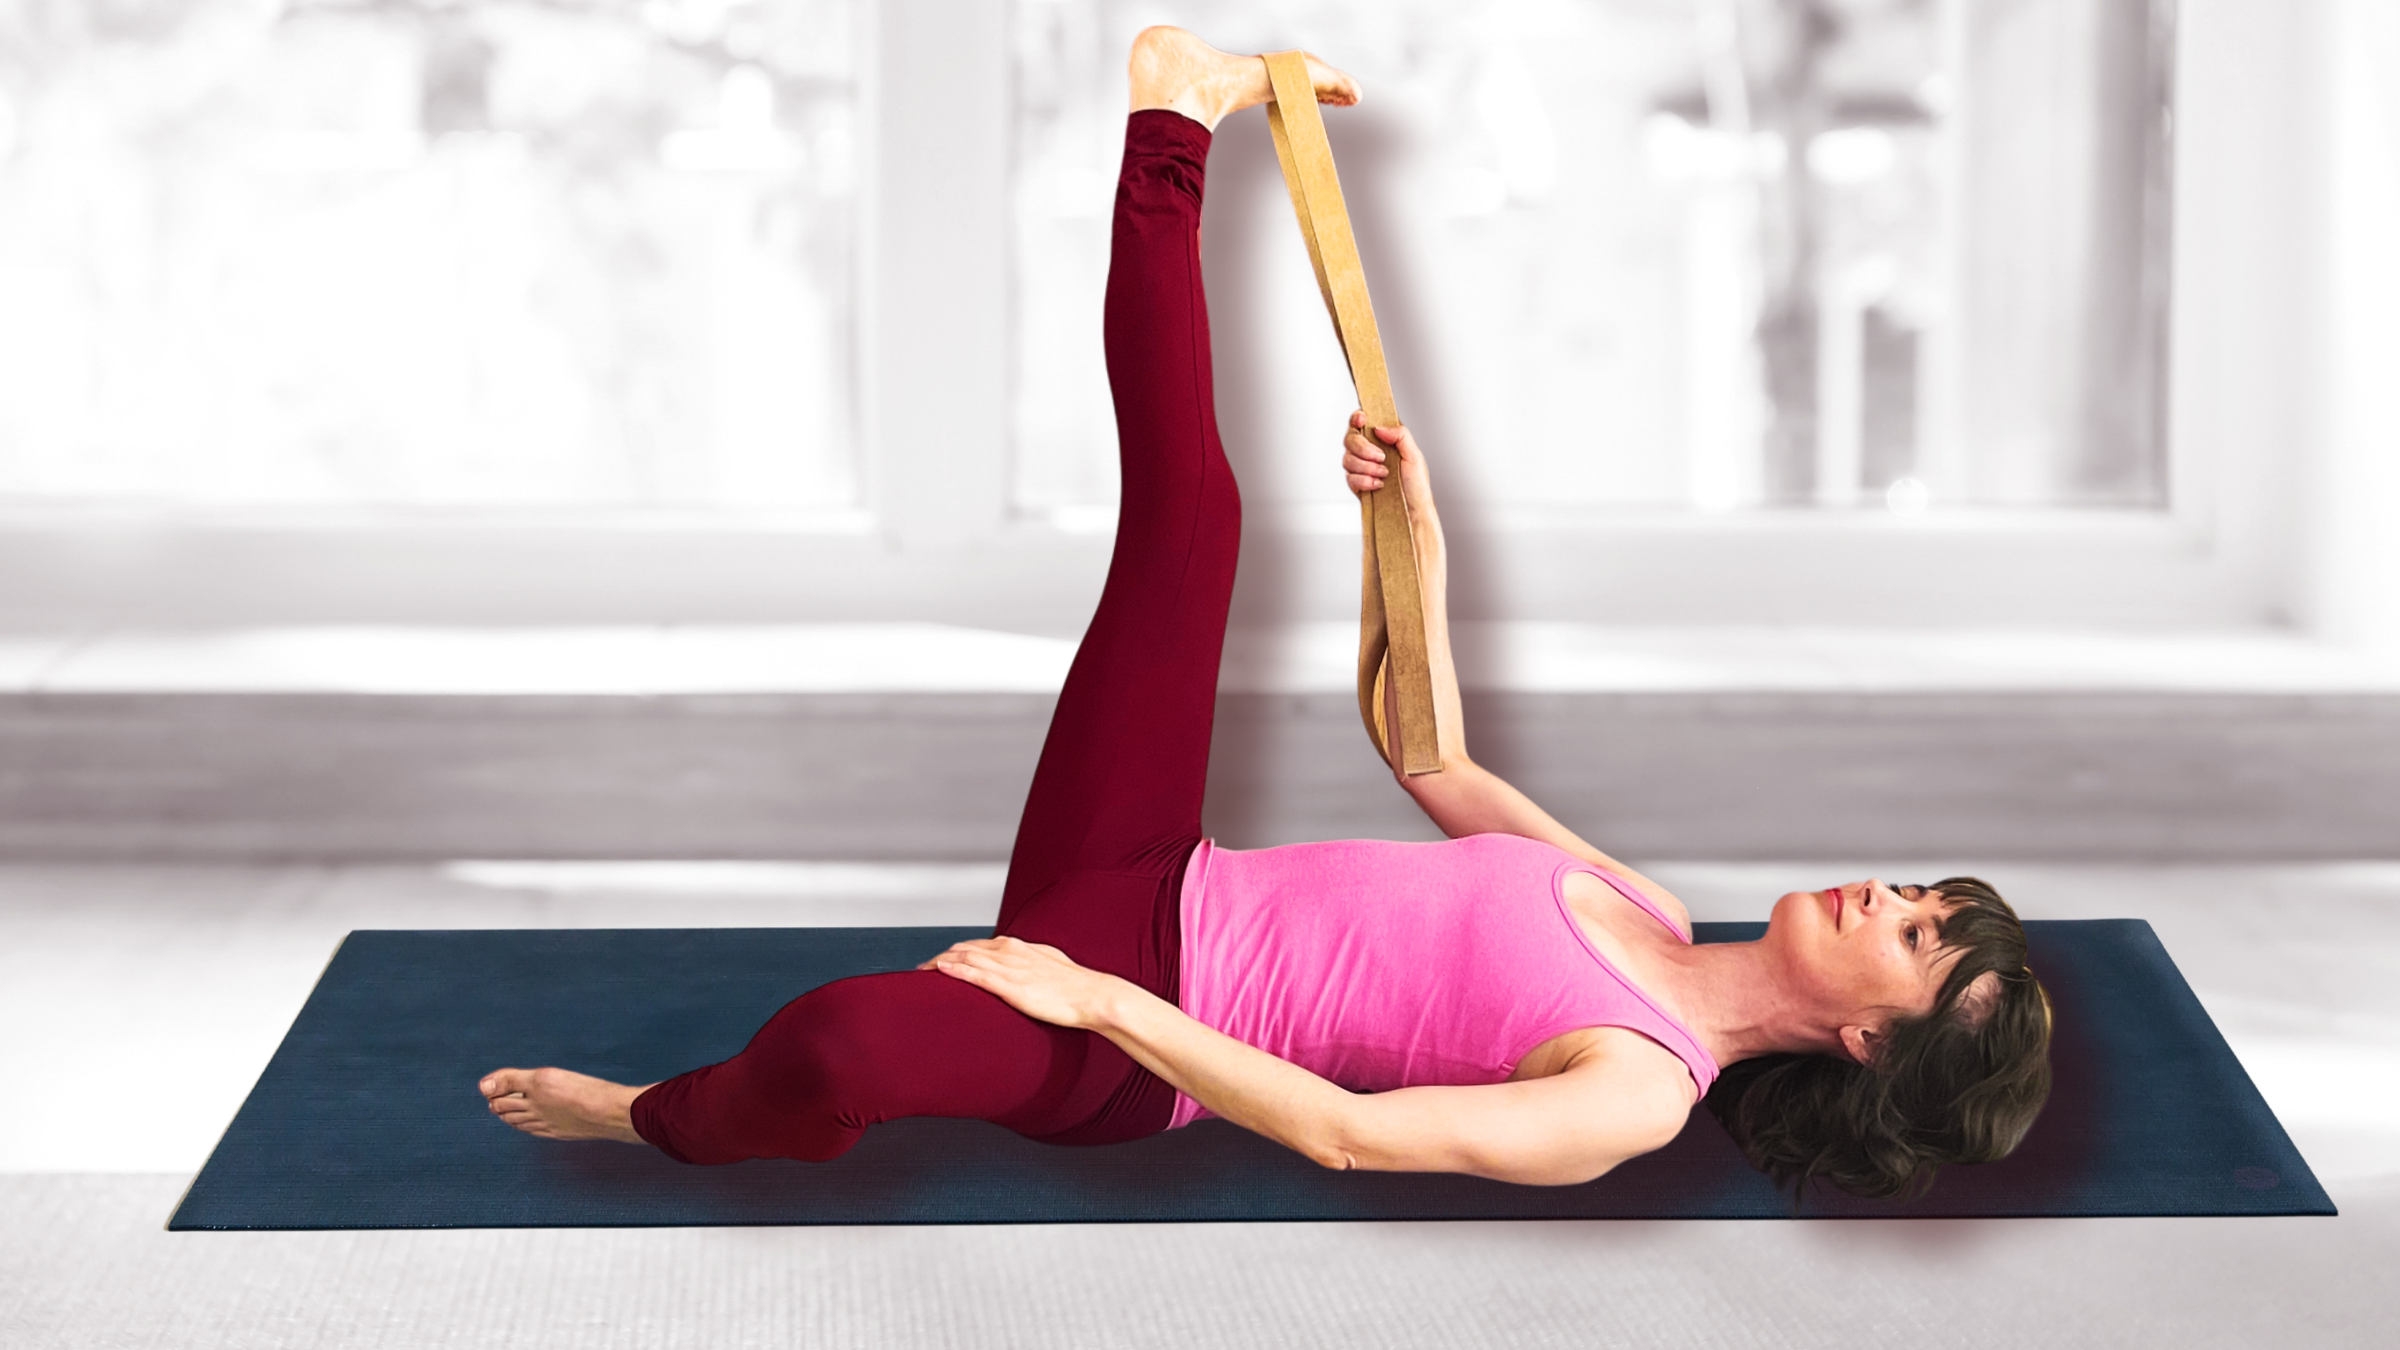
From Reclining Hand-to-Big-Toe Pose I, roll onto the outer edge of your left foot and allow your left knee to open toward the left side. Grasp both ends of the strap in your right hand and draw your right leg over toward the right side as much as you can without lifting your left hip off the mat. Stay here for several breaths, then bring both legs back to center. Release and repeat on the opposite side.
Tip: If you feel any cramping in your inner thighs, practice slowly moving in and out of the pose before finding stillness in the most intense part of the stretch.
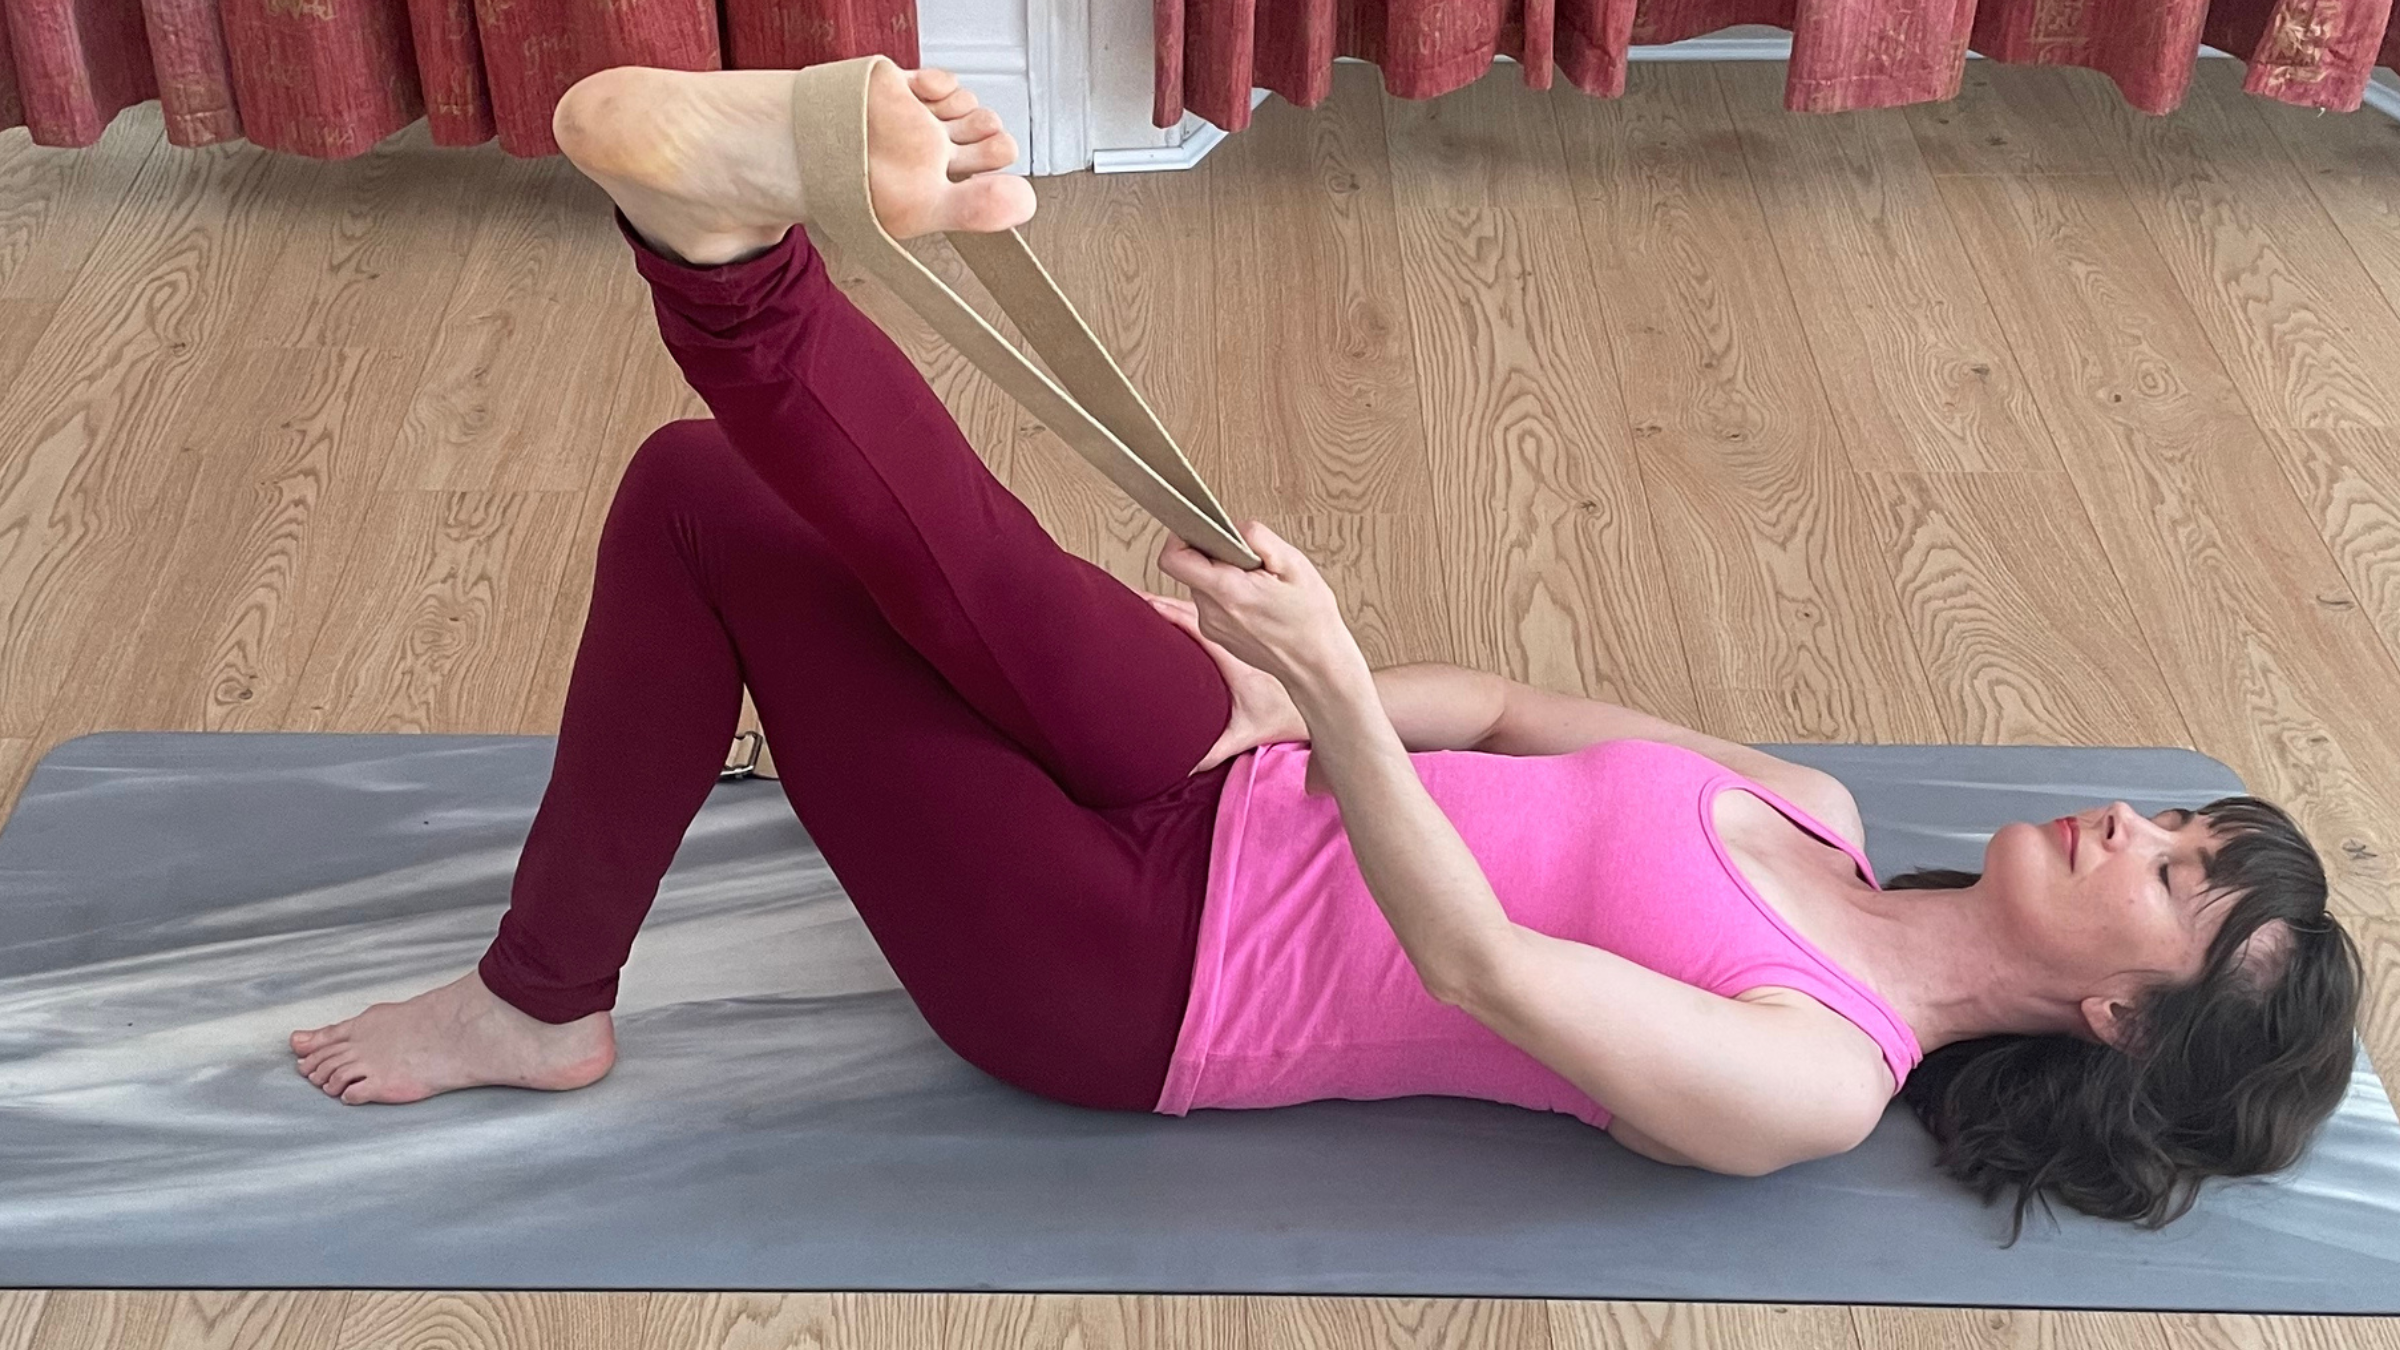
3. Reclining Hand-to-Big-Toe Pose (Variation 3)
Come into Reclining Hand-to-Big-Toe Pose 1 with your right leg lifted. Grasp both ends of the strap in your left hand. Keeping your right hip on the mat, cross your right leg over your body toward the left side until you feel a comfortable stretch in your outer right thigh. For a milder stretch, rest your right leg on top of your bent left leg (pictured). For more intensity, draw your right foot in the direction of your left shoulder—again, without lifting your hips off the mat. Stay here for several breaths, then bring your right leg back to center. Bend your right leg and remove the strap from your foot. Release and repeat on the opposite side.
Tip: If you feel any discomfort in your right inner thigh, move your right leg farther away from you.
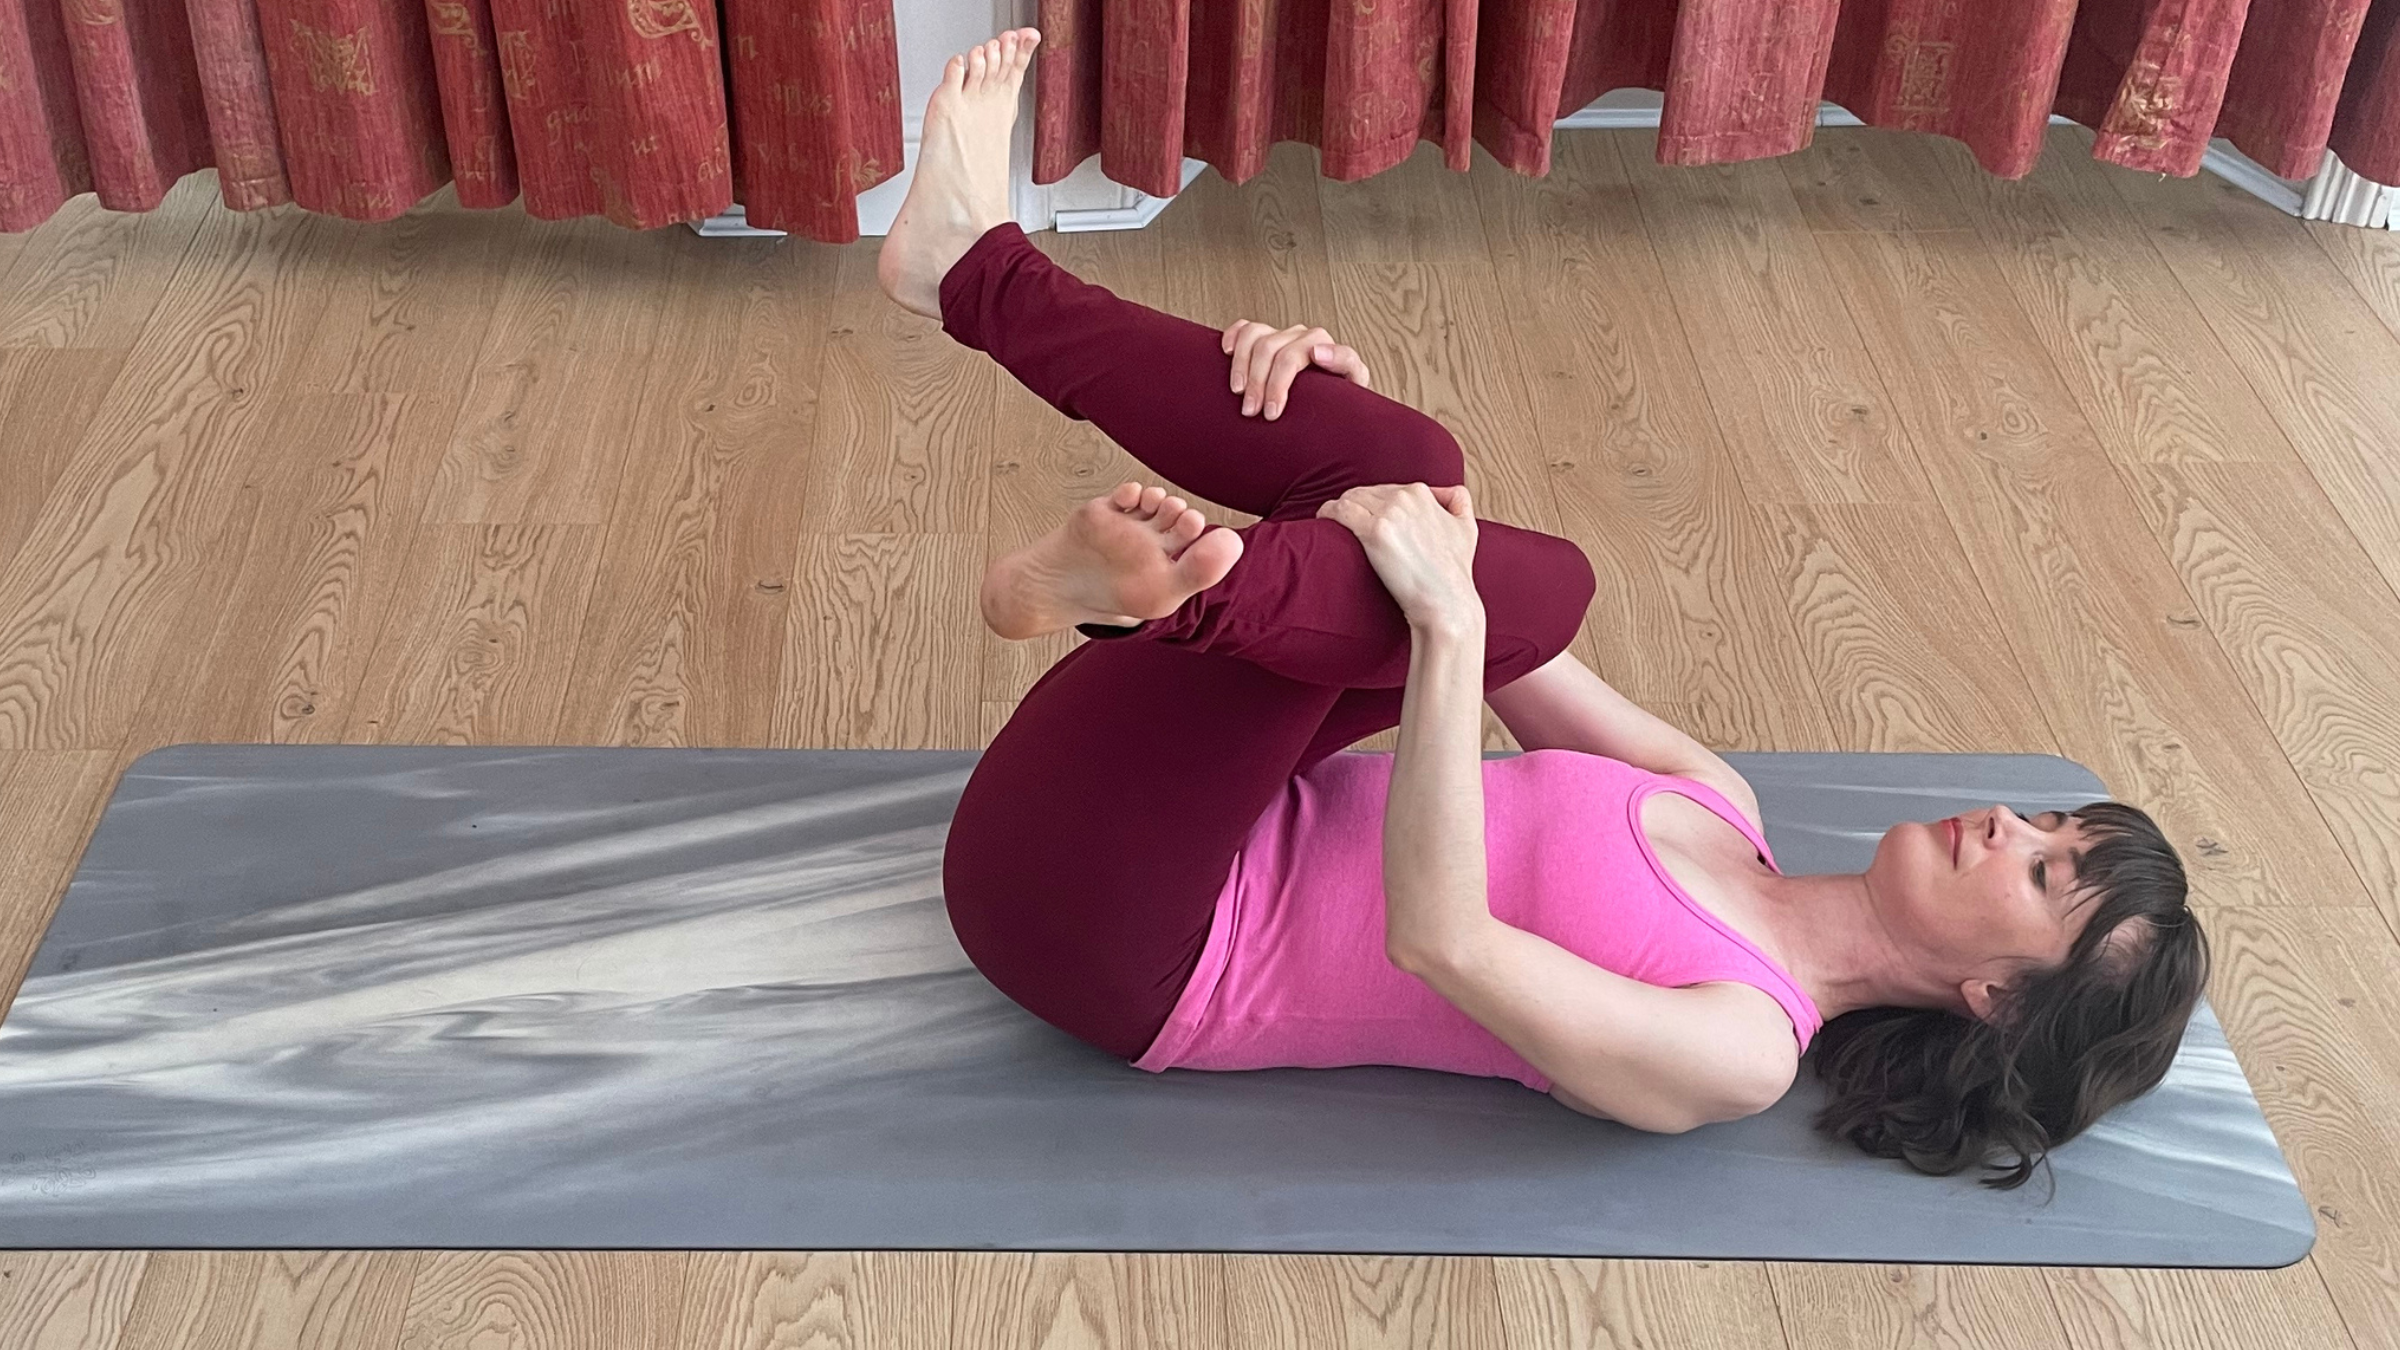
4. Reclining Cow Face Pose
Lie on your back with your knees bent and your feet flat on the mat. Cross your right thigh over your left thigh, bending your knees as much as feels good. Place your hands on your knees, shins, or ankles, and use them to draw your legs toward your chest any amount in Reclining Cow Face Pose. Stay here for several breaths. Release and repeat on the opposite side.
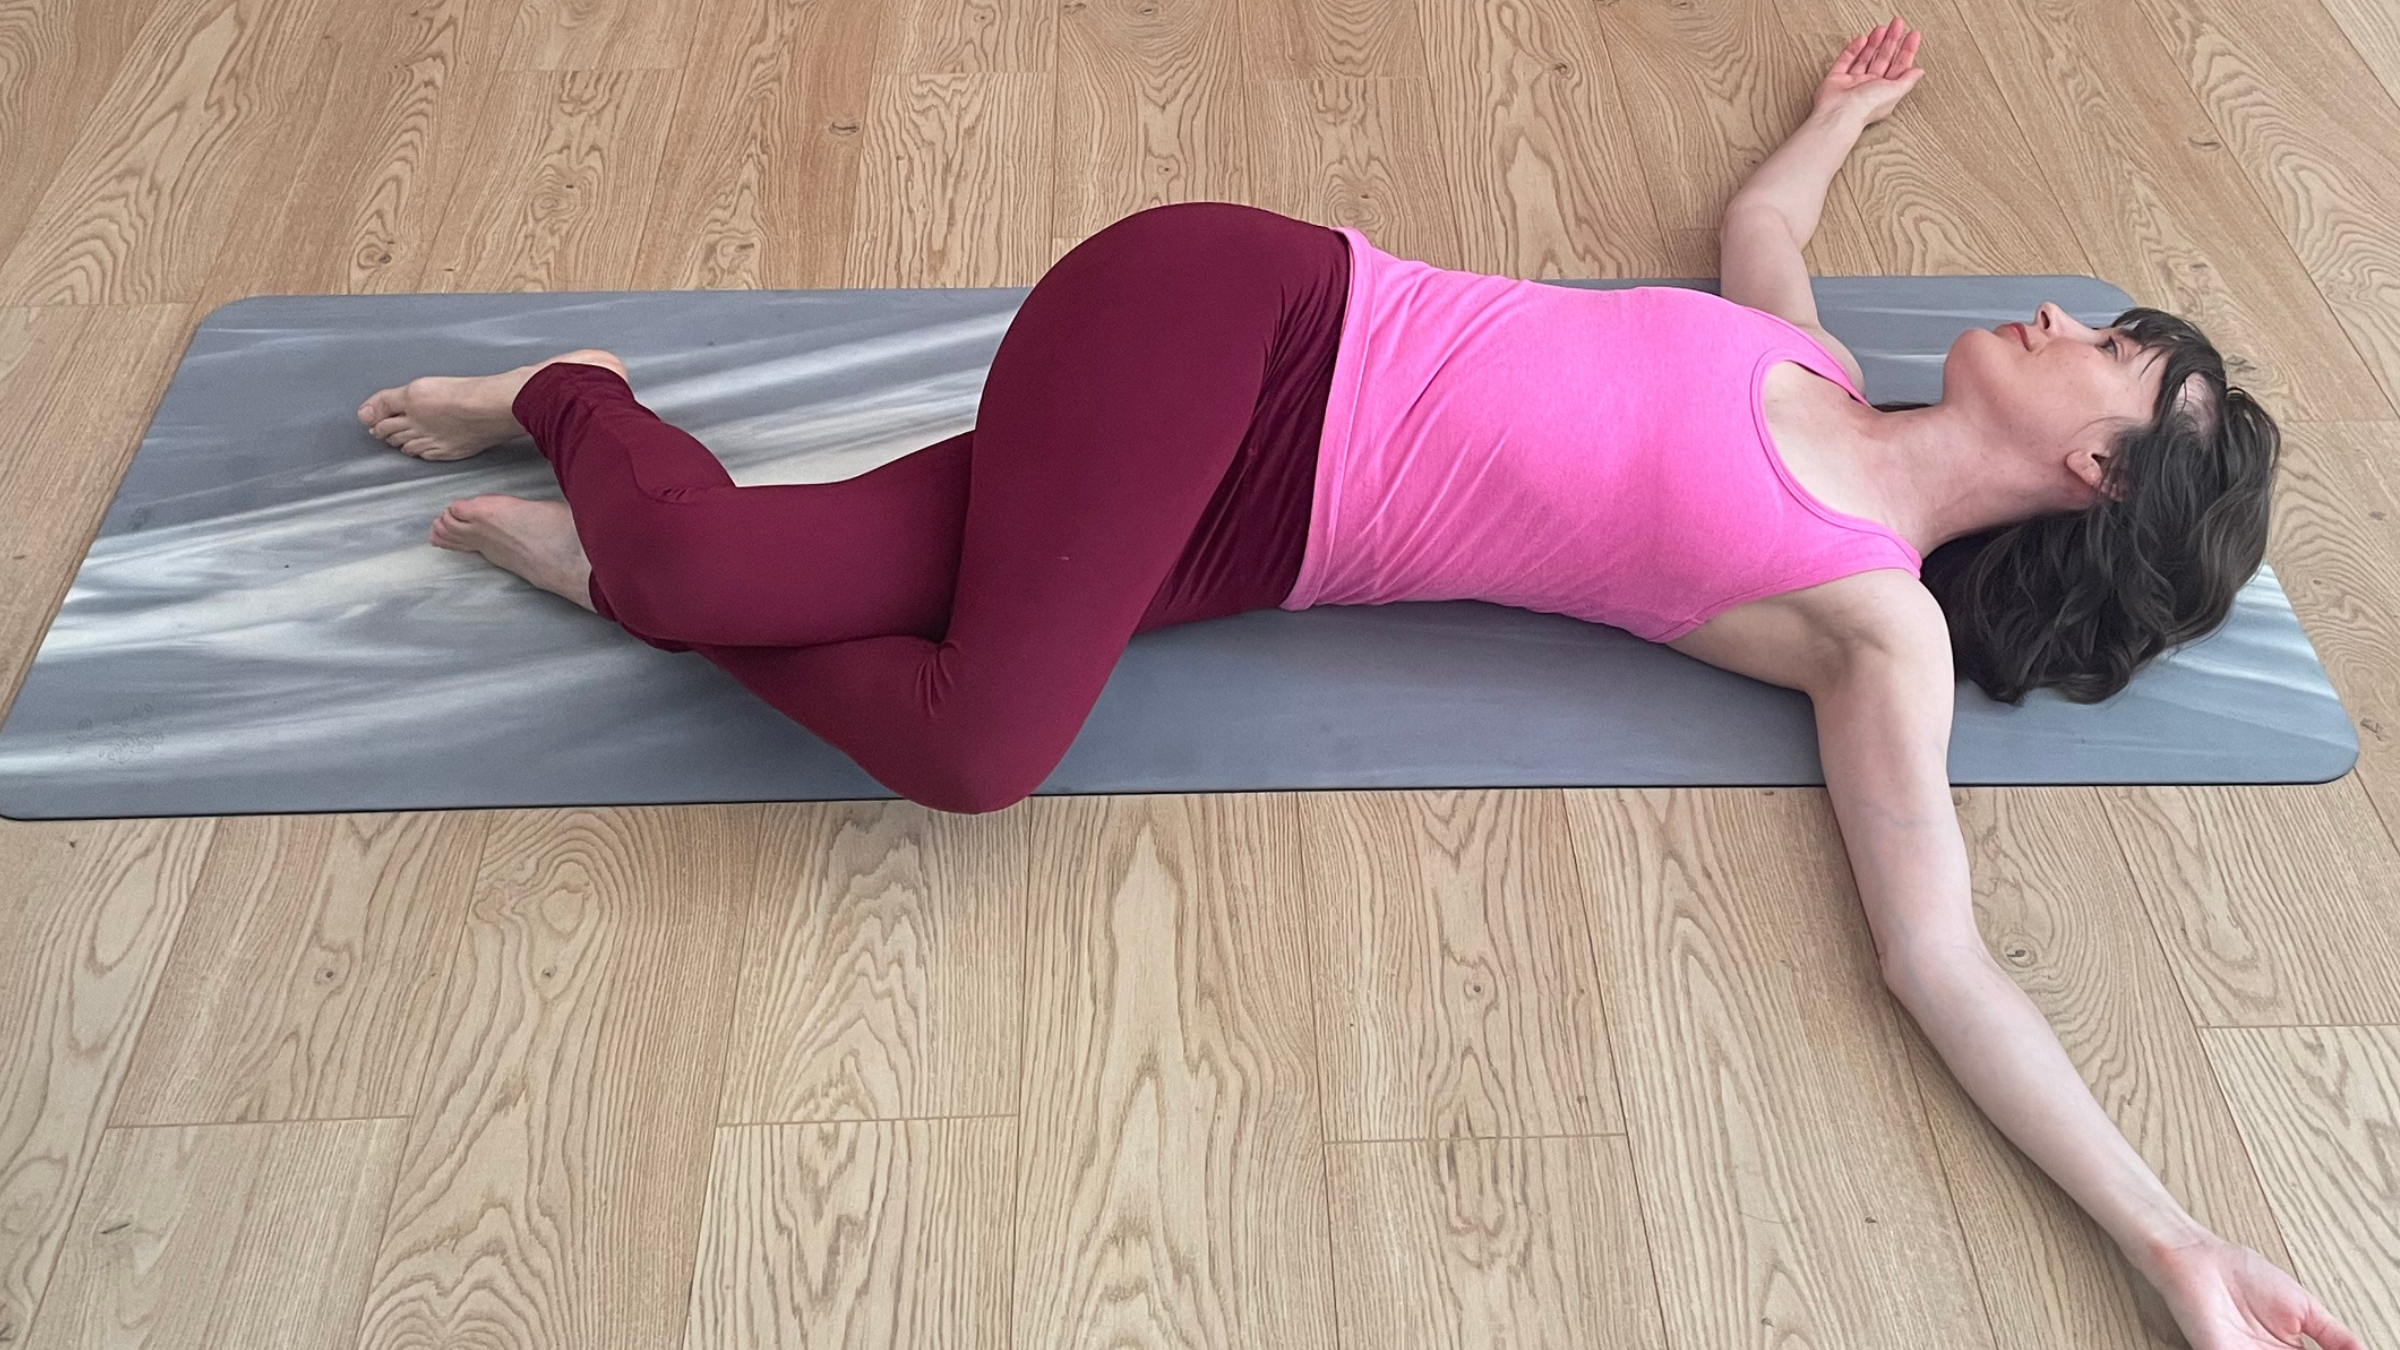
5. Reclining Twisting Eagle Pose
From Reclining Cow Face Pose, lower your crossed legs toward the left as far as feels good. You can place a block, bolster, or stack of pillows underneath your bottom leg for more support. Straighten your arms out to the sides in Reclining Twisting Eagle Pose. Press your left arm into the mat to help you draw the left side of your chest toward the ceiling. Gaze at the ceiling or look toward the right. Spend several breaths here, then press your left arm into the mat to help you bring your legs back into Reclining Cow Face Pose. Uncross your legs and release them to the mat.
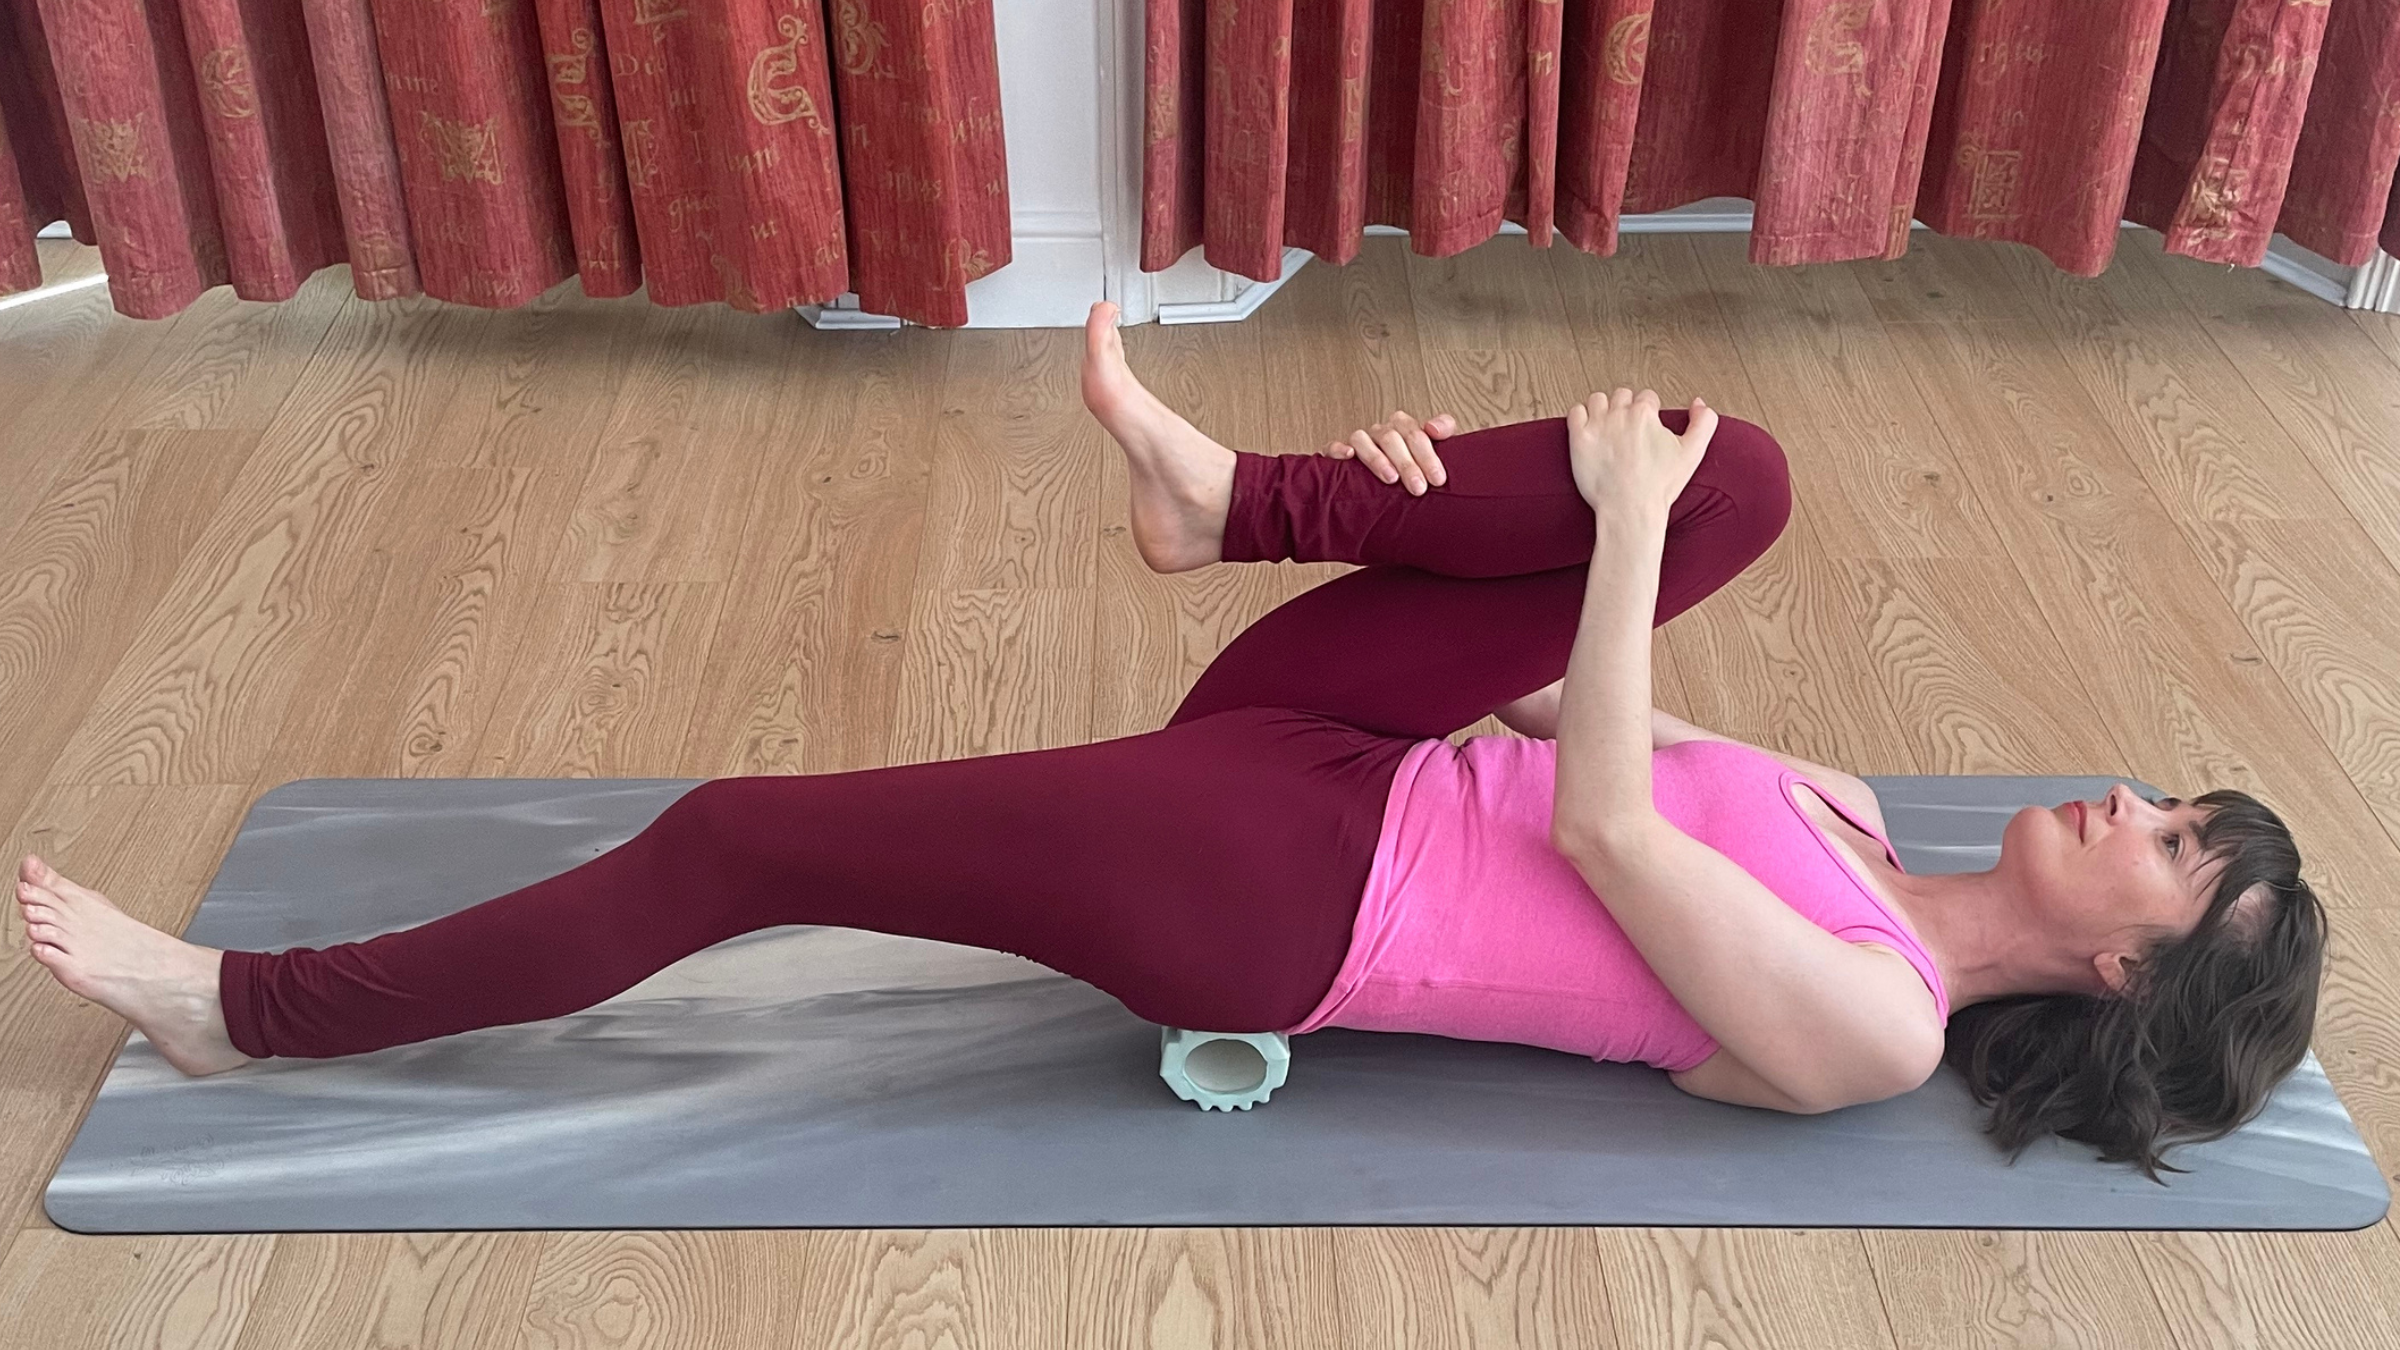
6. Half Wind-Relieving Pose Variation
Lie on your back with your knees bent and your feet flat on the mat. Press your feet into the mat as you lift your hips and slide a folded blanket, block, bolster, or foam roller underneath your sacrum (the lowest part of your back). Draw your right knee toward your chest and straighten your left leg on the mat, if that is comfortable for you, or keep your foot on the mat. Stay here for several breaths, then repeat on the opposite side.
Sprawl out for a few minutes in Savasana or any relaxation pose, noticing whether you feel any sense of ease you feel in your hips. If you do, let that sensation emanate throughout your entire body.