
Published November 1, 2026 05:55AM
This yin yoga for a full-body stretch routine includes relatively simple shapes with options that help you find your comfort level, even if you’re new to yin yoga. In this style of stretching, we hold shapes for an extended period of time, but we don’t use any kind of muscular effort. Yin yoga is not about getting stronger and it’s not about endurance. It’s about relaxing in all of the poses and letting gravity do the work for you to send the stretch into the joints as well as the connective tissues.
You’re always trying to find your edge in these poses, which means you’re not trying to be so intense that you need to tense your body or hold your breath. You should experience some sensation, but it should never ever feel painful. Especially because you want to be able to stay in each stretch for several minutes. Usually a yin yoga pose is held for three to five minutes, although if you’re a beginner, then start by staying for a little less time, because even two minutes can feel like an eternity!
Basically, yin yoga is meant to consist of simple shapes held for a little longer than usual, and you’ll definitely feel the difference by the end of it. Think of this as an introduction to yin yoga and know that there are so many more poses to explore.
35-Minute Yin Yoga Anyone Can Practice at Home
You definitely don’t need props to practice yin yoga. But it can be helpful to know how to use them to experience more support in the poses, so for the following poses, I suggest you consider using props, whether two blocks and a strap or, if you don’t have those at home, you can use some pillows or couch cushions and a belt or even a sweatshirt. There are all sorts of everyday household items you can use in place of props.
Child’s Pose
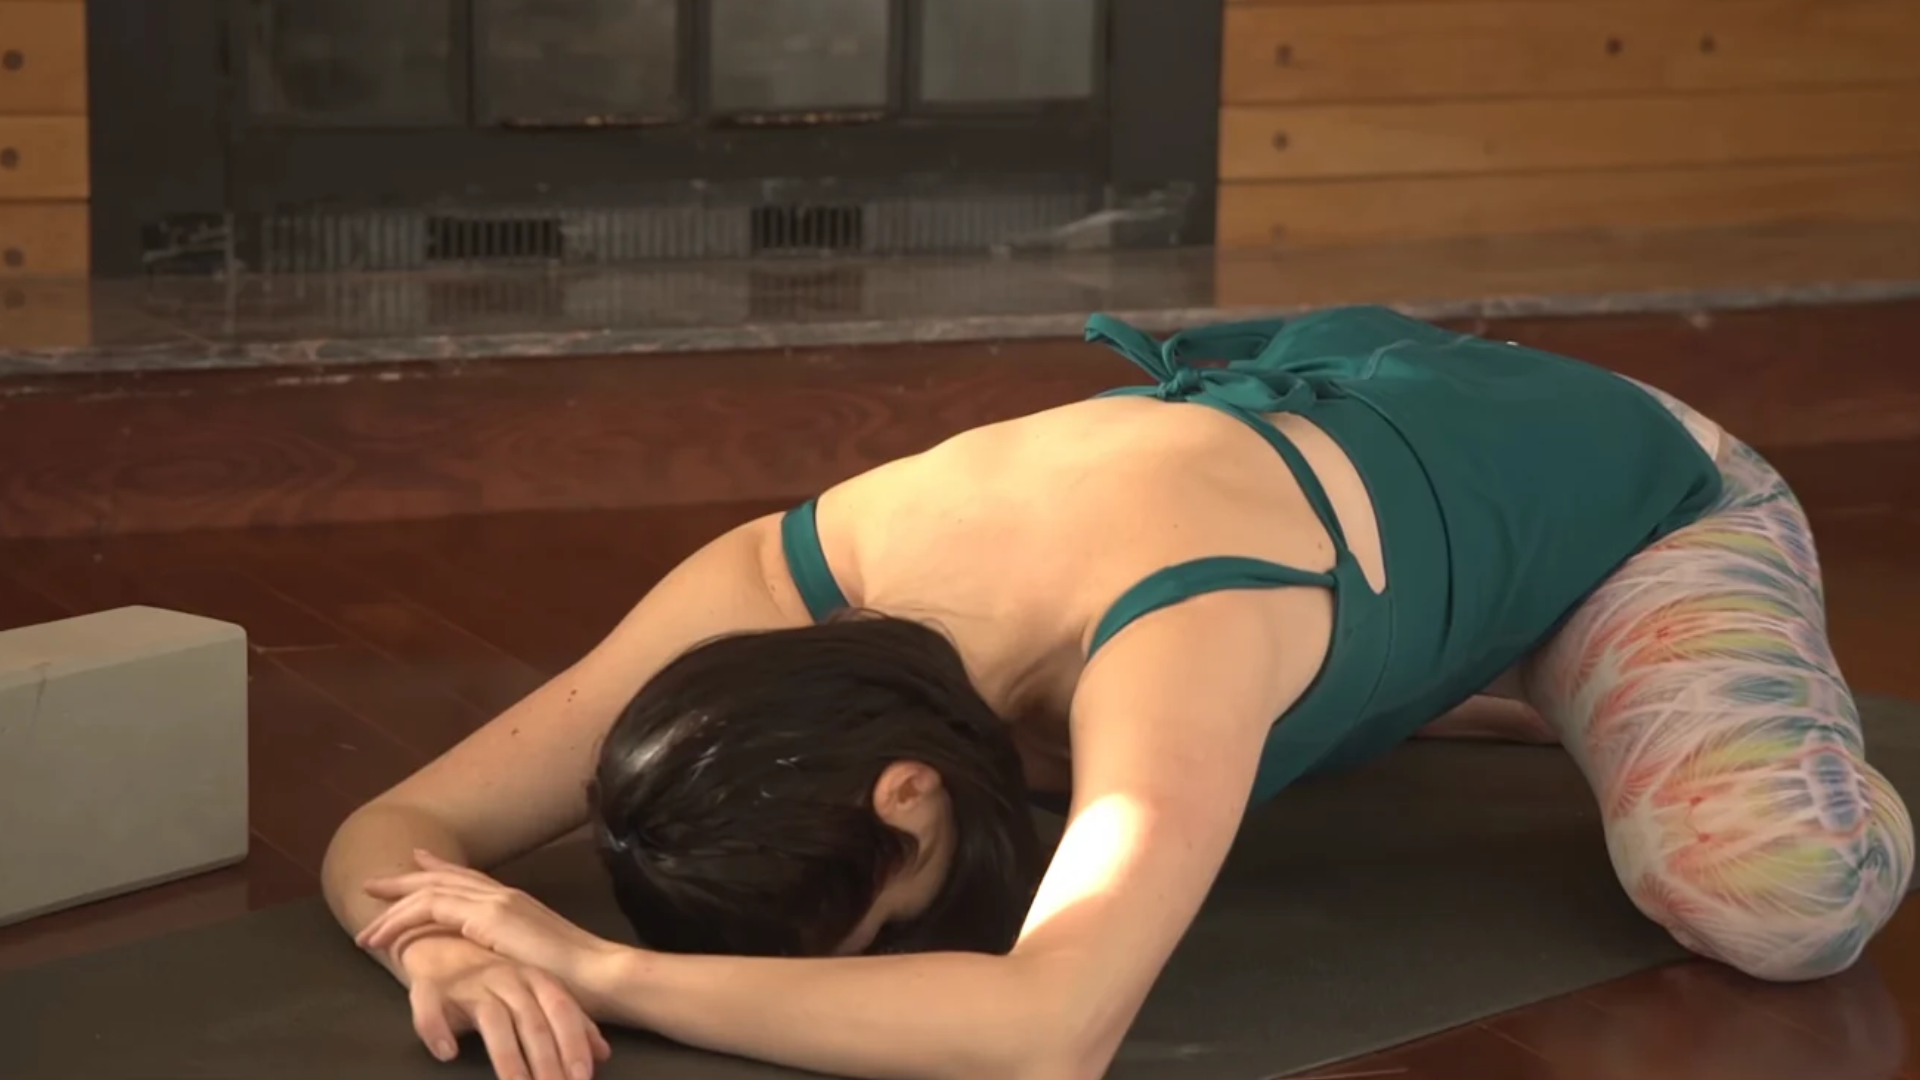
Kneel on the mat, bring your big toes together, and then let your knees go apart. The wider your knees, the more intense the stretch through the inner thighs. You don’t want to cause any kind of pinching or compression in your lower back. If you feel tightness or tension there, it usually means your knees are too far apart and you simply need to bring them slightly closer together.
Walk your hands away from you and lean your chest toward the mat. You can either rest your forehead on the mat or stack your hands and use them or a pillow as support for your forehead in Child’s Pose. You can also bring a block or firm pillow lengthwise under your chest and forehead to close any gap between your body and the mat and then rest your body on that while turning your head to one side.
Try to let your hips be heavy as they sink toward your heels. Let your chest melt toward the mat or the support beneath you. Relax your arms and shoulders and upper back, and simply breathe slow and steady, in and out through your nose. Stay here for about 2 minutes.
When you’re ready to come out of the pose, bring your palms to the mat and press into them so you can start to lift your head and chest back up.
Sphinx Pose
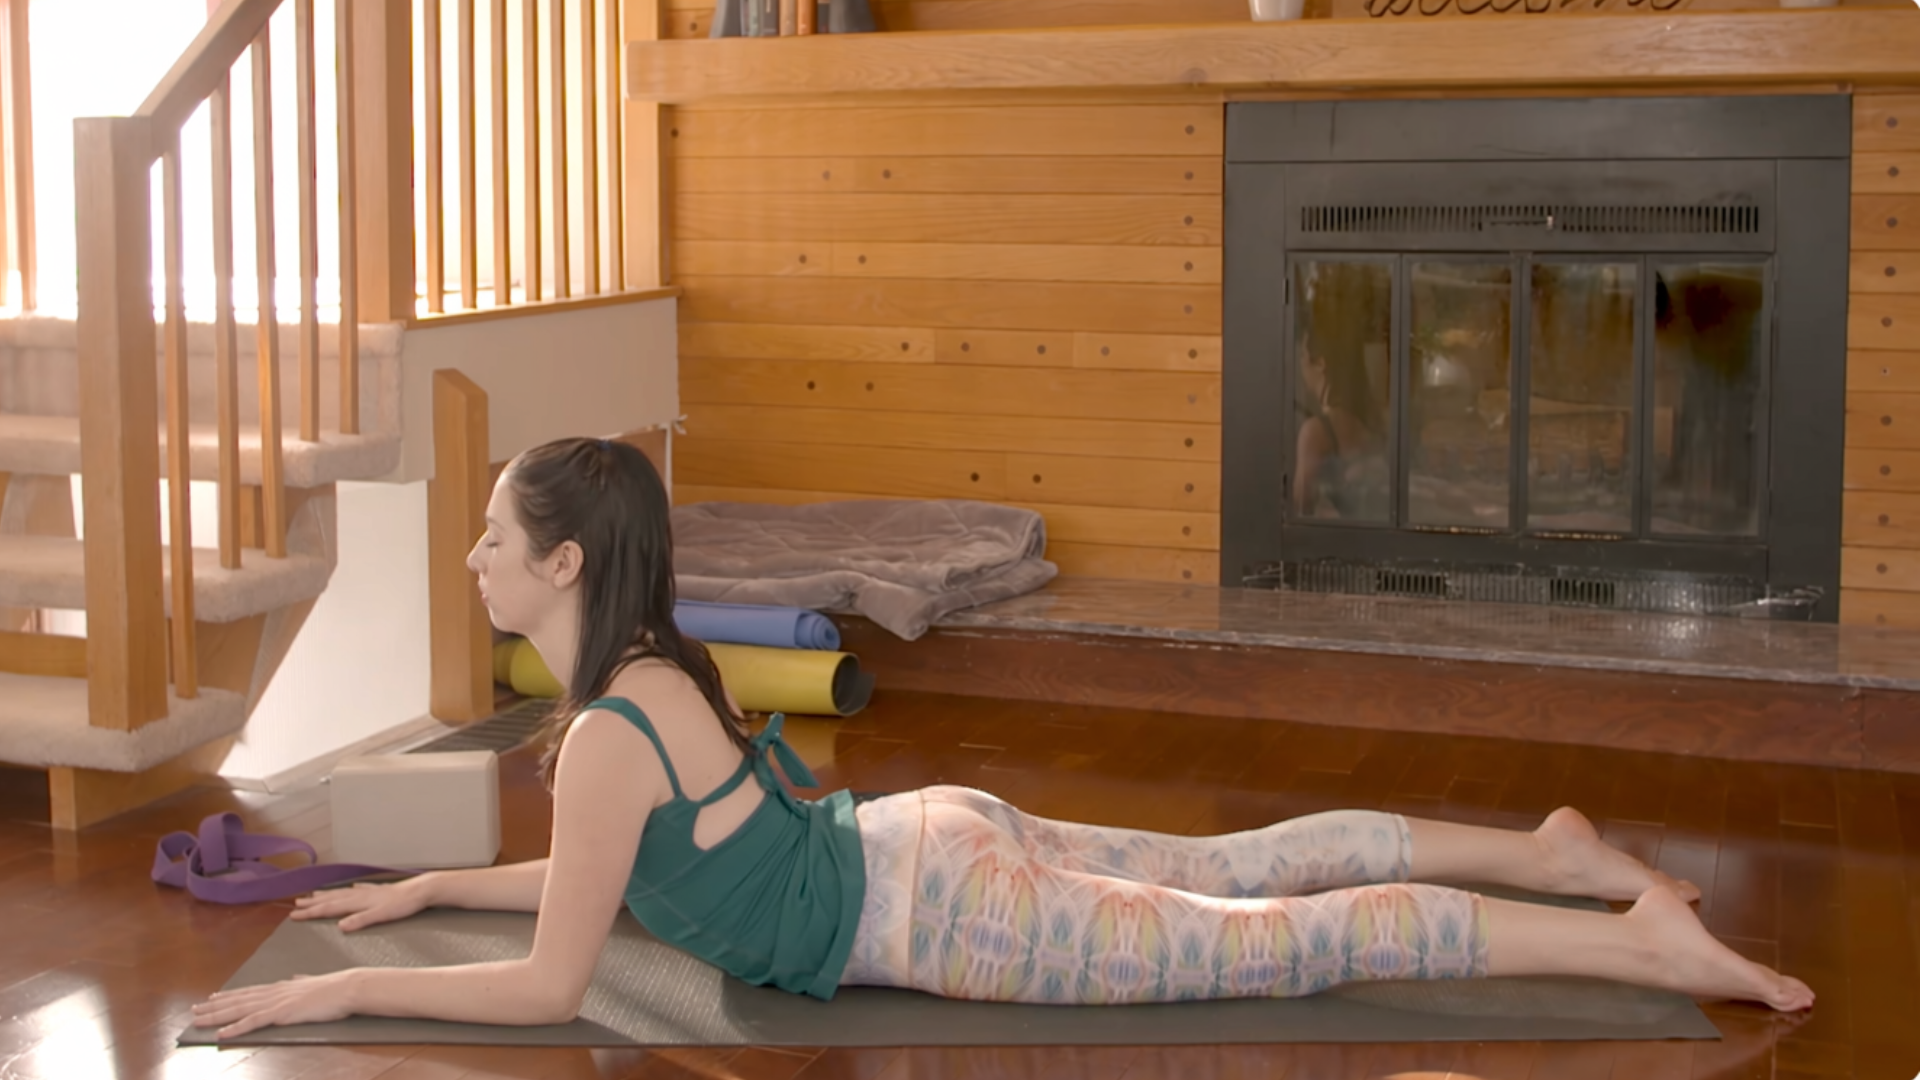
Slide forward onto your belly with your legs straight behind you. Try to keep your feet about hip-distance apart. Then bring your forearms in front of you with your elbows a little in front of your shoulders and your palms about shoulder-distance apart in Sphinx Pose.
You get to control how intense you make this backbend. The farther forward you bring your forearms, the easier the stretch across the front of your back and the less compression in your lower back. Alternatively, you can make the stretch a little more intense by bringing your elbows directly underneath your shoulders.
Now press your shoulders back a little, so you’re lightly squeezing your shoulder blades behind you. Keep your chin parallel to the floor and think about gently reaching your chest forward. If there’s pinching or compression or any kind of pain in your lower back, you know you’ve gone a little too far in the pose and you want to bring your arms a little more forward to lessen the backbend.
Feel your rib cage expand front to back and side to side with the rhythm of your breath. Stay here for about 2 minutes.
Very slowly release out of the pose and lower your chest back down to the mat.
Baby Dragon or Low Lunge
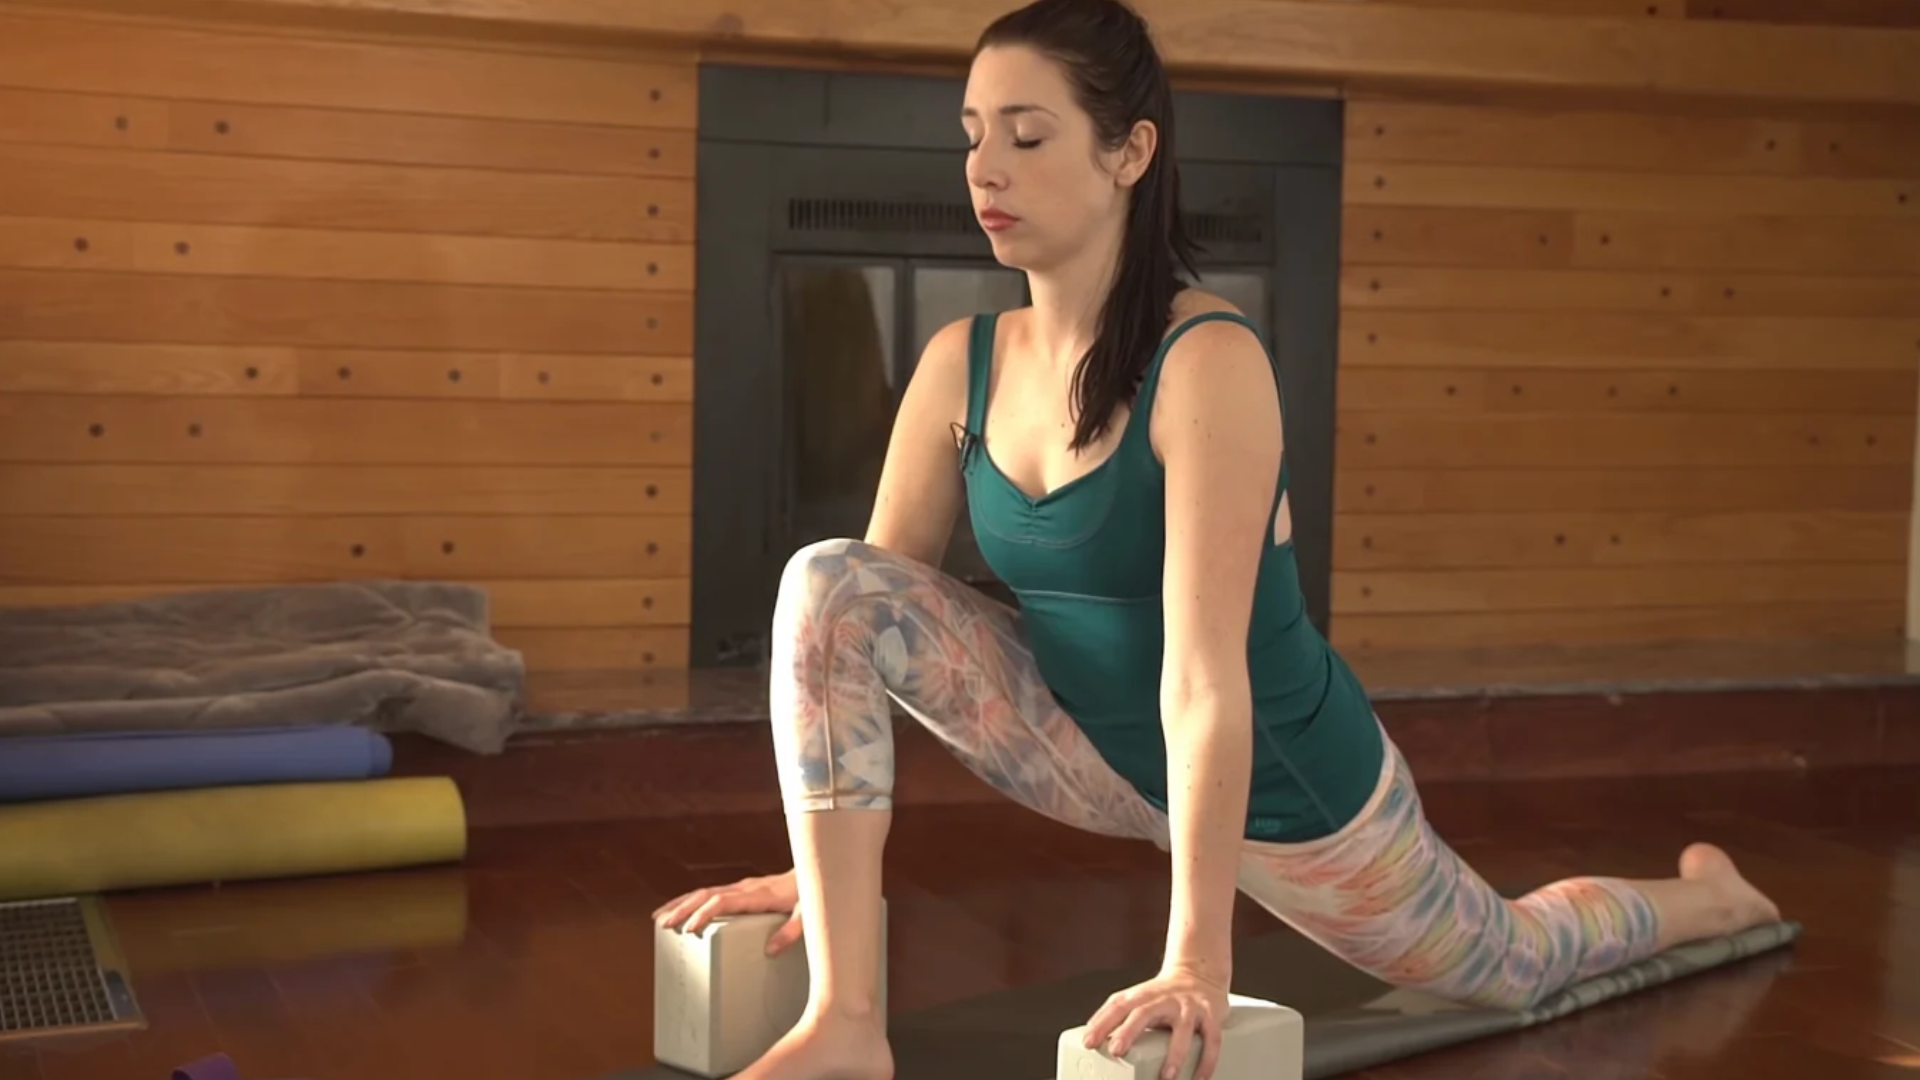
Come to your hands and knees and you might want to keep your blocks within reach for this one. Step your right foot forward in between your palms in Low Lunge. I like to fold the left edge of the mat onto itself underneath my left knee to pad it since we’ll be here for a little while. You can also slide a folded blanket or pillow underneath your back knee.
Try to keep your right ankle underneath your right knee as you keep your hands on the mat or bring blocks underneath your palms. Then let your hips sink forward and down. Release the shoulders away from your ears and let gravity do the work for you here in this hip-opening stretch.
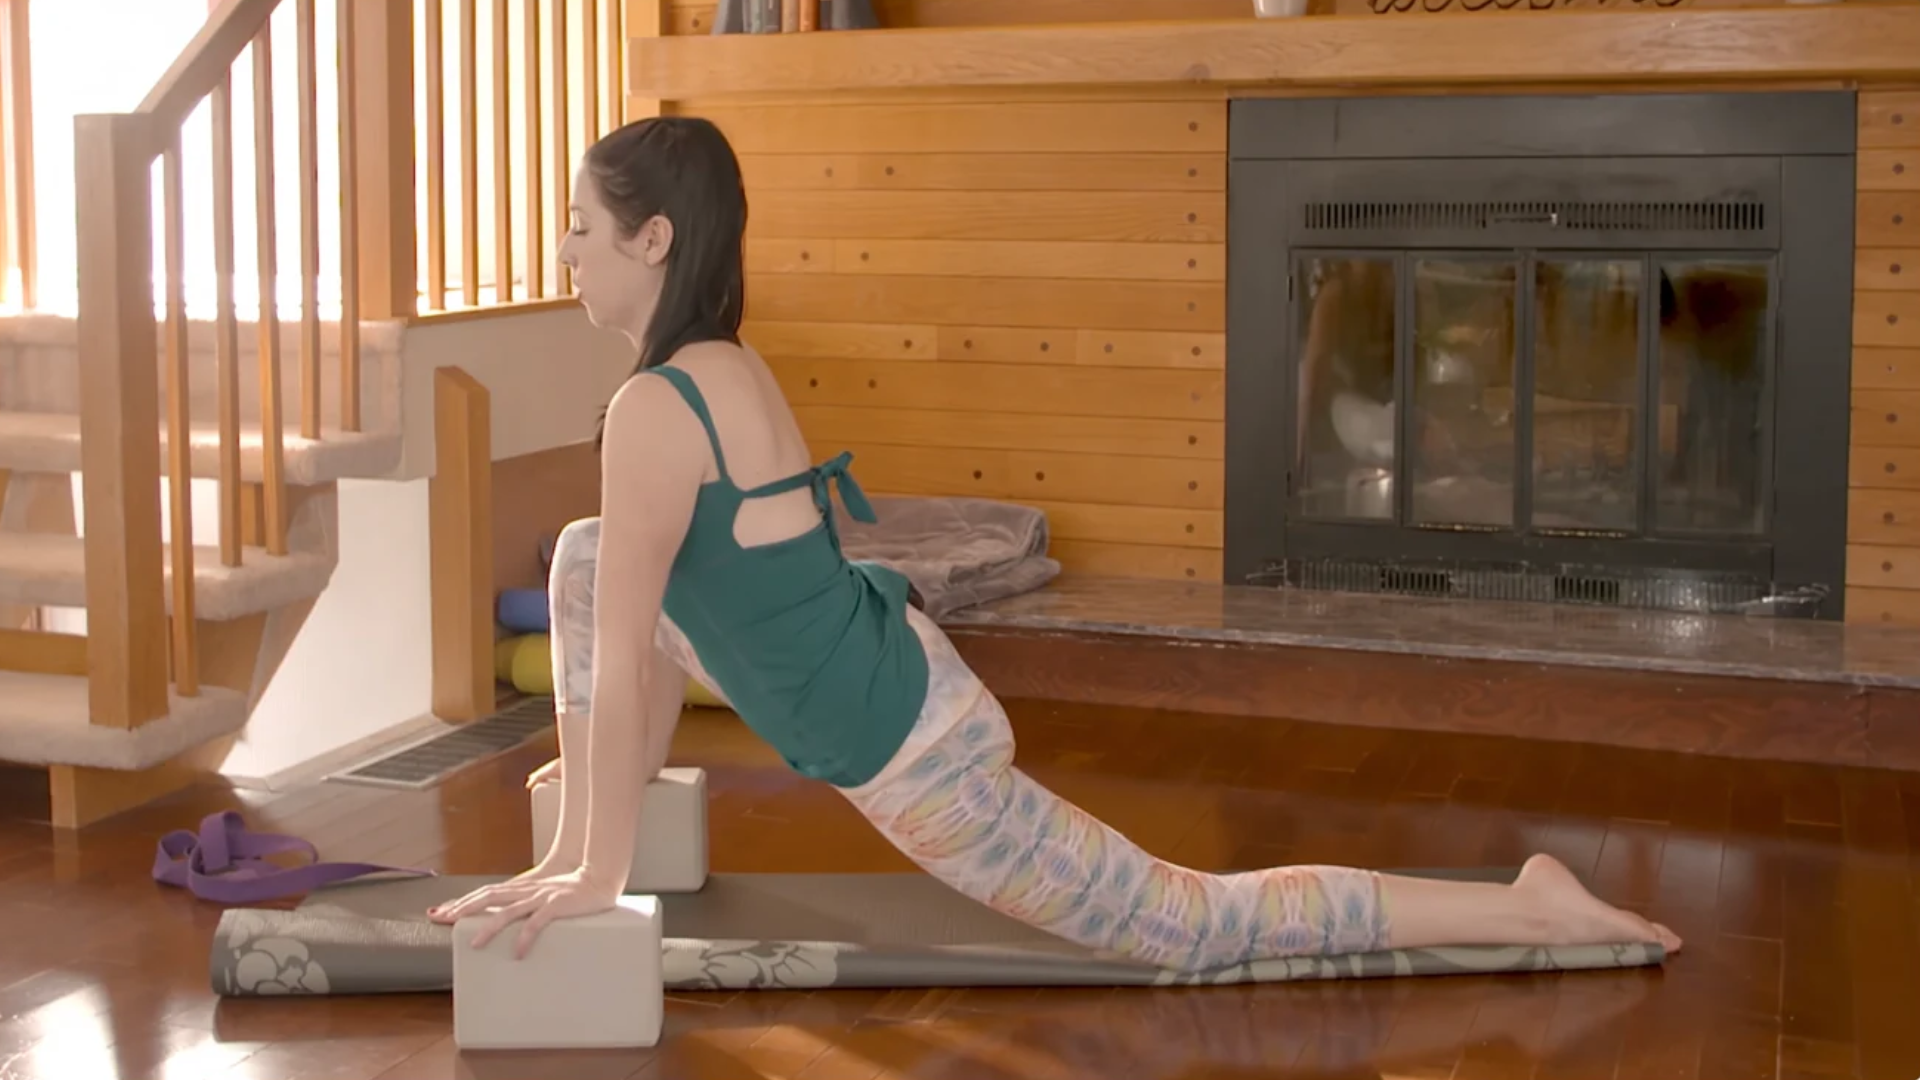
If you need to take any breaks, you’re welcome to straighten your front leg and release it. Otherwise, try to let yourself ease into the pose.
When you’re ready to come out of the pose, start to push down into your right heel to slowly lift yourself and bring yourself back to hands and knees. Before we repeat the same pose on the other side, it might feel good to do a few hip circles or take another brief Child’s Pose. Just notice the difference in how you feel from one side to the other.
This time, step your left foot forward in between your hands at the top of the mat and keep your hands to either side of that front foot while keeping your chest lifted. Try not to collapse your weight into your wrists. Keep pressing into the fingertips and knuckles.
When you’re ready to come out, come to a seat on the mat.
Caterpillar
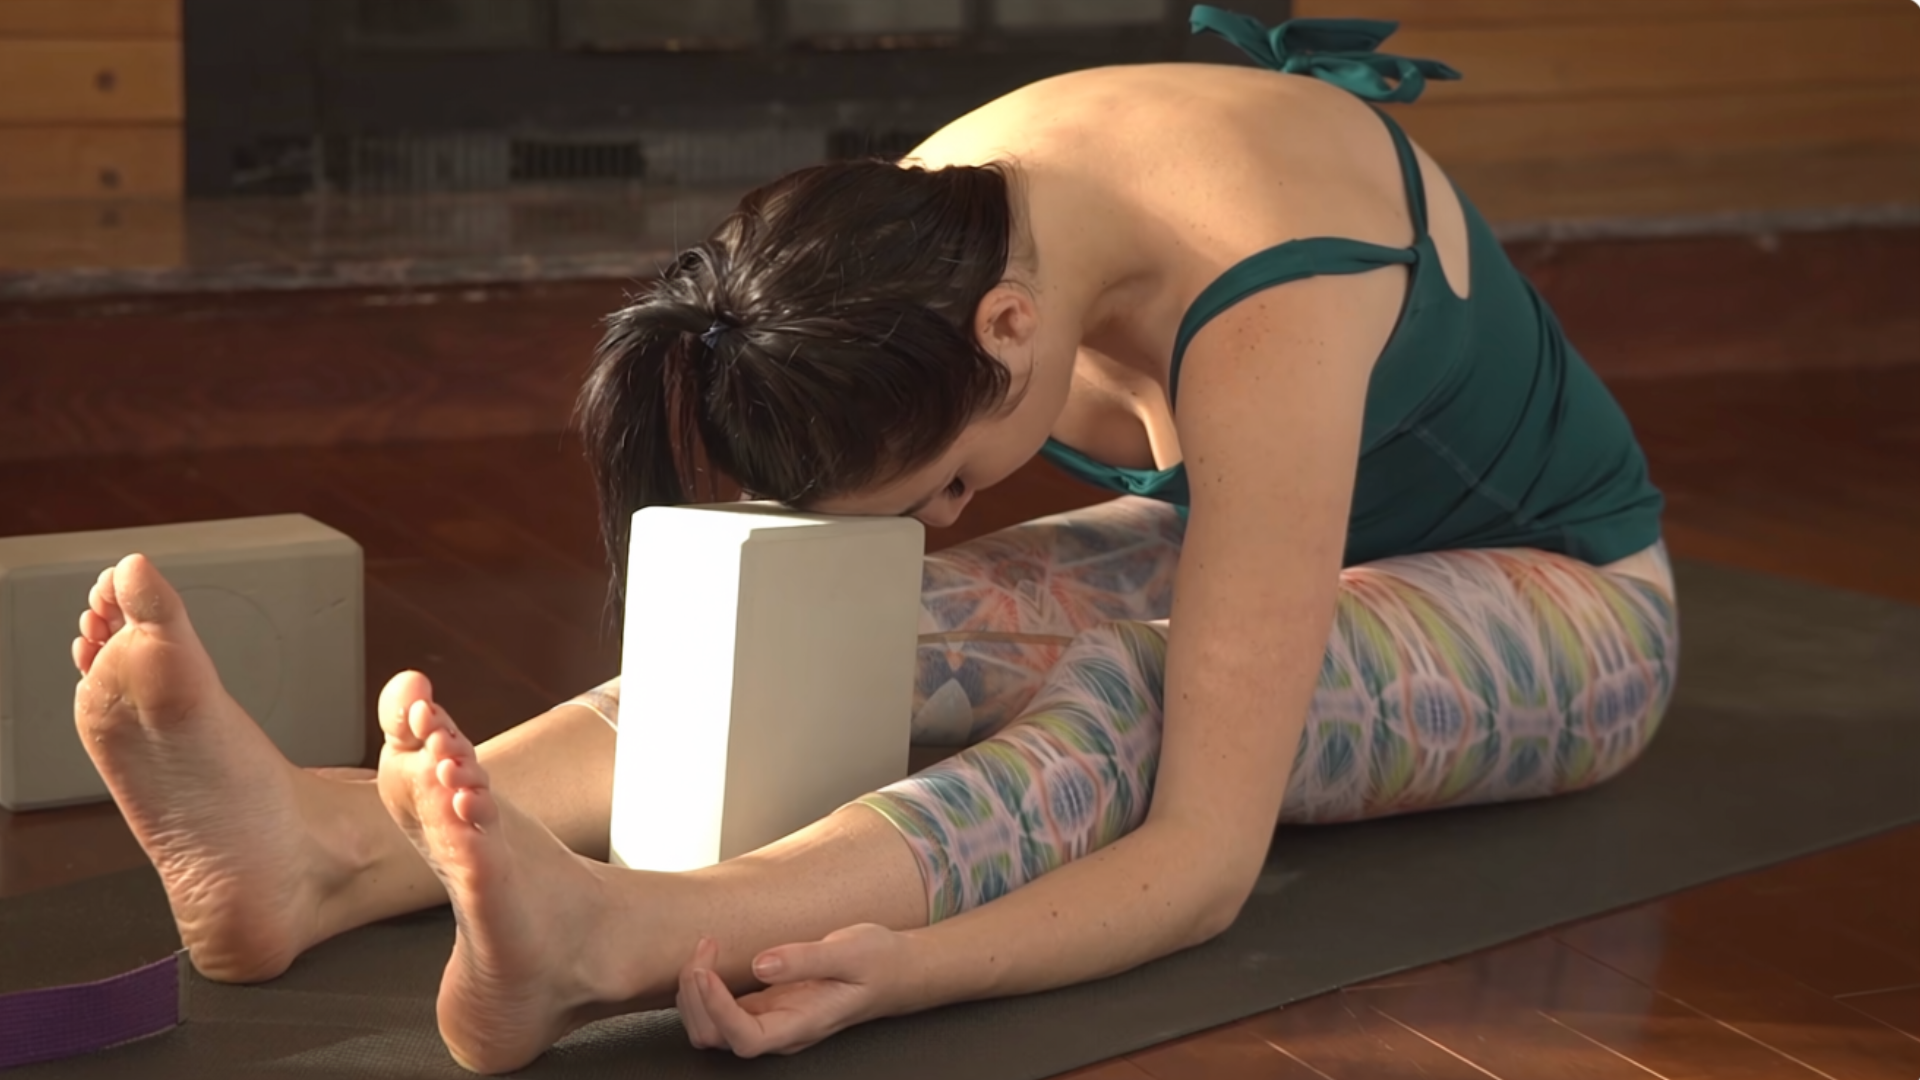
This is basically a seated forward fold. You’ll probably want to have your blocks handy for this one. Just extend your legs straight in front of you. You want your feet to be about hip-distance apart. Then lean forward in a Seated Forward Bend known as Caterpillar. In yin yoga, when you bend forward, you’re not pushing or pulling or forcing your way into a more intense stretch. In fact, you want to just let you back round and the rest of your body relax into the pose with very little effort. I like to turn my palms to face upward so I’m not tempted to push or pull my way deeper into the pose.
Your legs do not need to be perfectly straight. You can absolutely bend your knees if that’s more comfortable for you. Let yourself relax into the pose, including your neck. If your chest is somewhere close to the mat, you might want to prop yourself up with a block either under your chest or forehead. If your chest is a little more upright, you can use both blocks stacked beneath you so you have some support.
You might feel the stretch along the entire back of the body, from the head down the spine and all the way into the back of the legs to the heels. The longer you stay in this pose, the more you might notice that your body might slip a little deeper into the stretch. The pose tends to change quite a little the longer we hold it. Simply stay here and see what happens.
When you’re ready to lift yourself out of the pose, go extra slowly since forward folds can be quite intense for the low back. Start by flipping your palms, pushing your hands into the mat, and using arm strength to lift yourself, inch by inch. You’re really not rushing this. Keep breathing evenly as you transition out of the poses.
Seated Twist
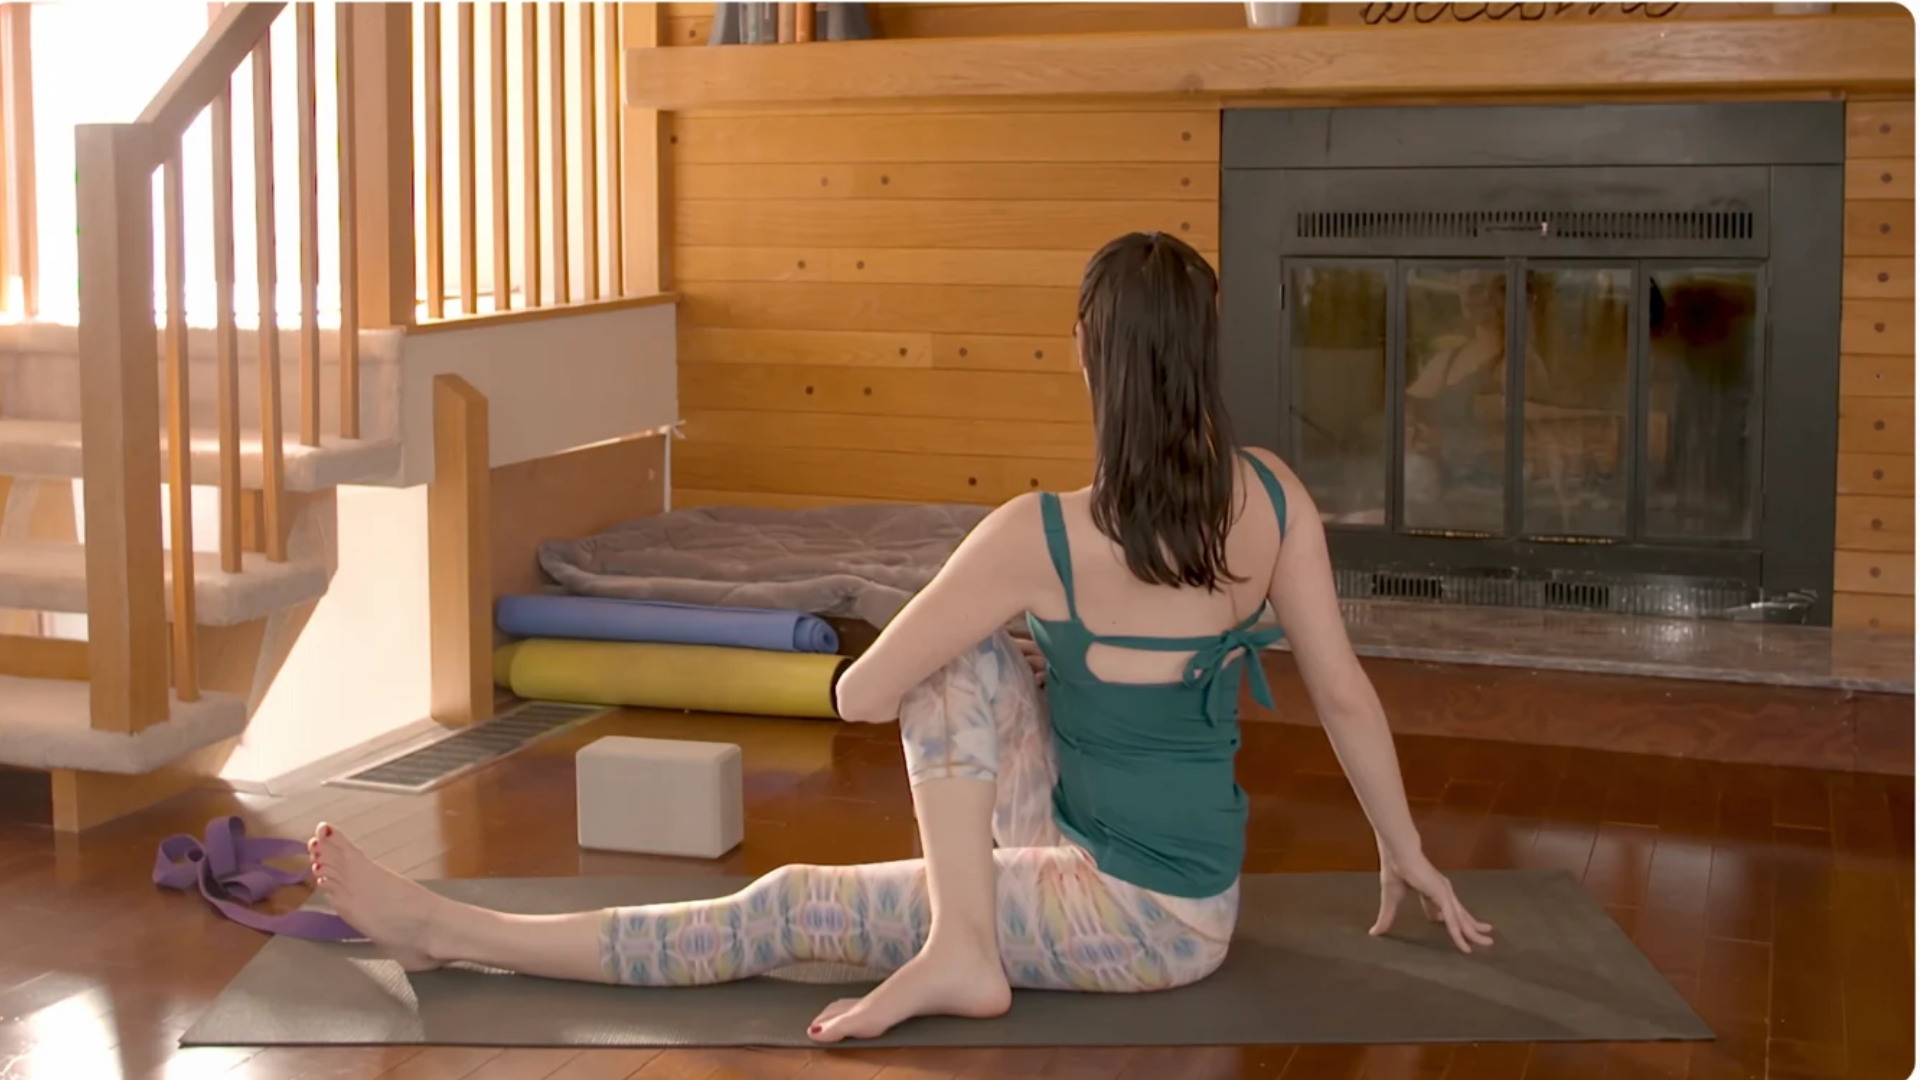
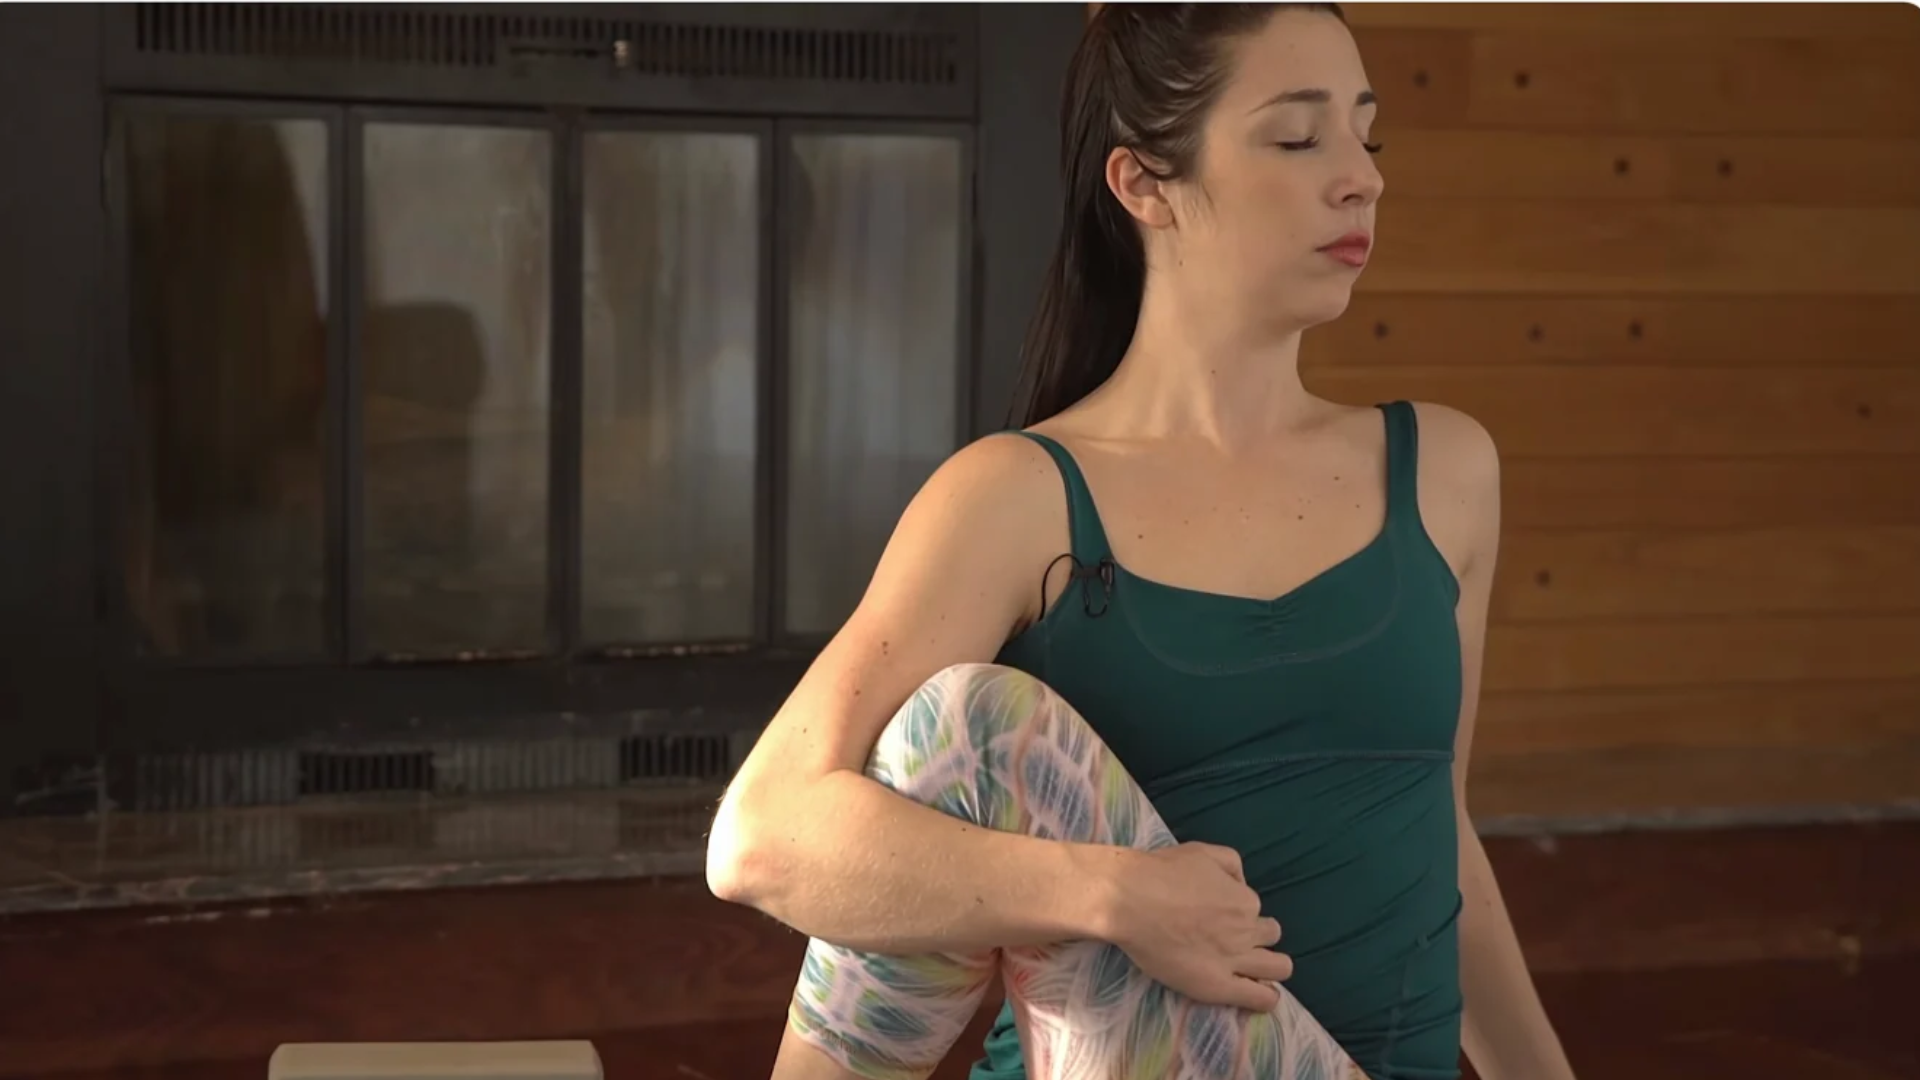
Keep your left leg straight in front of you and bend your right knee. Bring your right foot across your body and rest it on the mat to the outside of your left thigh. Grab your right knee with your left hand and start to turn your chest toward the right, bringing your right fingertips behind your right hip, and continue to twist toward the right as you squeeze your right thigh toward your belly.
Try to eliminate any rounding in your spine. Think instead of grounding into the mat and, at the same time, reaching the crown of the head toward the ceiling while releasing your shoulders down and away from your ears. So you want to be lengthening through the spine a little more each time you inhale. Maybe you close your eyes, paying attention to your breath in and out through your nose.
When you’re ready to release, slowly unwind and face forward. Then switch sides, extending your right leg straight in front of you, bending your left knee and crossing your left foot over your right thigh. And then twist and rotate the spine from there, hugging the belly toward the spine.
When you’re ready, unwrap and face forward again.
Reclined Hamstring Stretch
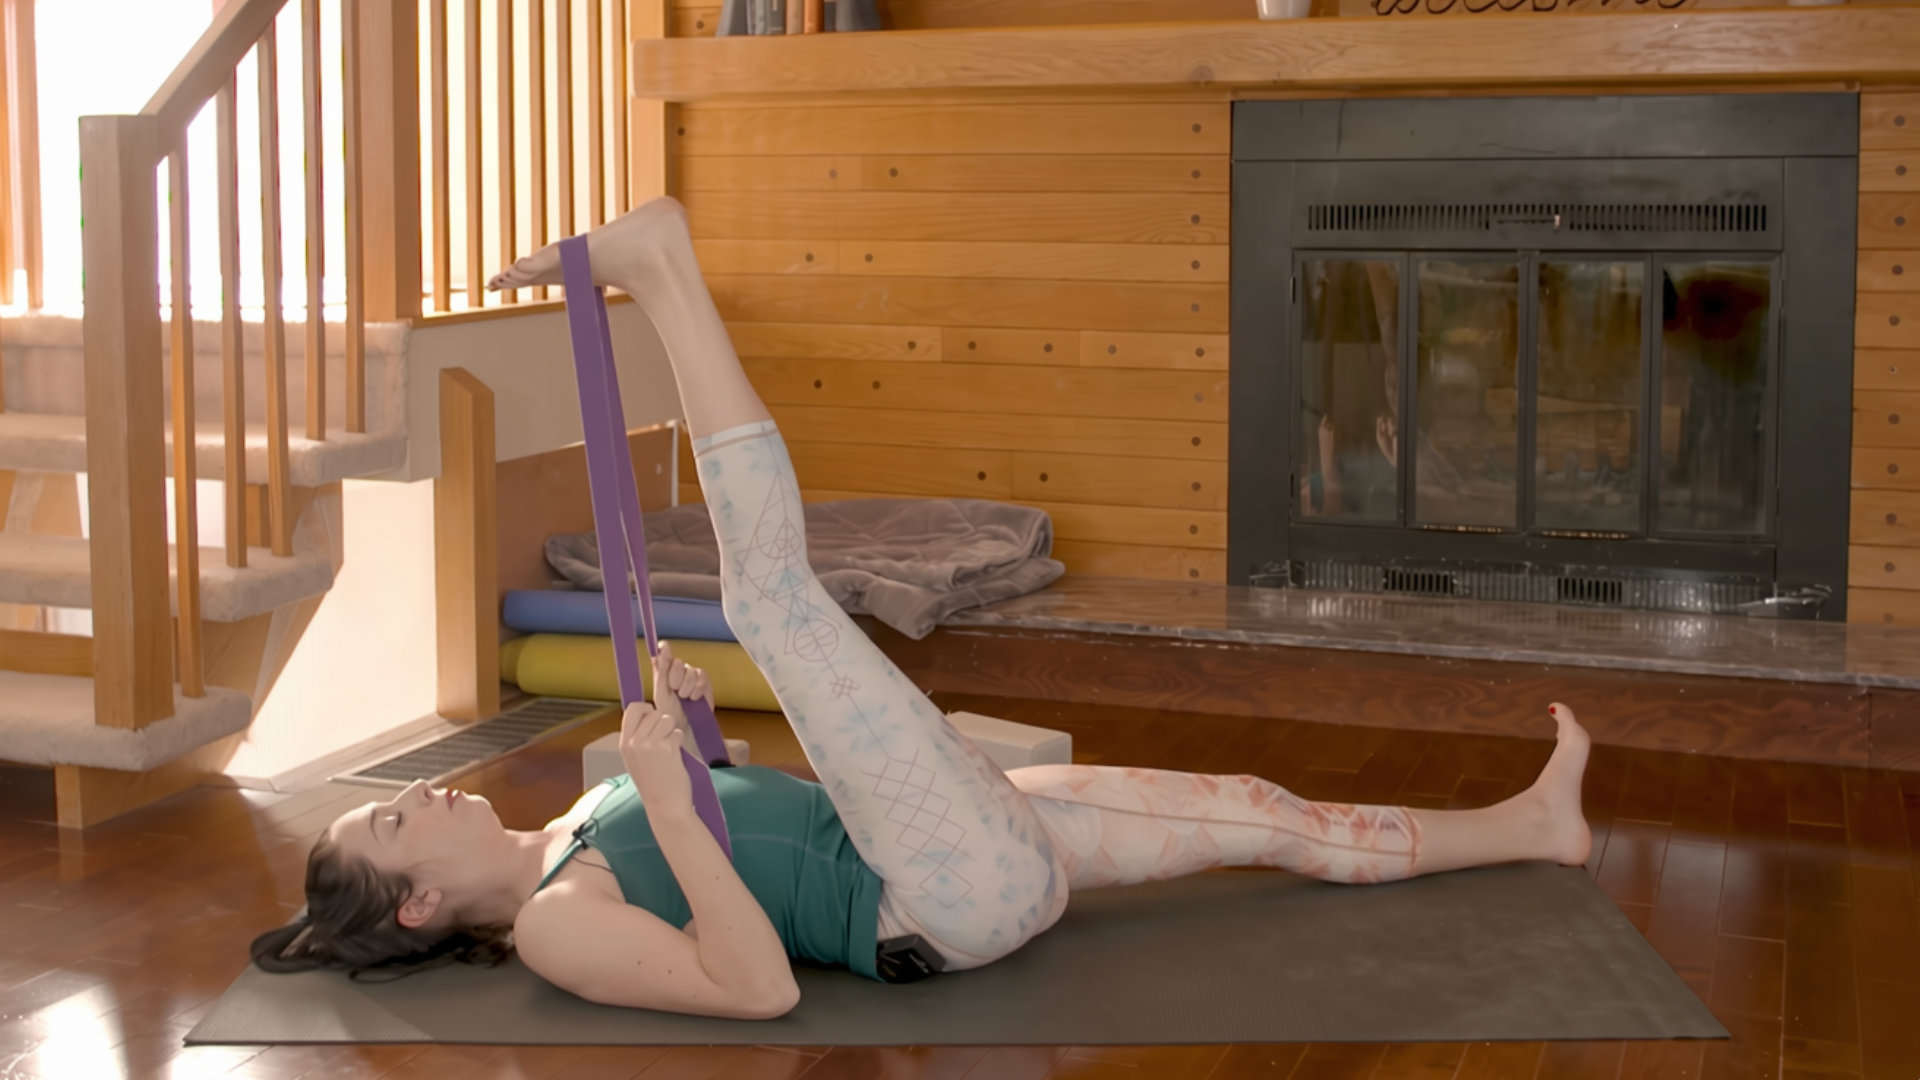
Grab your strap and lower all the way down onto your back. Bend your knees and bring your feet flat on the mat about hip-distance apart. Bring your right knee toward your chest and drape the strap around the ball of your right foot. Then extend your right leg straight toward the ceiling.
My favorite way to do this reclined hamstring stretch is instead of actively reaching my arms to hold the strap, I let my upper arms relax against the mat. Then I don’t need to use quite as much arm strength.
Let your right leg be soft and relaxed, using just a little arm strength to guide the leg toward your chest. Just like in your seated forward fold, you can absolutely bend your right knee. If you’d like to make this stretch a little more sensational, slide your left leg straight on the mat. Sometimes the lifted leg will shake a little, and that’s usually just a sign that you’re taking the pose a little too far.
To come out of the pose, bend your right knee and remove the strap. Then switch sides. Wrap the strap around your left foot, extend your left leg straight up, and find your stretch.
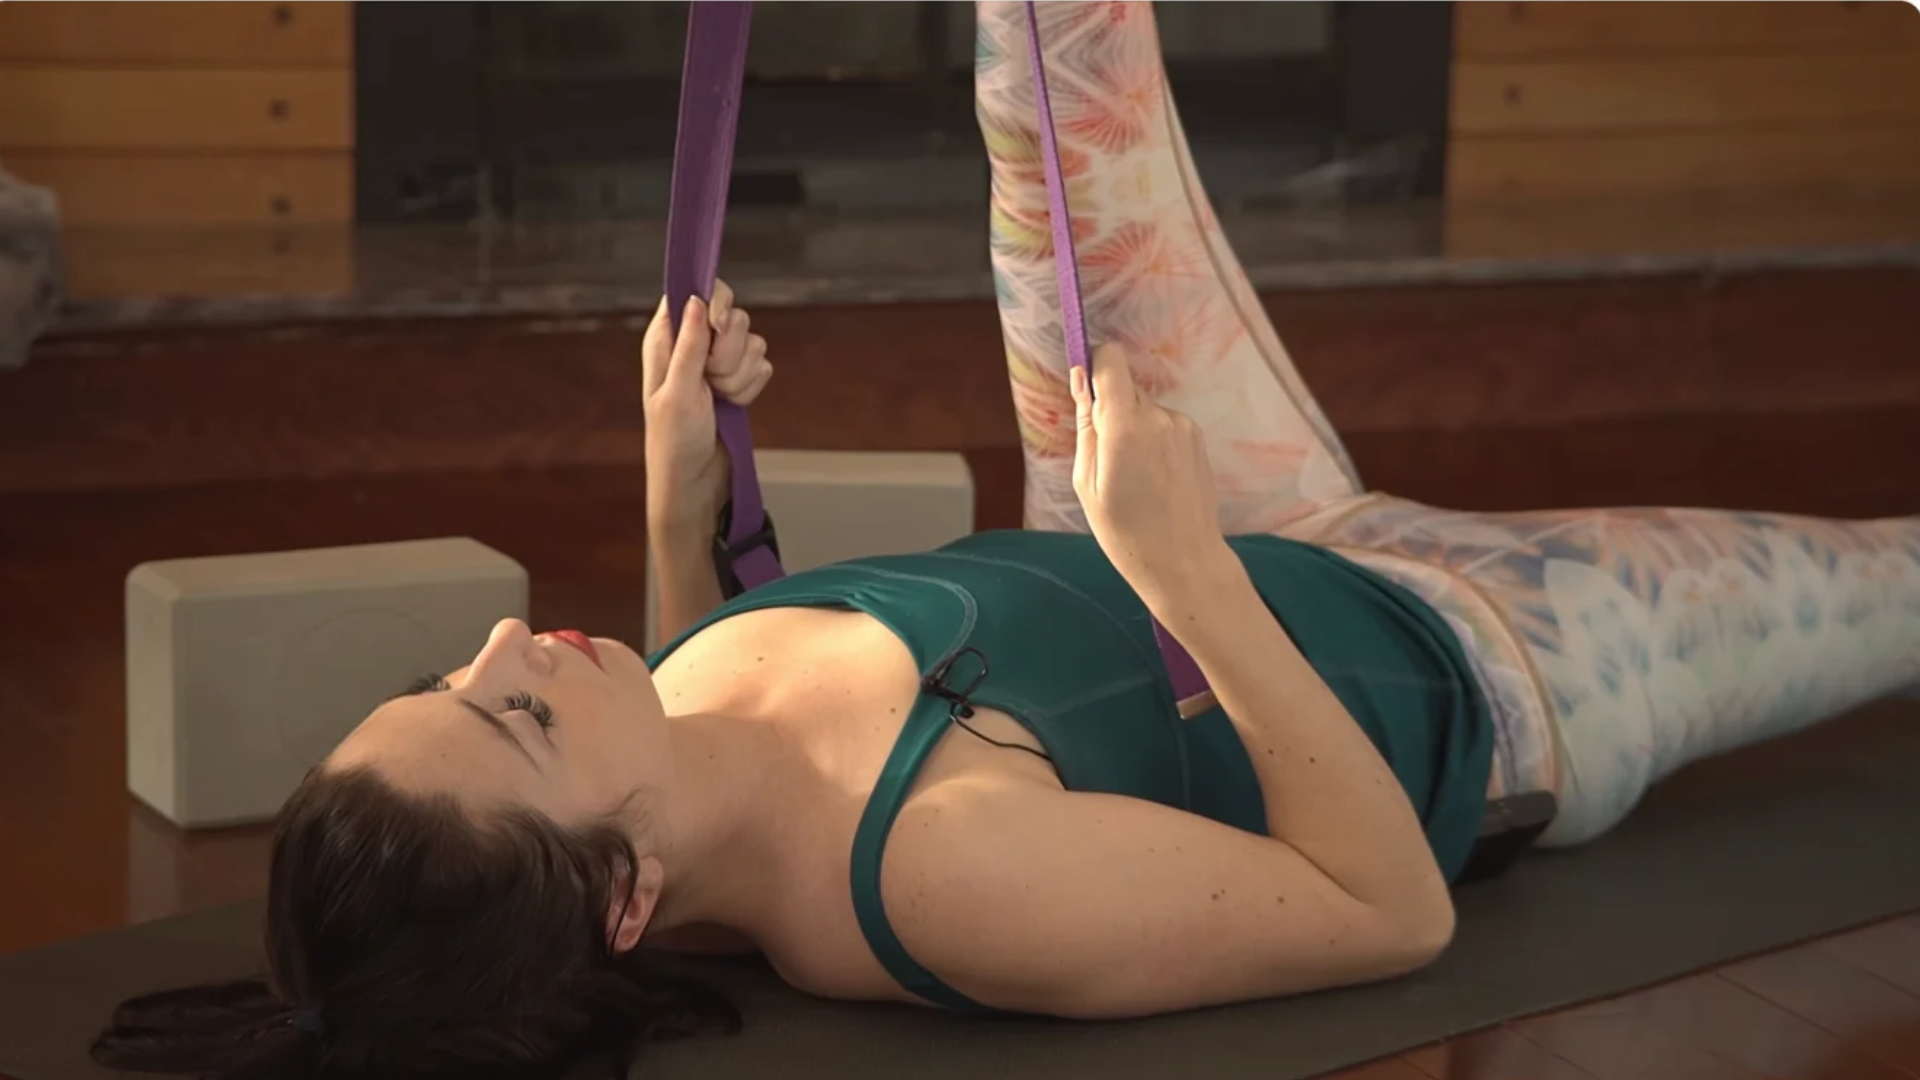
When you’re ready, slowly release the strap and remain lying on your back.
Banana Pose
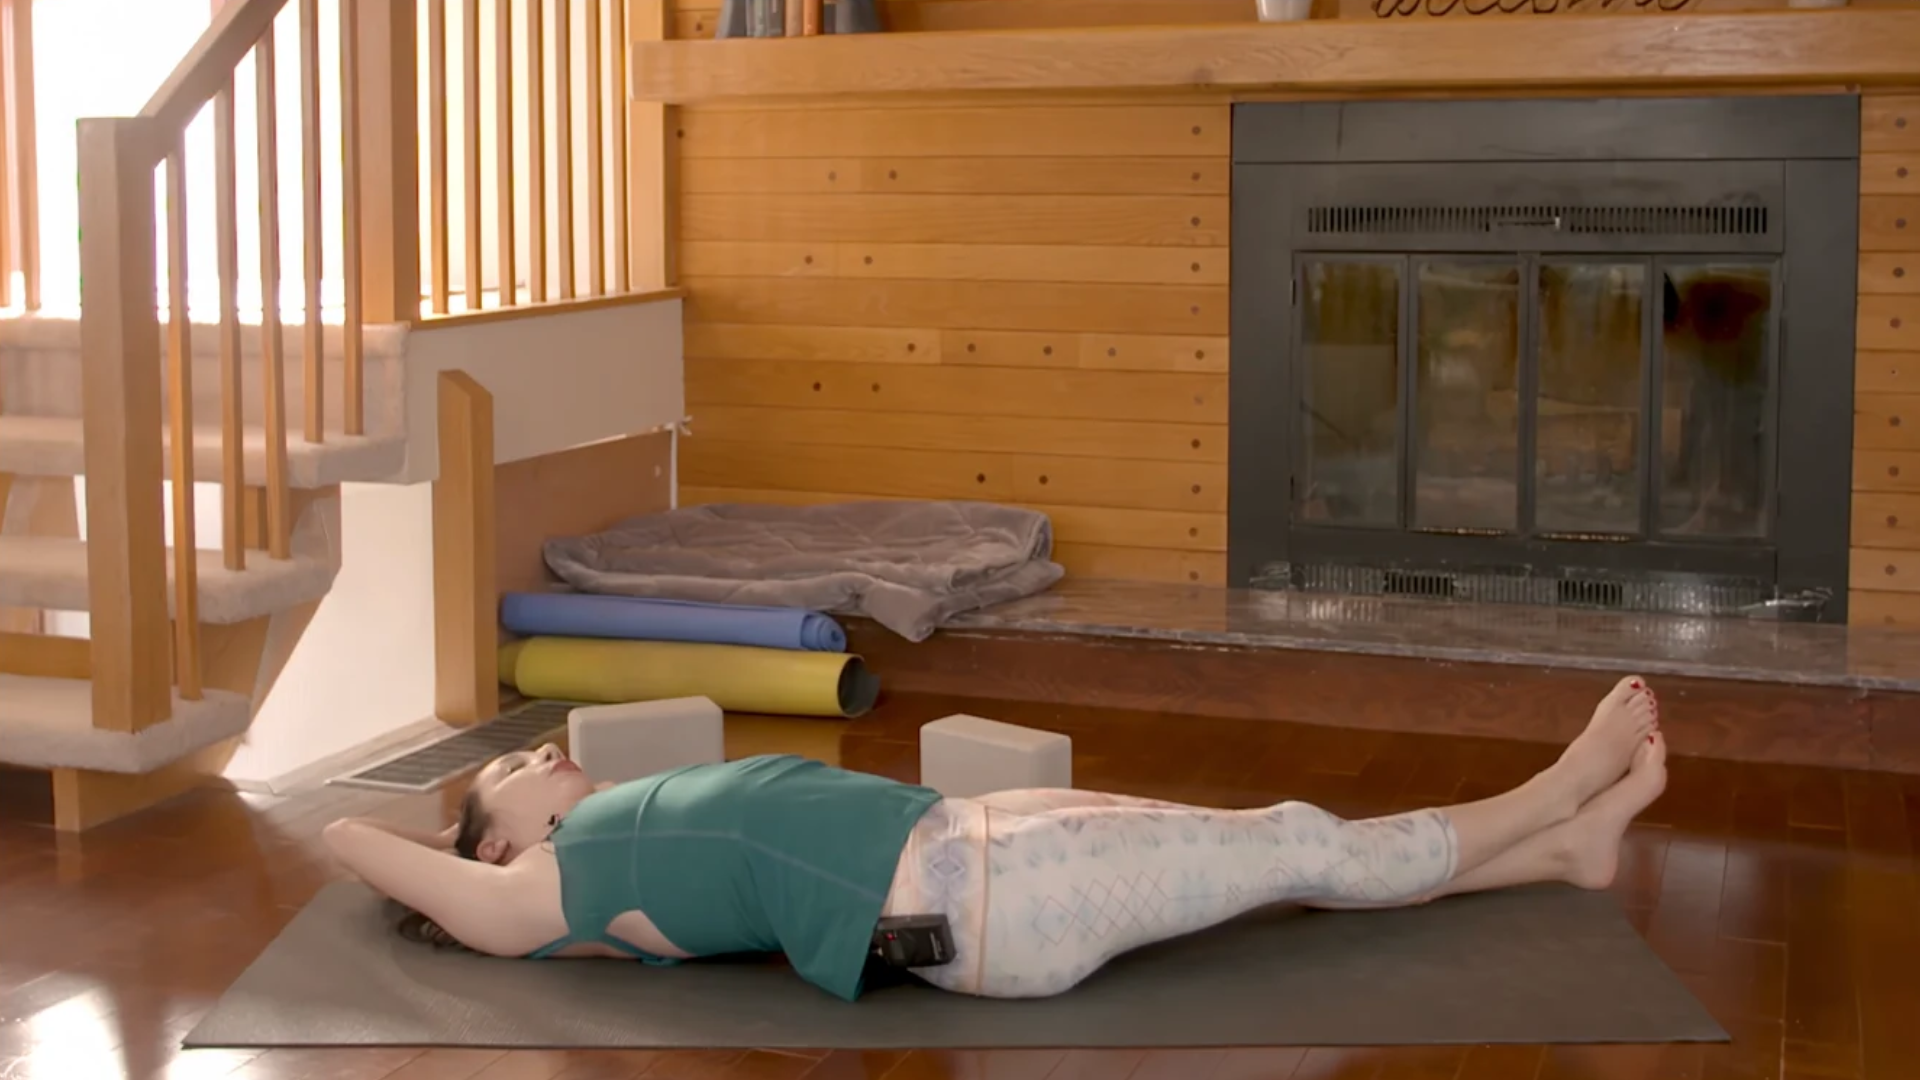
So our next pose is one of my all-time favorite yin yoga poses. It’s called Banana Pose for reasons you’ll understand shortly. It’s a great way to open the sides of your body.
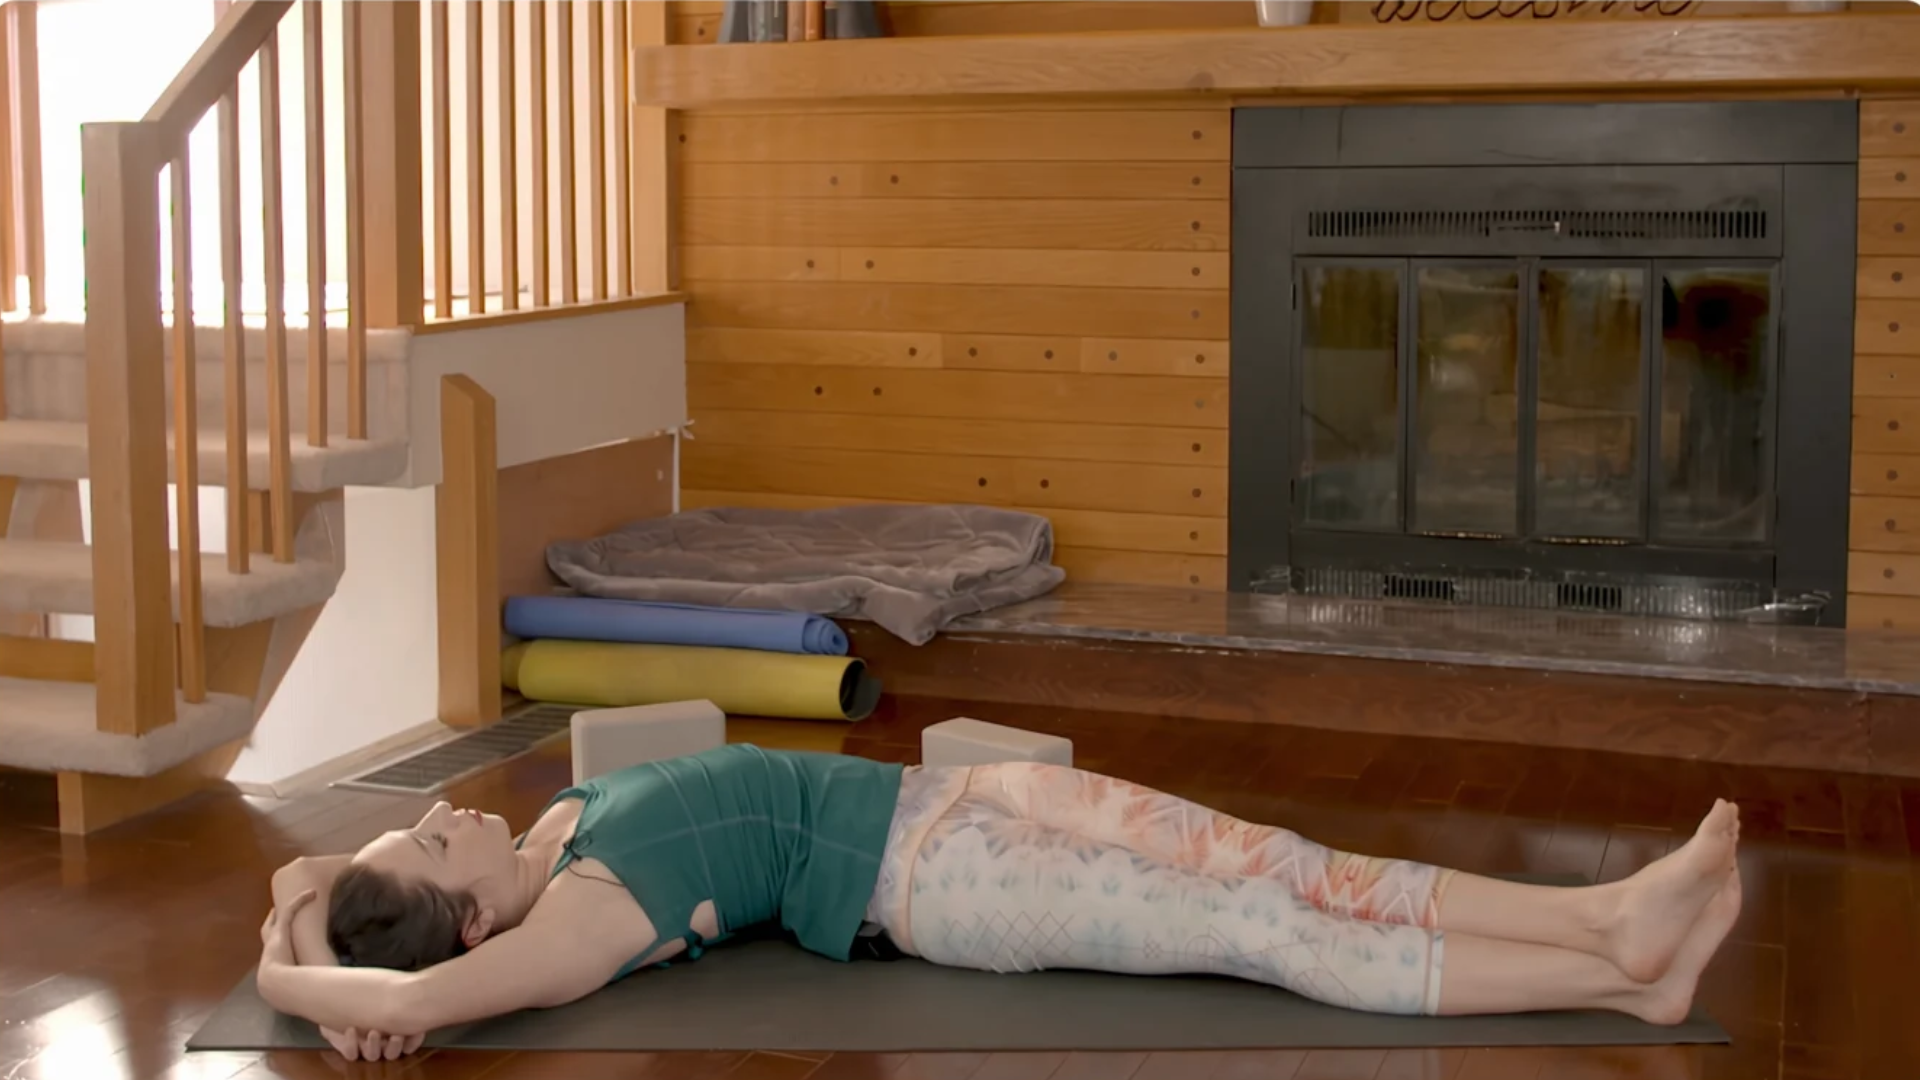
Stay on your back and shimmy your hips as far over toward the right of the mat as you can. Then bring your shoulders and your chest a little more toward the left. Extend your legs straight, and then inch your ankles toward the left in a banana shape.
You can reach your arms overhead and rest them wherever is comfortable or bend your elbows and hold onto opposite forearms. Try to keep your right hip grounded to the floor as much as possible.
If you want a slightly more intense stretch, cross your right ankle over your left ankle. You will probably feel a nice opening along the waist, hip, and along the IT band along your outer thigh. Sometimes it takes a little readjusting until you can find the sweet spot where it’s not too intense and not too hard to hold. You want it to be comfortable enough that you could stay here for a few minutes without having to readjust.
Try to send your breath to the right side of your body, filling up the space you’re creating, and relaxing into the pose a little more with every exhalation.
If you had your ankles crossed, you can let that go. Then we’re going to ease into the stretch on the other side, shifting your hips over to the left side of the mat while the upper body moves to the right, and then reaching with your upper body as well.
Slowly come back to center.
Reclined Butterfly Pose
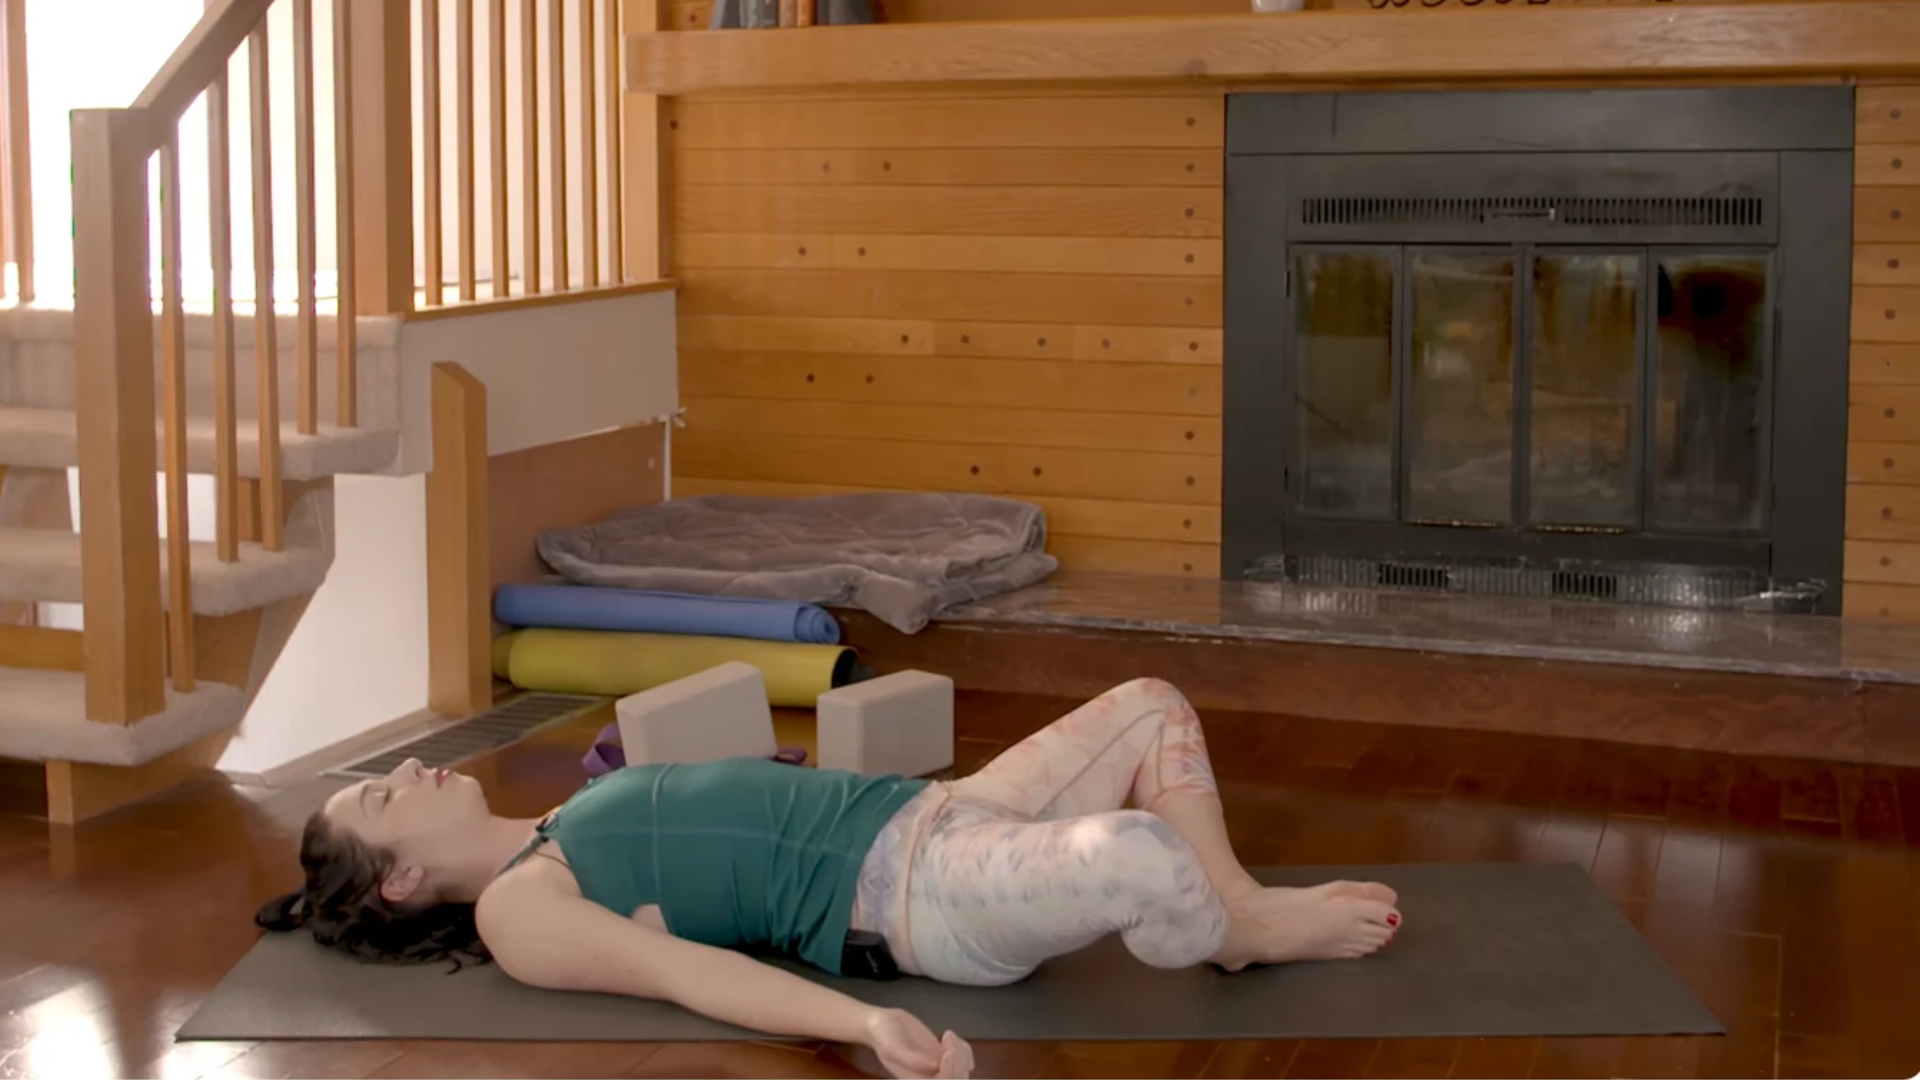
You might want your blocks for this one. Still lying on your back, bring the soles of your feet together to touch. Make sure your shoulders and your hips are in line, and let your knees open wide. If the lower back or the hips feel really tight, you can use your blocks beneath your knees or thighs so there’s a little support here, which will make the pose easier. Otherwise, you can just let your legs fall open and let your arms rest wherever is comfortable. You can even reach your arms alongside your head if you want to stretch the shoulders and upper back. Send your breath all the way down to your low belly and low back.
When you’re ready to come out of the pose, you can use your hands to help your knees come back together or you can settle straight into the next pose.
Savasana
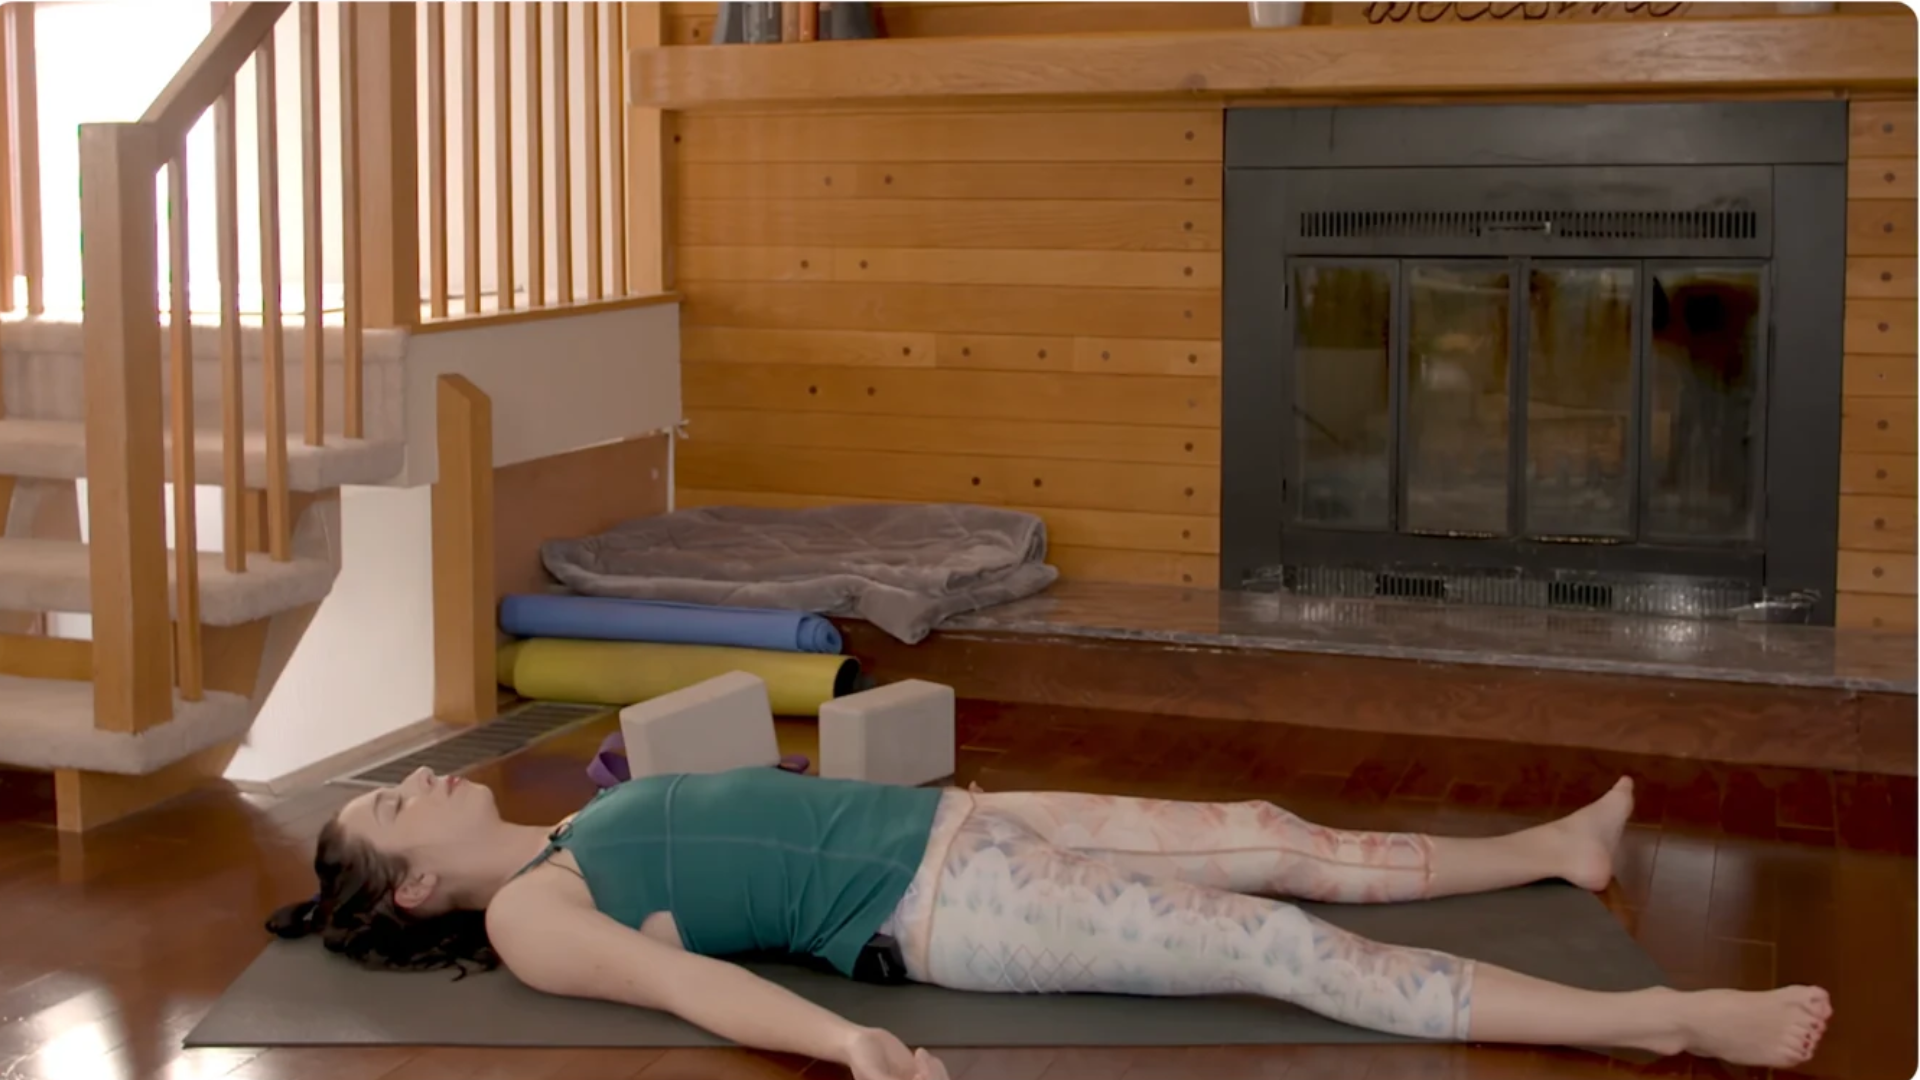
In this last pose, straighten your legs in front of you and slightly out to the sides, and let your body take up space. Rest your arms somewhere comfortable, palms facing upward, and just let yourself release into the shape. Maybe you quietly notice the effects of your practice on your body, your mind, and your breath. Release any tension in your facial muscles and your jaw and simply let yourself be.
When you’re ready, begin to lengthen your breath as you slowly wake back up. Maybe you wiggle your fingers and toes or circle your wrists and ankles. Let your head slowly turn from side to side. Then take a stretch by extending your arms overhead. Eventually, you can slowly sit up nice and tall, closing your eyes. Bring your hands together at the front of the chest and simply notice what feels differently. Thank you for doing this beginner yin yoga for a full-body stretch with me. I hope you enjoyed it. Let me know what you think in a comment below.