
Published October 26, 2026 11:22AM
If you struggle with tight quads and hip flexors, there are several intense yin yoga stretches that can bring you relief. In yin yoga, you’re not trying to use any kind of muscular effort. Instead, you’re trying to release into the shape so that the target muscles are inactive. This transfers the intensity of the stretch to the connective tissues, which require different circumstances than muscles to release. Basically, you want to find the edge of your comfort level, be still, and linger here for about three minutes.
When I say find your edge, that probably means something less intense than you think. It shouldn’t be painful. Just sensational. On a scale of one to 10 intensity-wise, if you feel nothing at one and you feel pain in 10, you want to stay at a four or a five. You want to find a stretch that feels sustainable for a few minutes. During the pose, your body might release and you might find yourself sliding a little more deeply into the pose without having to force or push your way there. Then resolve to be still.
Your breath is super important in these intense stretches. Let it be slow and easy. At the same time, try to relax anything in your body that isn’t currently being stretched.
Anyone is welcome to explore this practice, although these more intense yin yoga stretches are definitely not something you want to practice if you are new to this style of yoga. There are other poses that you can use as an introduction to yin yoga.
One of the hip flexors, found along the front of the hips, is the psoas, which is said to be the muscle of the soul. So as you practice, you might want to consider, what is it that you want to release from this space?
Yin Yoga Stretches for Your Quads & Hip Flexors
Remember, for each yin yoga stretch, you want to remain in it for three to five minutes. I like to keep props within reach to help support the body for these poses. Try to have a blanket and two blocks or a bolster. If you experience a lot of tightness and limited range of motion in the quads and hip flexors, you might want to have a strap or belt as well to help you find the shape.
Centering
I like to start by taking a moment to sit comfortably and get grounded. If you want to try this, let your hands rest on your knees and close your eyes. Taking some slow breaths in and out through the nose, letting go of the day you’ve had or anything else that might be on your mind and distracting you from your practice. See if you can bring your awareness to your quads, hip flexors, and low back. Notice if there’s any tension, discomfort, or tightness.
Half Bow Pose
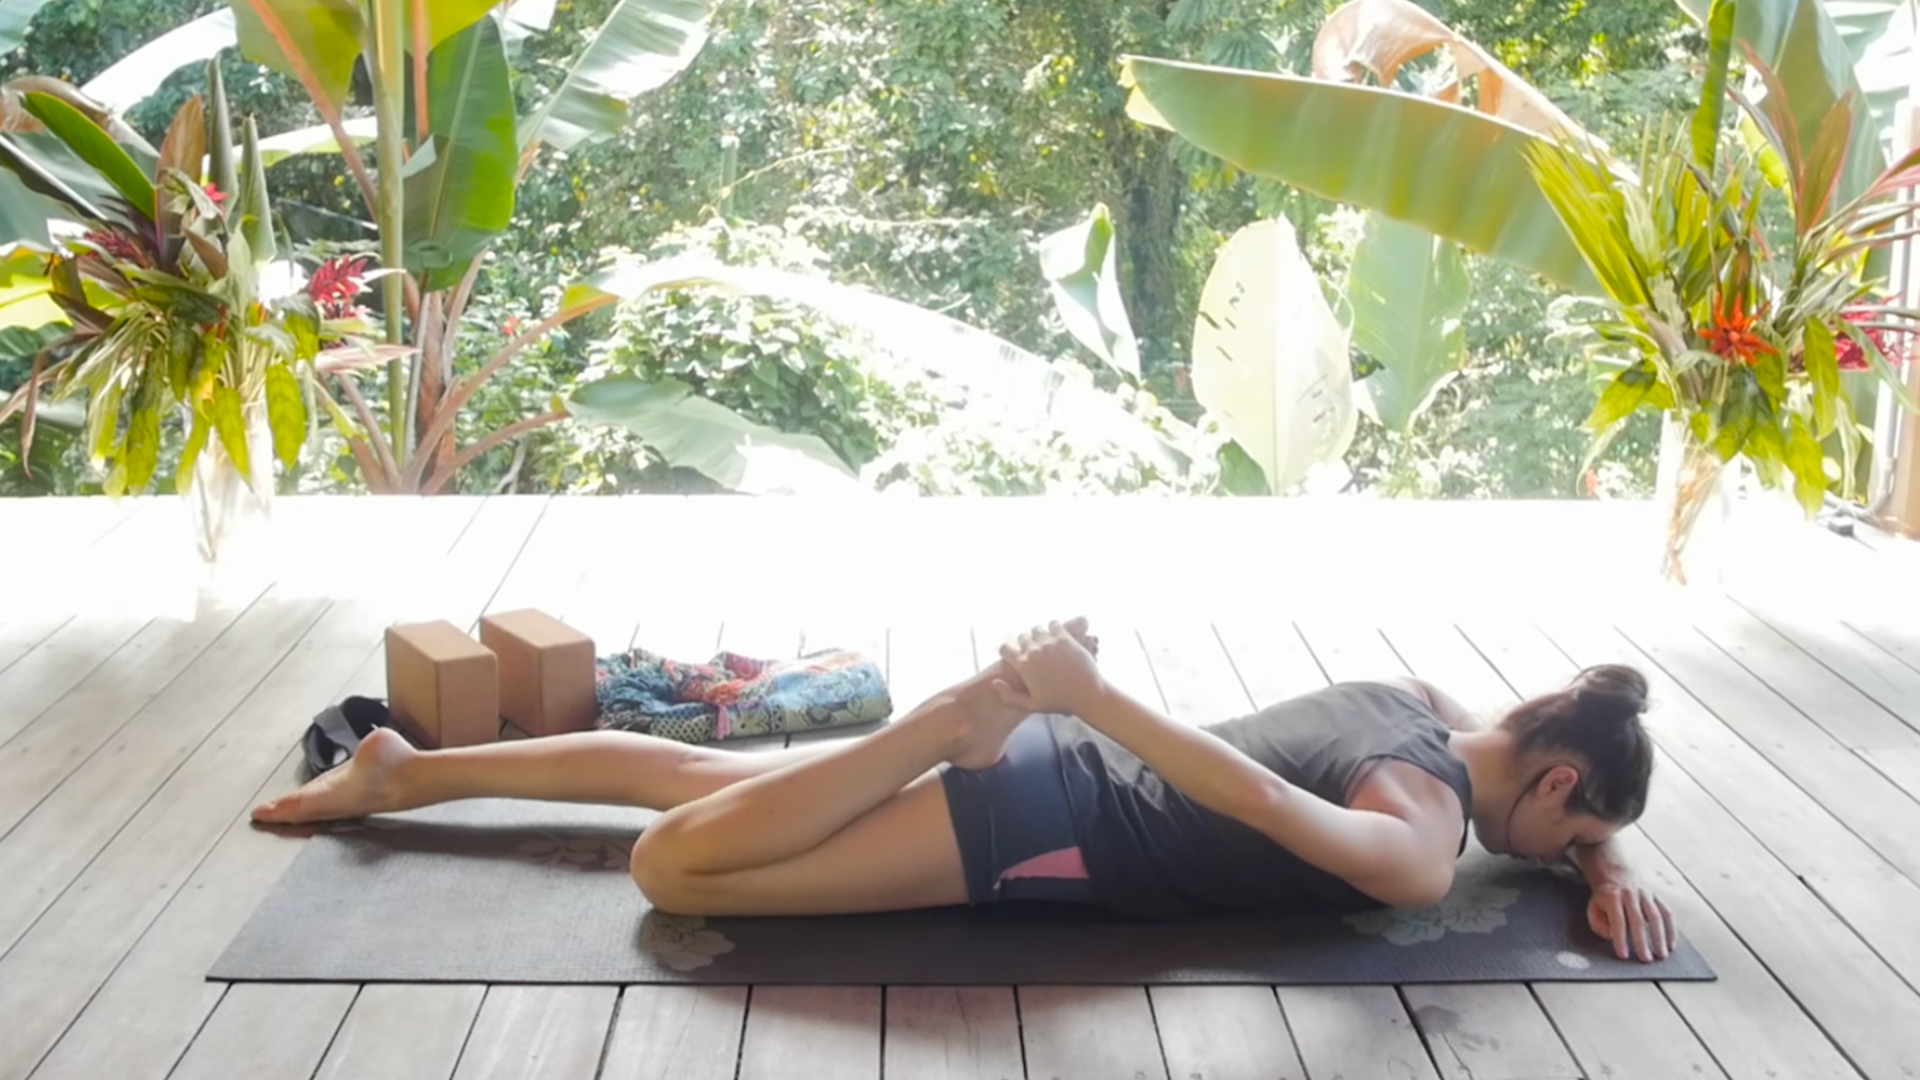
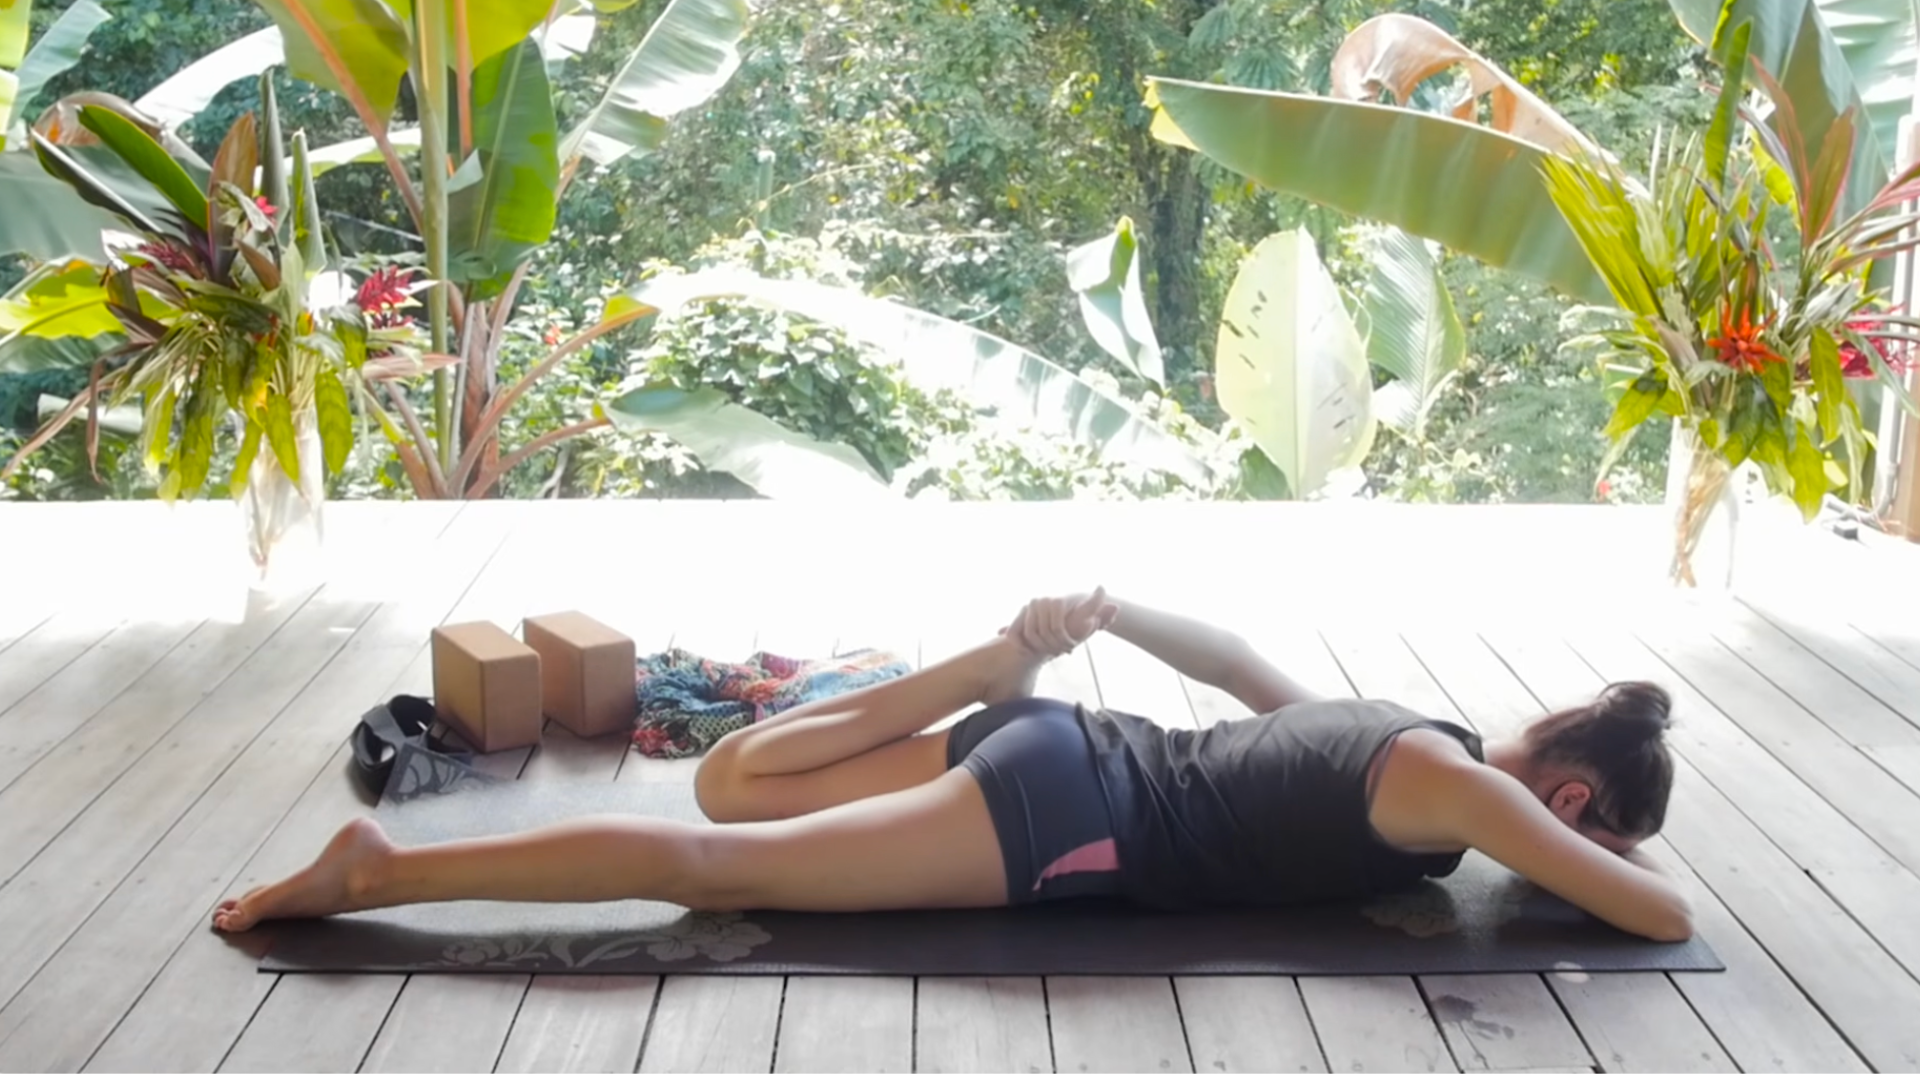
Start lying down on your belly with your feet about hip-distance apart. This is a pose where you might want or need to use a strap. Cross your left forearm on the mat in front of you and prop yourself up. Bend your right knee, catch hold of your right foot, and draw your heel toward the glutes. You want to feel a stretch along the front of your thigh but not pain.
The first thing that tends to happen is the right knee will lean toward the side. Try to keep it in line with your hip and parallel to your other leg. You want the front of your thigh facing the mat.
When you reach back for your foot, if you experience difficulty reaching it, this is when you’ll loop a strap or belt around the front of your ankle and hold the ends in your hand in Half Bow Pose.
Let your forehead rest on your forearm as you draw your foot toward you but without forcing it. Try to lengthen your tailbone toward your knees or press your pubic bone into the mat to shift more of the stretch to the quads. Stay here for at least 3 minutes.
Carefully release your right foot back to the mat, nice and slow. Then make your way to the other side, crossing your right forearm on the mat, bending into your left knee without letting it stray to the side, and reach back with your left hand. Reach your tailbone toward the back of your mat and stay here for a few minutes.
When you’re ready to come out of the pose, slide your hands underneath your chest and press yourself back to hands and knees.
Lizard or Twisted Lizard With a Quad Stretch
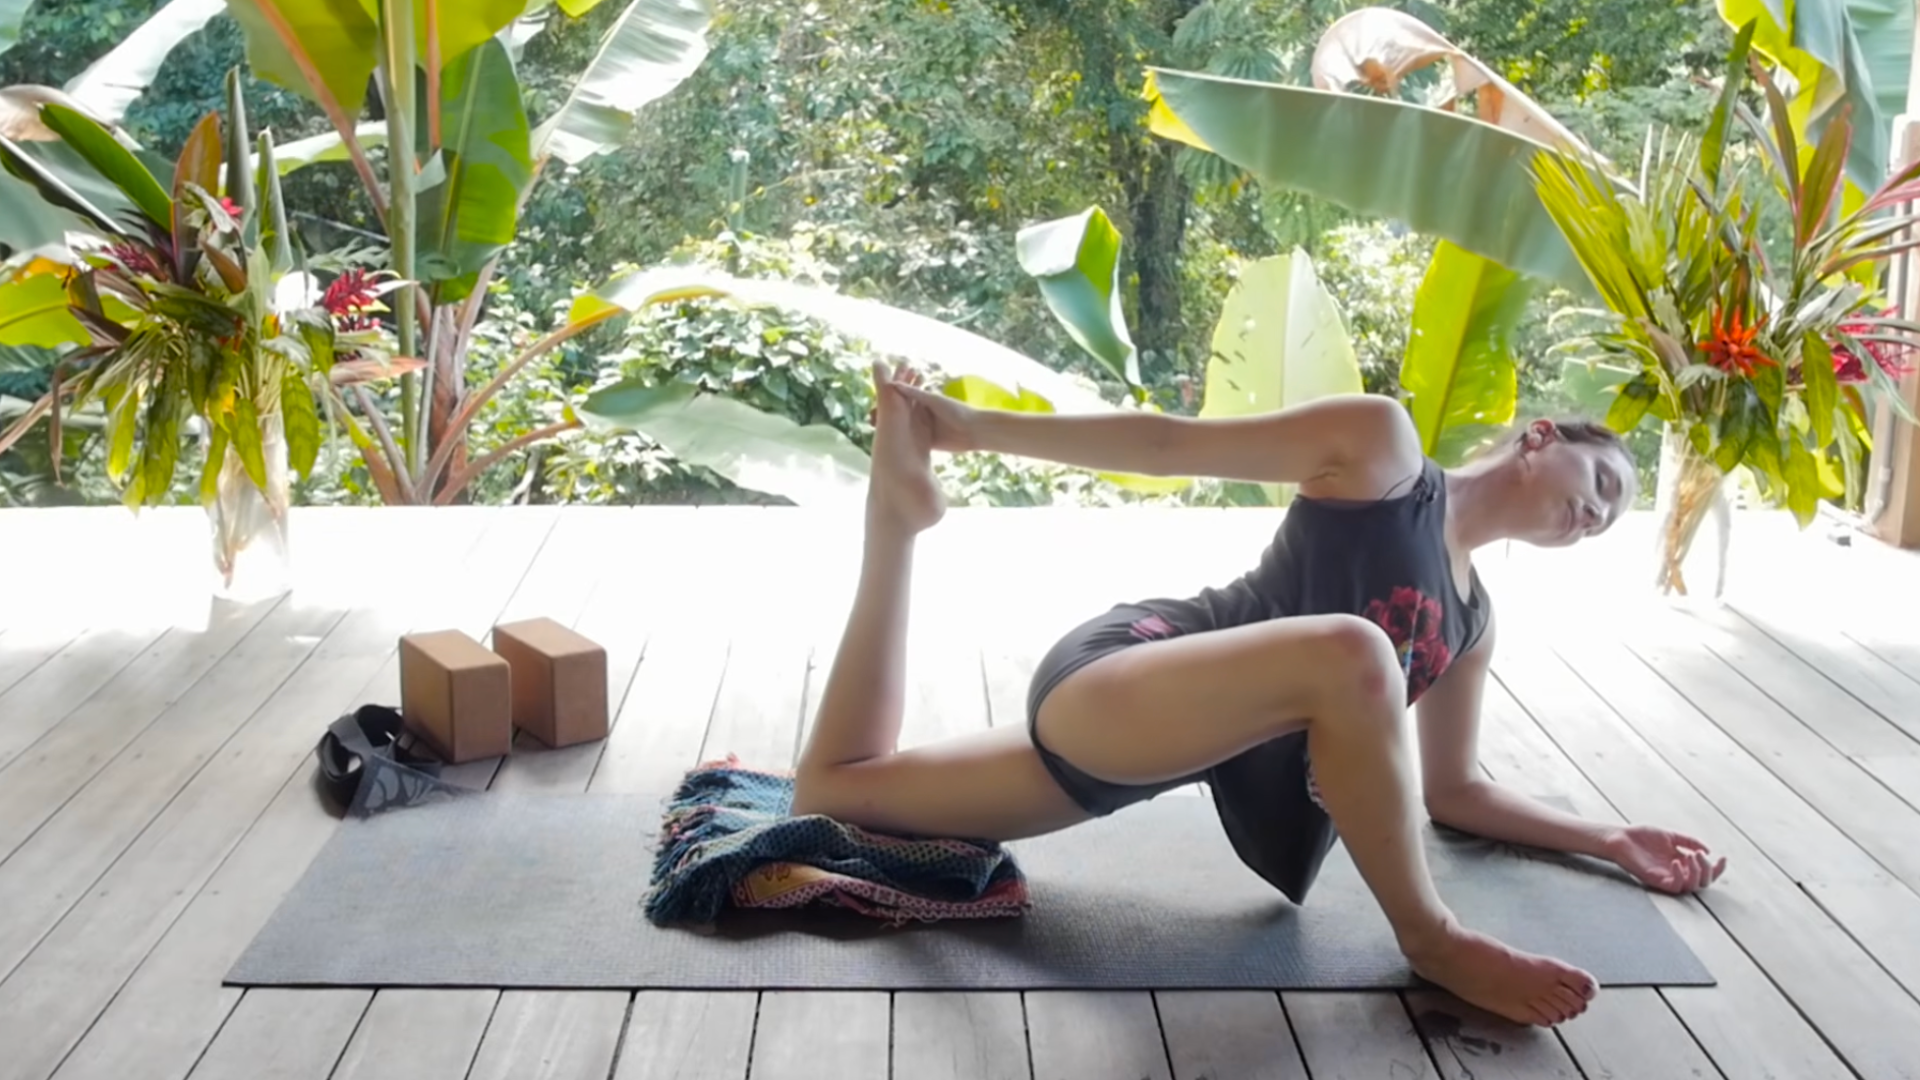
Place your hands on either the mat or blocks or lower onto your forearms. For the quad stretch part of the pose, reach your right hand toward the back of the mat, bend your left knee (which is why the blanket is so useful here!), and catch hold of your left foot or wrap the strap or belt around the right foot. I like to let the neck relax and the head be heavy. Try to stay here for at least 3 minutes but see how it goes.
Very slowly release your back foot and take your time to come out of the pose. Be careful not to let your foot slingshot down to the mat. Before doing this on the other side, it might feel good to take whatever movement feels good or come into Child’s Pose just for a few breaths.
Then make your way into the same pose, but on the other side. So step your left foot forward to the outer edge of your left hand and keep everything facing forward or rotate onto the left side of your left foot and then maybe come down onto some blocks or onto the forearms, finding your quad stretch. Your left arm reaches toward the back of your mat, bend into your right knee, and catch hold of your right foot.
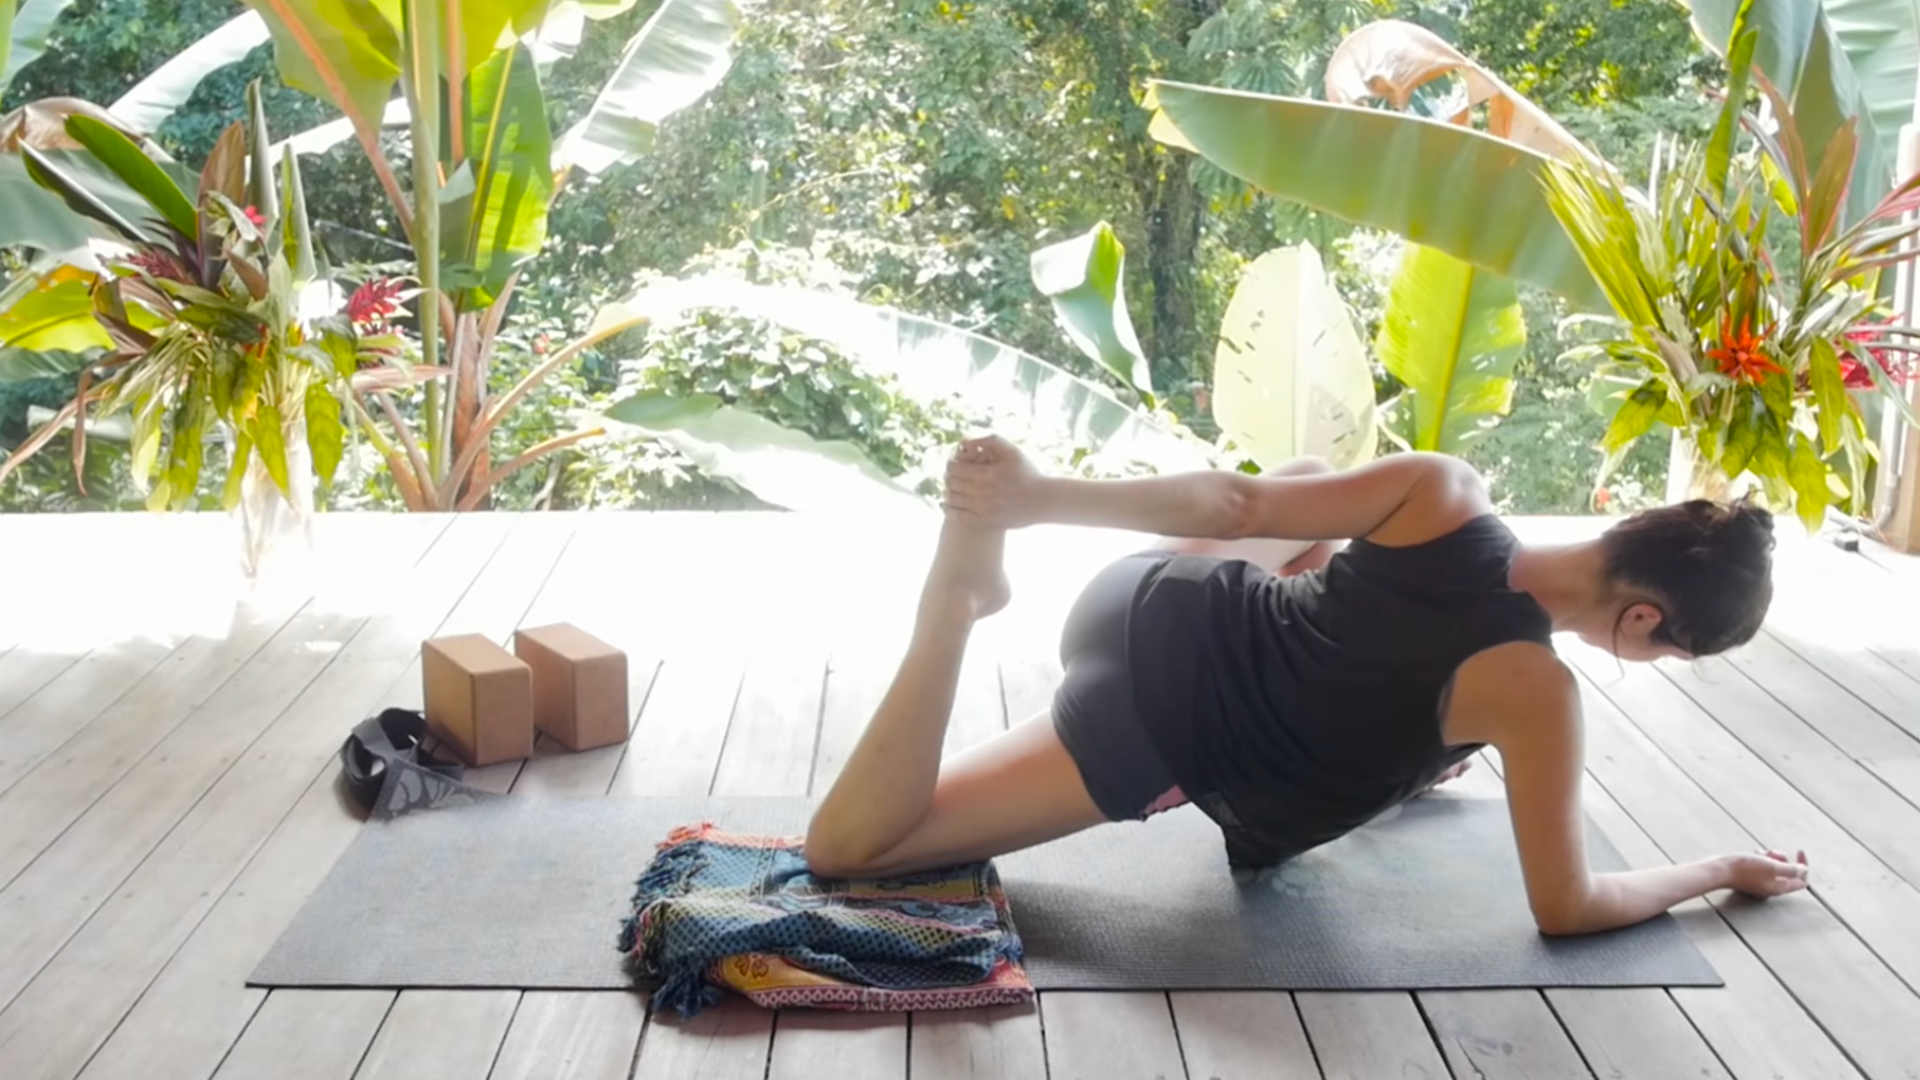
When you’re ready to come out of the stretch, let yourself move or rest a little here.
Reclined Hero Pose
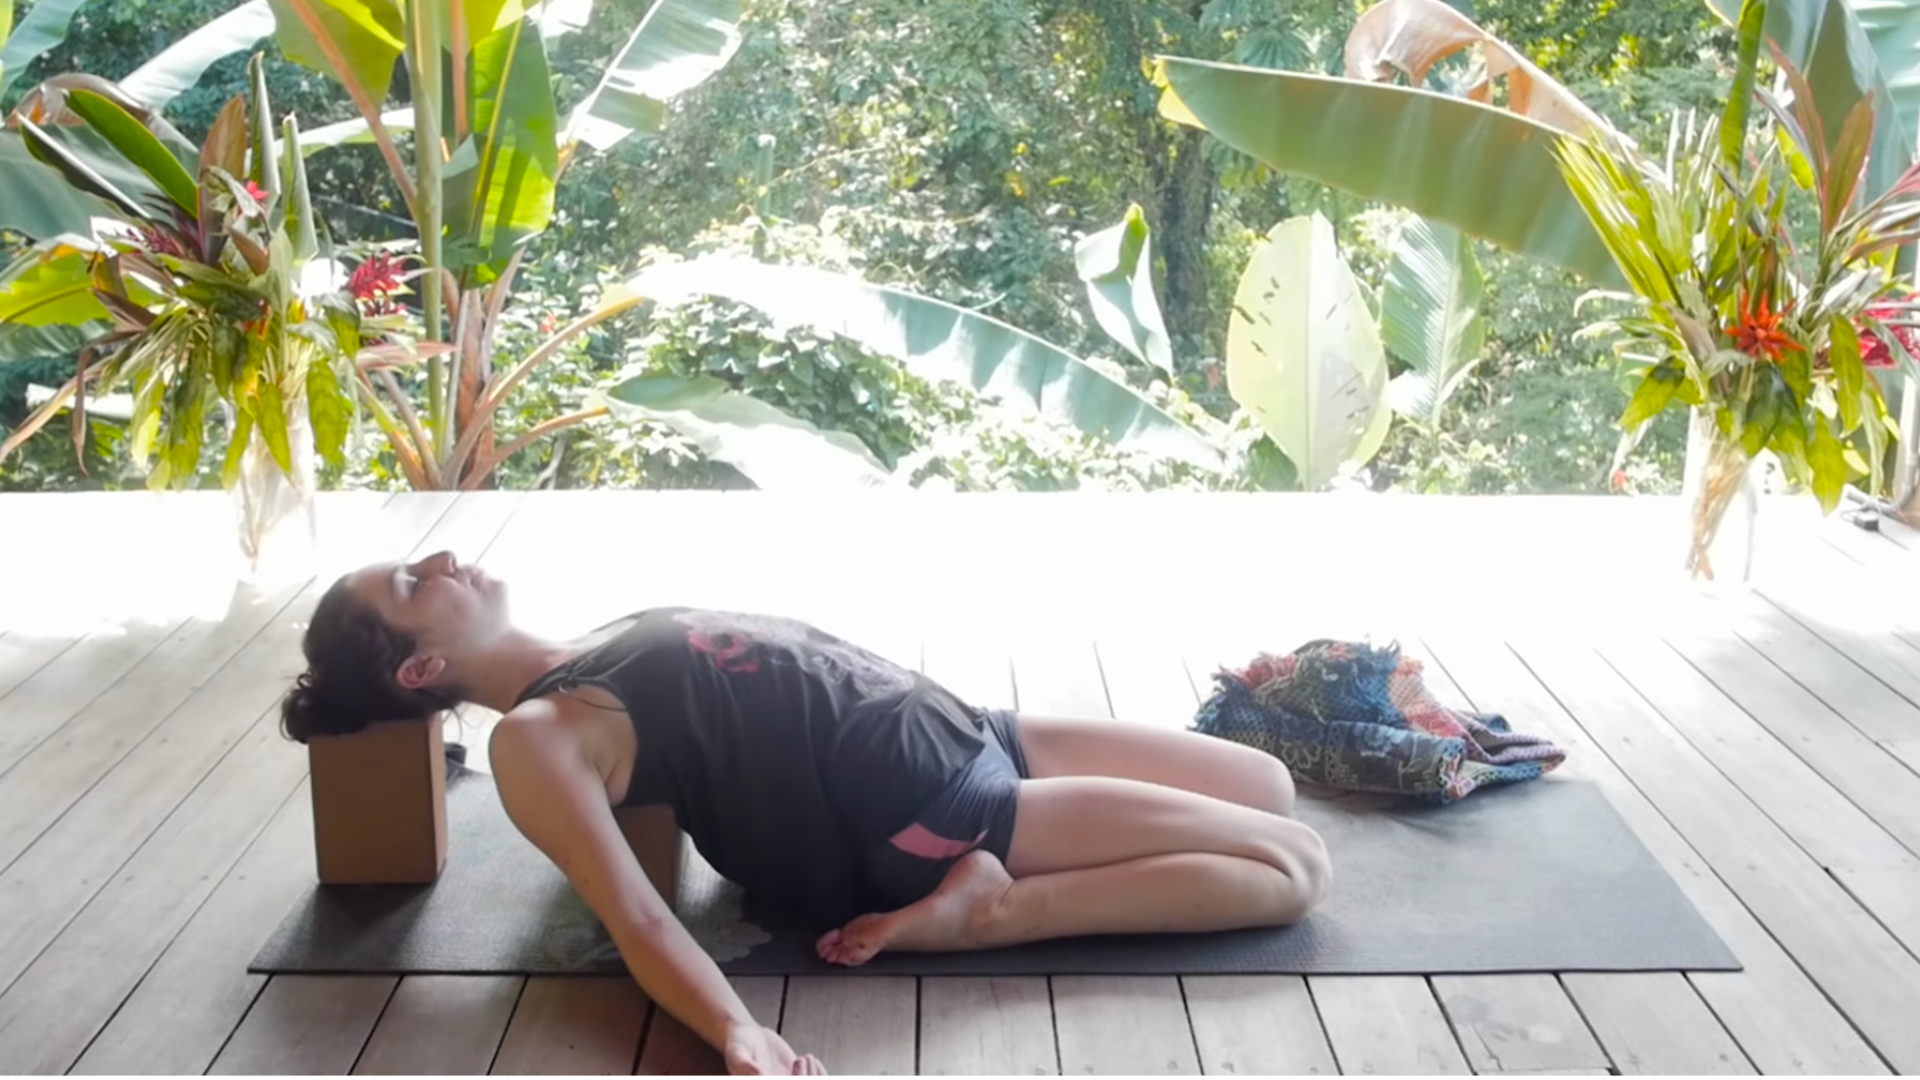
If it’s difficult, you can place a block or a folded blanket underneath your hips so you’re a little higher. If this feels uncomfortable for your knees, another thing that you can do is place a rolled or folded blanket directly behind the knees.
As you sit tall, scoop the tailbone under you a little before setting your hips back down, and then slowly lower yourself back to the mat, either lowering onto your forearms or all the way down onto the mat, in Reclined Hero. You can also support yourself by bringing blocks or bolsters or pillows as high as you want beneath your upper back and head.
Take as long as you need to get settled and comfortable into the pose. You simply want a stretch in the quads. There should be no pinching or pain in the knees or the low back. Feel the steady flow of your breath in and out through your nose.
In order to get out of this pose, take your time and do it slowly and mindfully. You can tuck your chin to your chest if you are reclined, and use your forearms or palms, to push into the soles of the feet. Slowly lift your way back up, and move your blocks off to the side. Make your way forward to hands and knees, and maybe stretch your legs.
Cat Pulling Its Tail
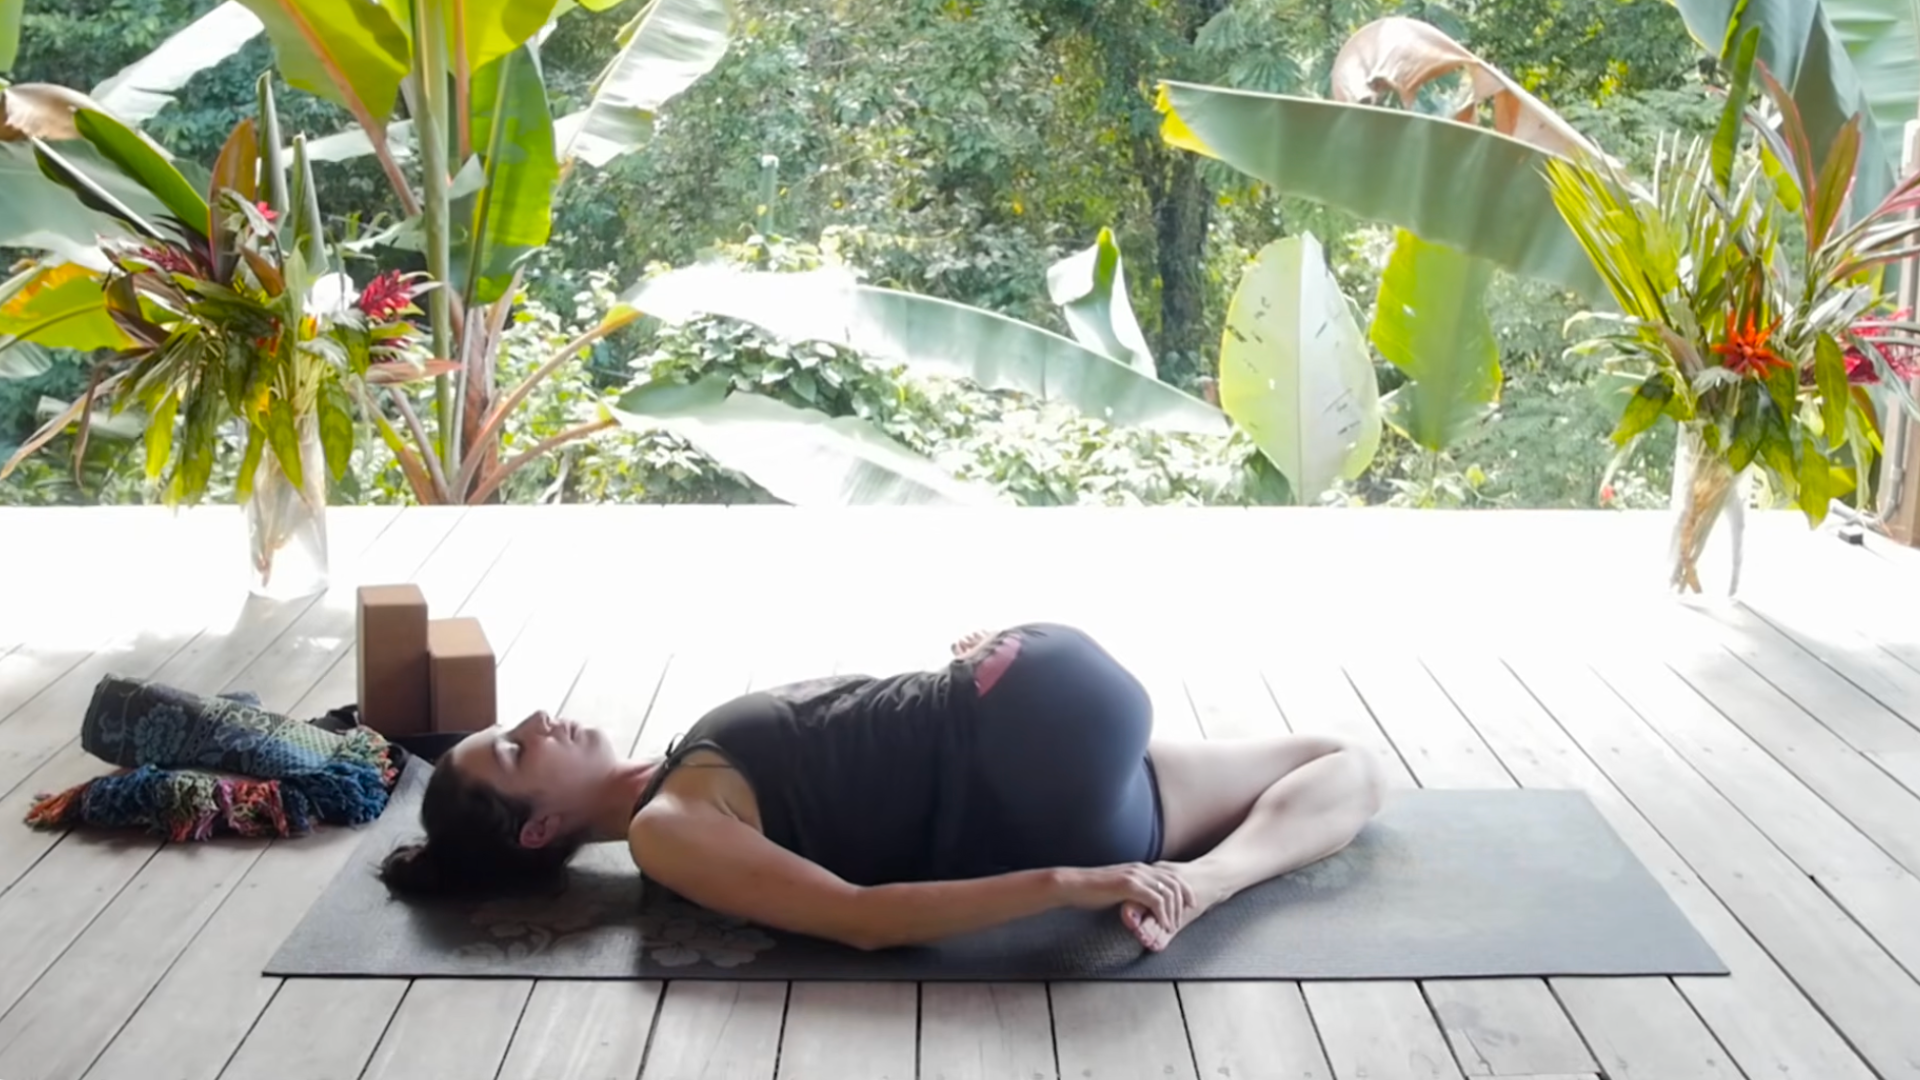
Bend your left knee and bring your heel behind you. See if you can reach your right hand behind you and hold onto the top of your left foot with your hand or a strap and bring your heel toward the glutes. You will probably feel this stretch along your left quads. Release your right shoulder toward the mat but it’s okay if it doesn’t touch. Relax your chest and shoulders, try not to fidget, and simply breathe in Cat Pulling Its Tail.
When you’re ready, come out of this step by step. Release the hold of your left foot, bend your right knee, and just roll onto your back. Before doing the other side, just lie flat with the legs straight for 5 breaths. Notice and feel the difference from one side to the next.
Then do the same on the other side, keeping your right leg straight and drawing your left knee toward your chest and then crossing it over your body. Reach your left arm straight out to the side. Keep your left leg bent or straighten it. Then bend your right knee, try to catch hold of your foot behind you with your left hand while releasing your left shoulder toward the mat. I’m trying to keep my collarbones facing straight up to the sky.
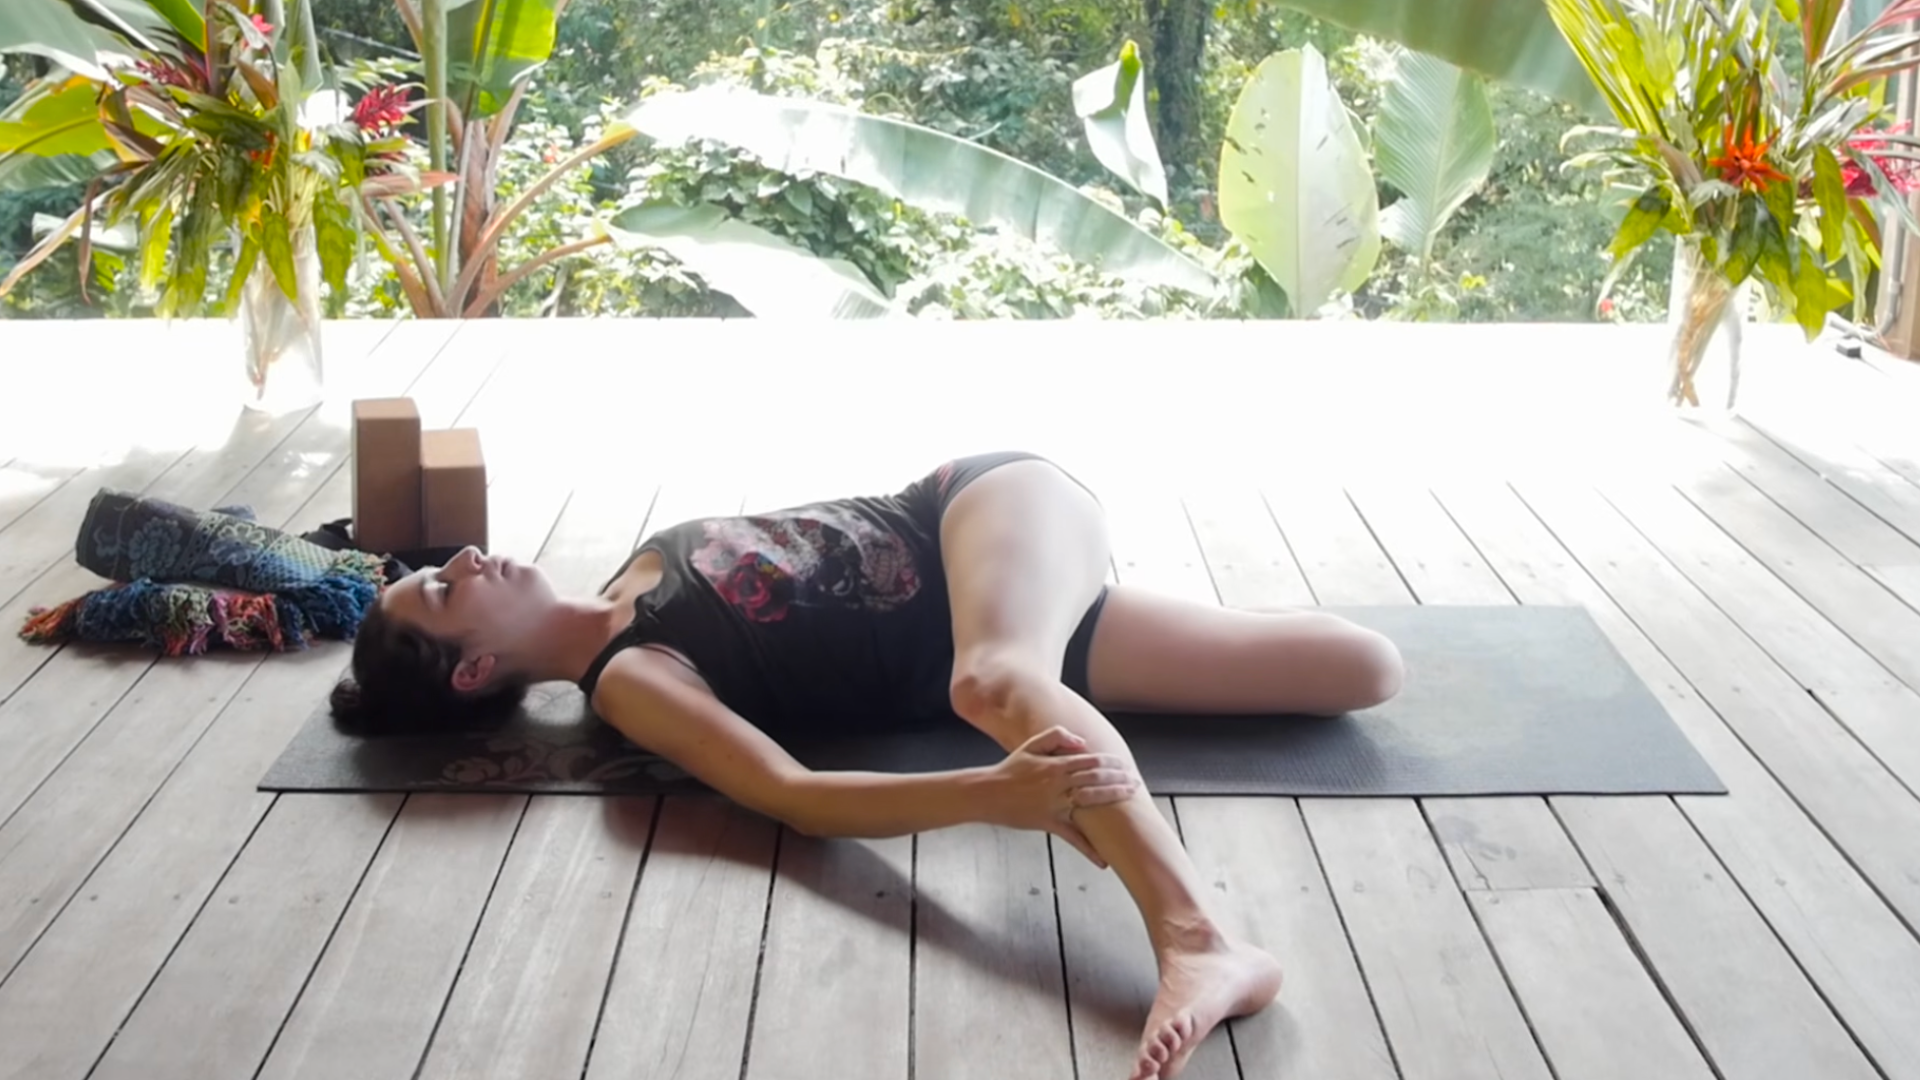
Come out of the pose slowly.
Savasana
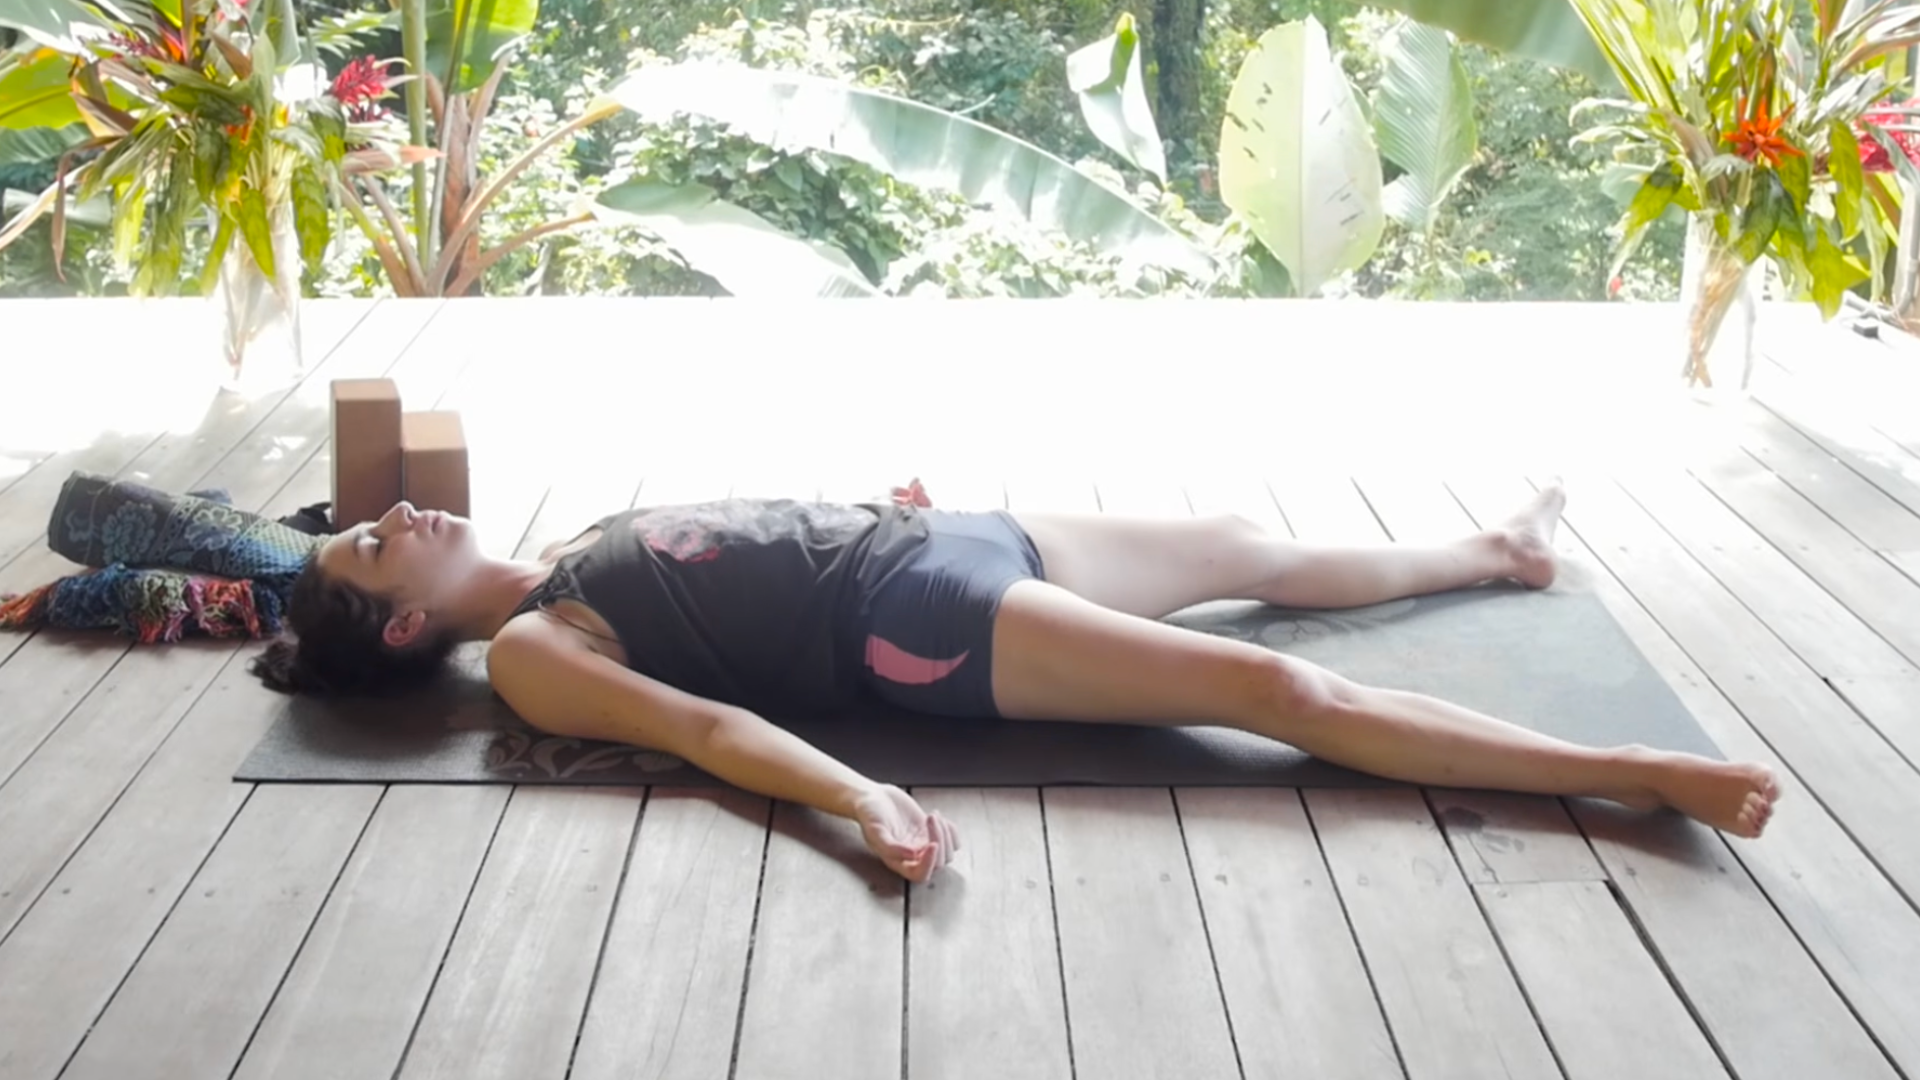
Stay where you are on the mat and take any final movements you might need before releasing your arms at your sides, palms facing up, in Savasana. Notice any difference in your body, specifically your quads, hip flexors, and low back. Let your body be heavy and your breath be natural.
Start to lengthen your breath. Maybe you wiggle your fingers and toes and then stretch your arms alongside your head. Eventually, roll onto one side and make your way to a comfortable seat. Maybe you close your eyes and finish your practice with a few moments of quiet.
Thank you so much for trying this yin yoga for tight quads practice for me and I hope you found it beneficial!