Published October 4, 2026 04:04AM
This one-hour yin yoga sequence is just like a studio class without the commute. It targets your entire body and is led by YouTube teacher Yoga With Kassandra, who has led thousands of classes over the last decade.
As much as 10- and 15- and 20-minute yoga practices can be essential when you’re challenged for time, sometimes you want an entire hour-long yin yoga experience at home that’s just like what you would experience at a studio—minus the commute. This one-hour yin yoga sequence gives you the same experience as a studio yin yoga class. The only difference is there are no props required since a lot of us don’t have the same blocks, blankets, bolsters, and straps that studios keep in stock.
Yin yoga can definitely be prop intensive. Yet it doesn’t always need to be. Just like any yin yoga class, this class targets your hips, hamstrings, shoulders, and spine. Each pose is held for about 3 minutes or so per side, and there is a full-length Savasana.
Remember the three principles of yin yoga, which are to find your edge, hold the pose for time, and resolve to be still. Finding our edge means not chasing intensity and not forcing or pulling our way into a shape. Holding the pose means we stay in each pose for about 3 minutes or longer. Being still means we don’t fidget or move so we can send the really good stress to the connective tissue and joints as opposed to the muscles so we can experience the magic of yin.
The following class is in response to requests from home students for a yin yoga class that at home without any props. Of course, you’re welcome to use props if you have them. But these poses can be done without additional support.
1-Hour Yin Yoga at Home (No Props Required)
I encourage you to practice the same body scan in each yoga pose. Inviting each of the muscles along the way to relax. No tension. No tightness. Making this really restorative.
Centering
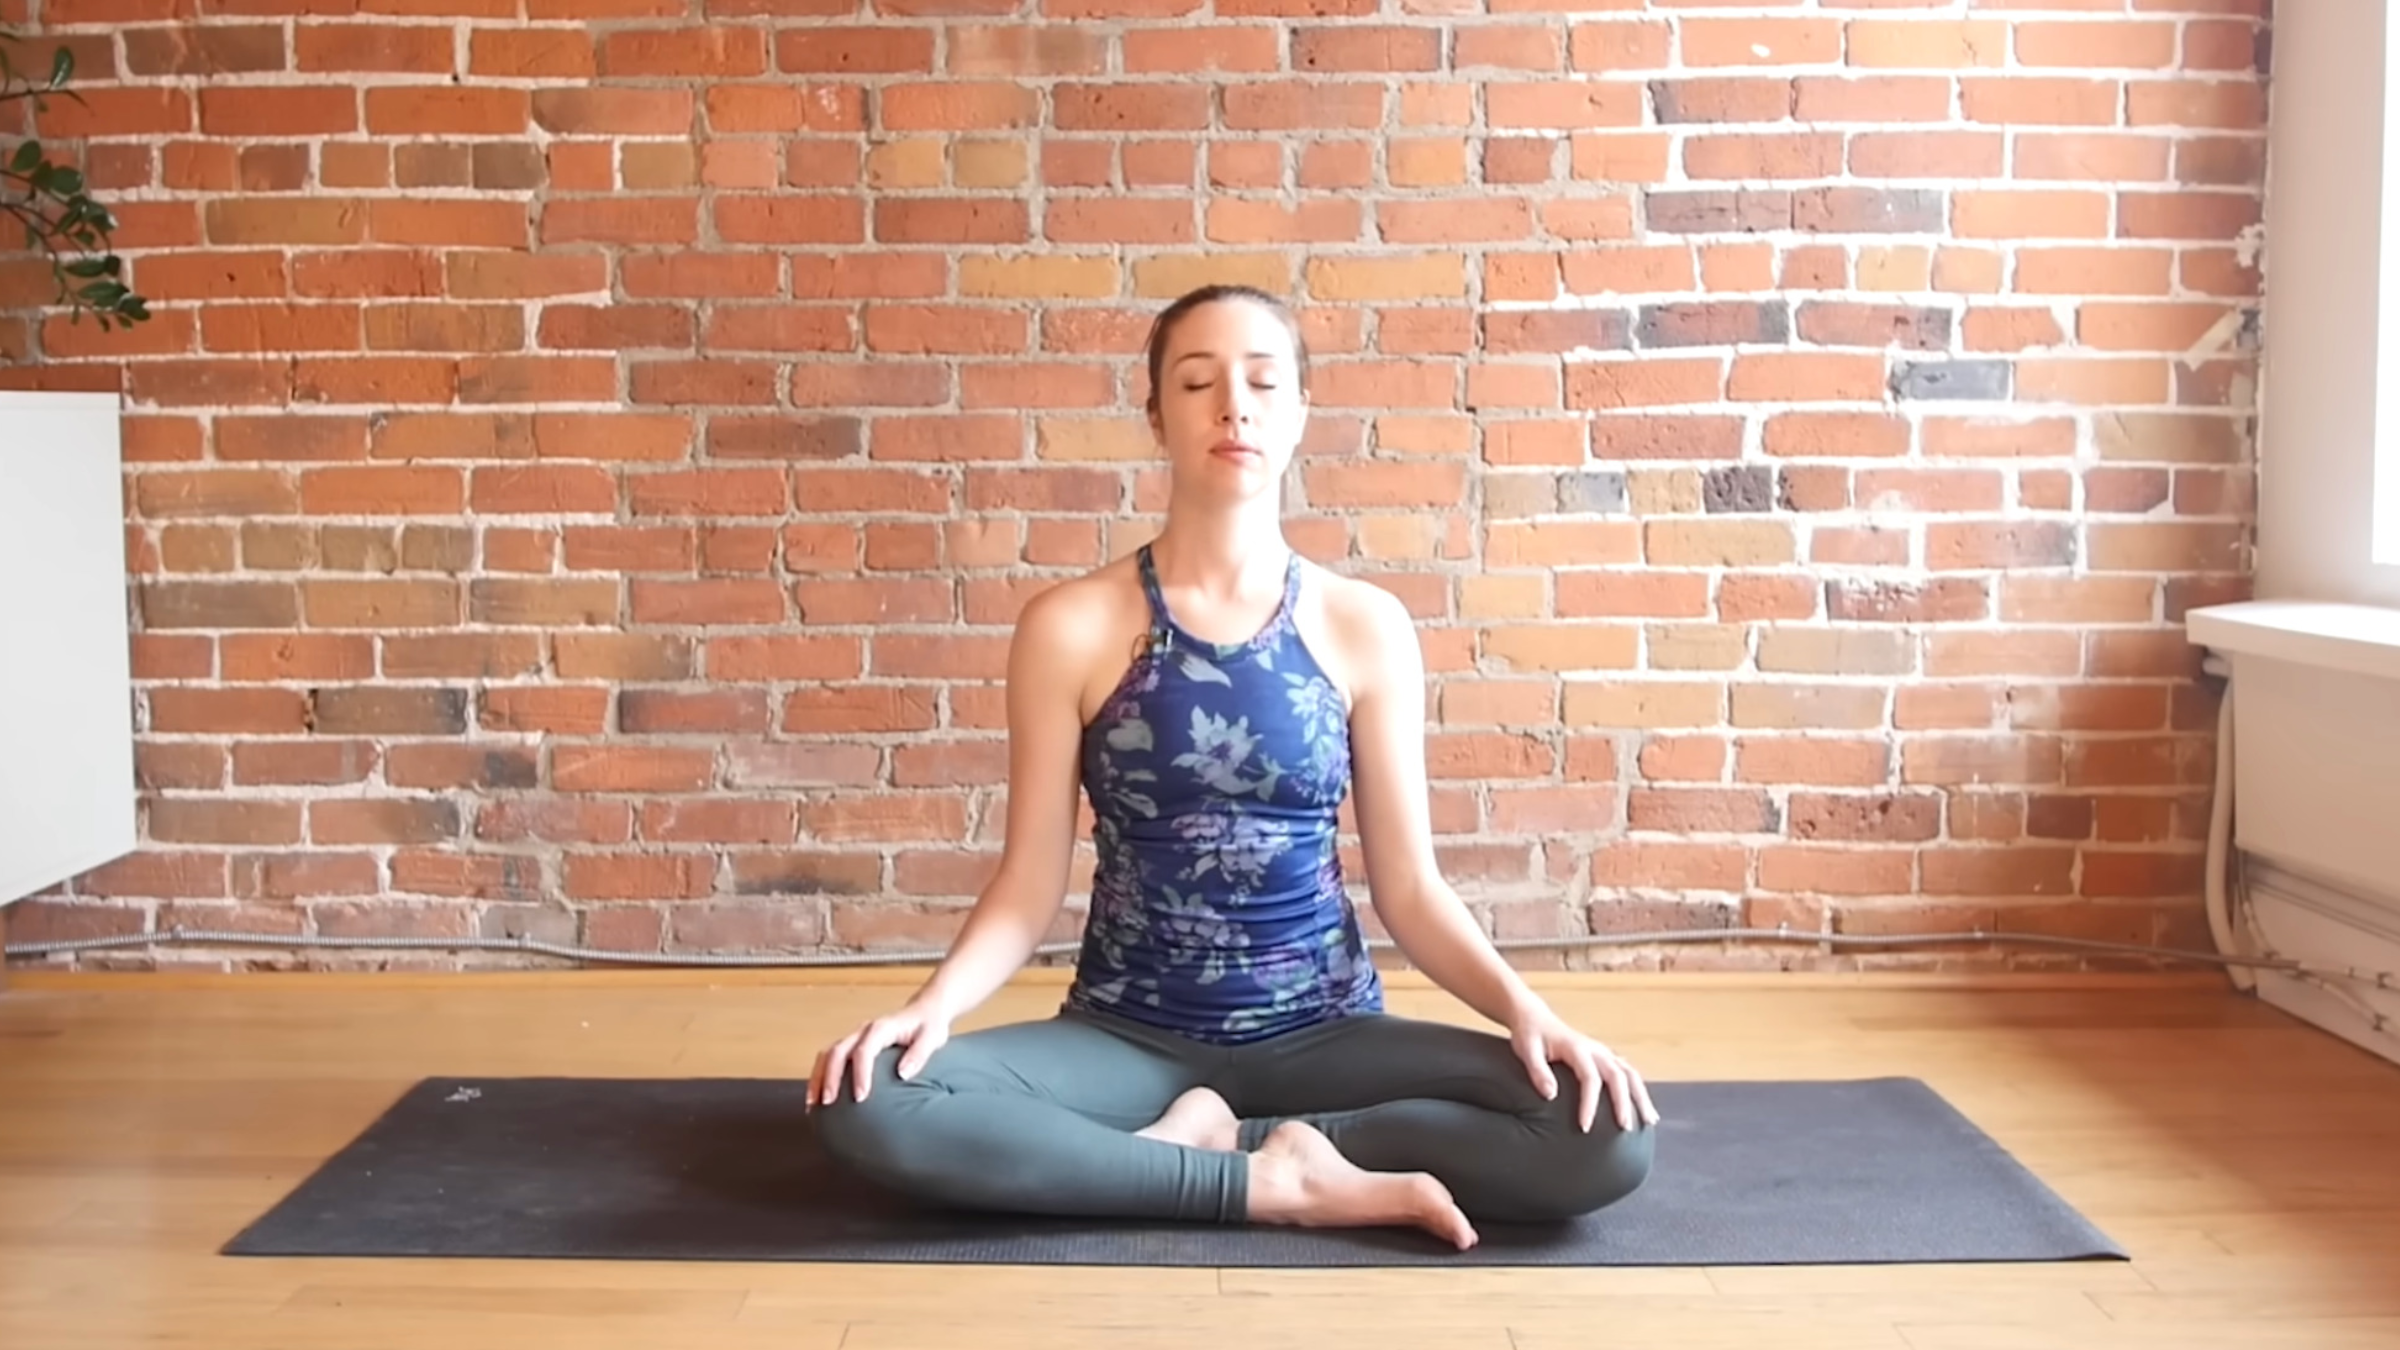
We’re starting your yin yoga sequence by sitting, whether cross-legged, kneeling, or with your back against the wall if that’s more comfortable for you. Let your hands rest on your thighs. And then take yourself through a full-body scan meditation as a way to bring your awareness to yourself and to help you fully relax. This body scan is also something you can do in each of the yin yoga poses that follows to check for muscle tension.
So start by inviting everything to relax. Soften the facial muscles, the cheeks, the jaw. Relax the neck and shoulders all the way down into your arms, hands, and fingers. Relax the upper back and chest, mid back and belly. Bring that same ease to your pelvis and low back. Relax your hips and sit bones on the ground. Let yourself experience lack of tension in your legs, shins, calves, ankles, and feet. Simply breathe in silence and observe the state of relaxation that you have created within you.
If you notice yourself becoming distracted by thoughts, simply bring your awareness back to the physical sensations in your body. Stay here for about 10 more breaths here. Then slowly open your eyes when you’re ready.
Half Butterfly
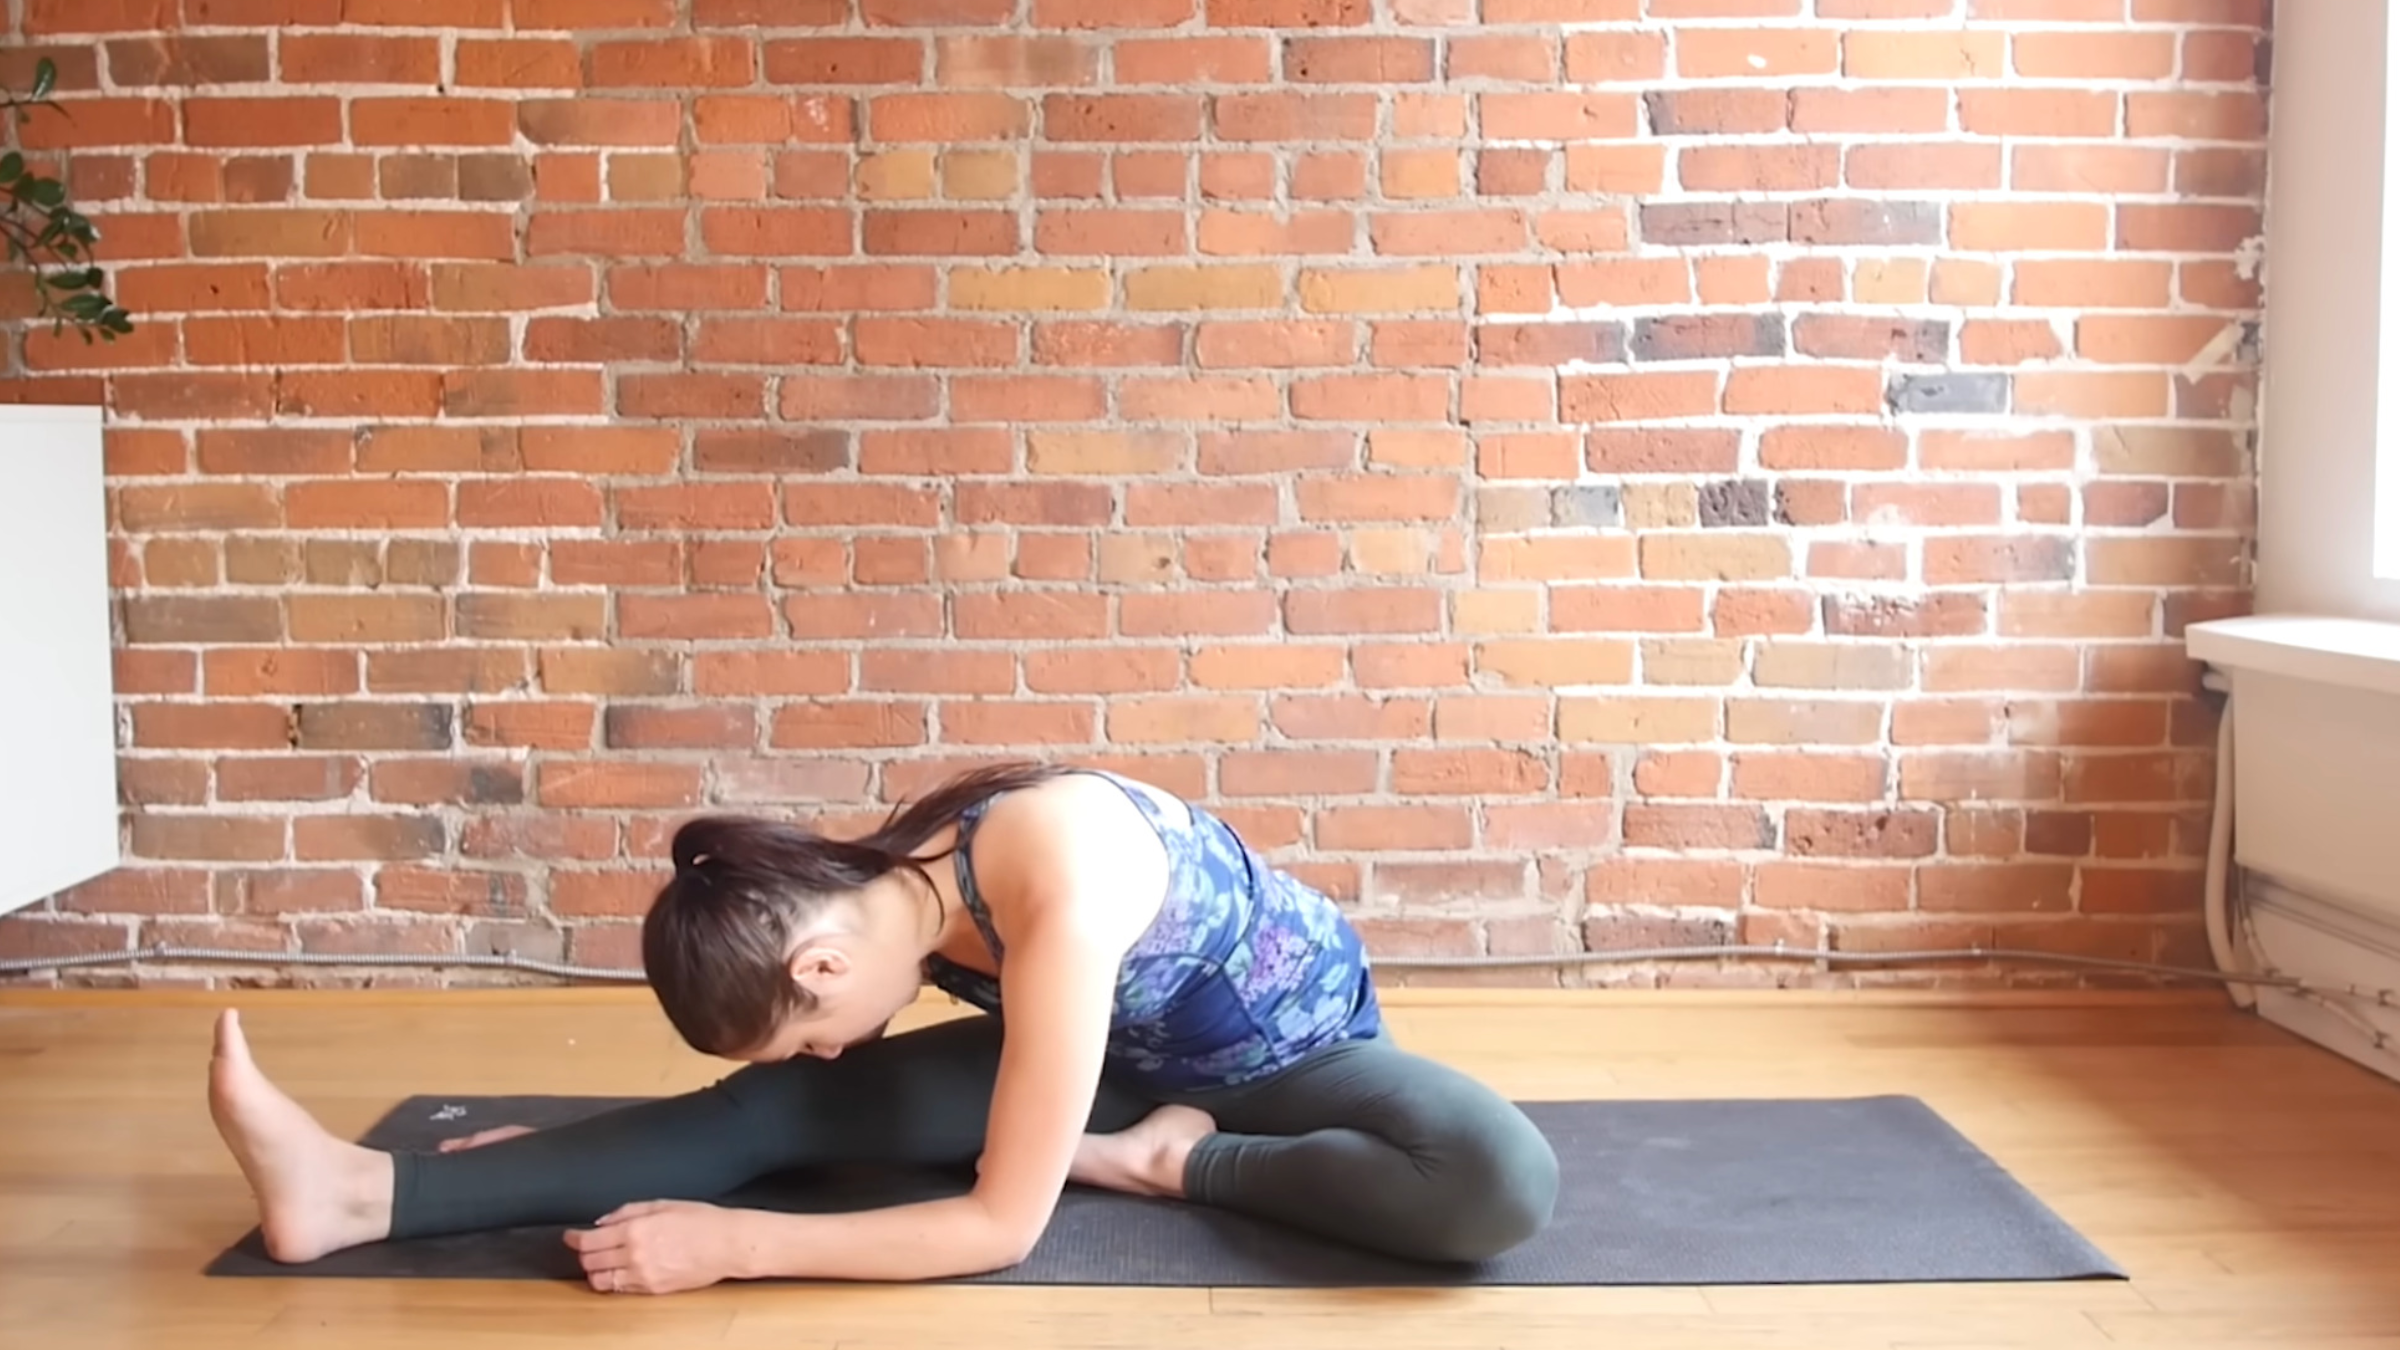
Extend your right leg straight and slightly out to the side. Then bend your left knee and bring your left heel toward your inner right thigh. Rotate your chest a little so you’re facing your right shin and slowly fold forward over your straight leg. You are letting your body gradually round as you find the shape that works best for you. Let gravity do the work for you. If you find yourself close to the ground, you can use your hands to support your head. Otherwise, you can let your arms dangle. I like to rest my palms facing upward as a reminder not to push or pull myself into the shape. It’s also a great way to remind yourself to surrender. Settle into the pose.
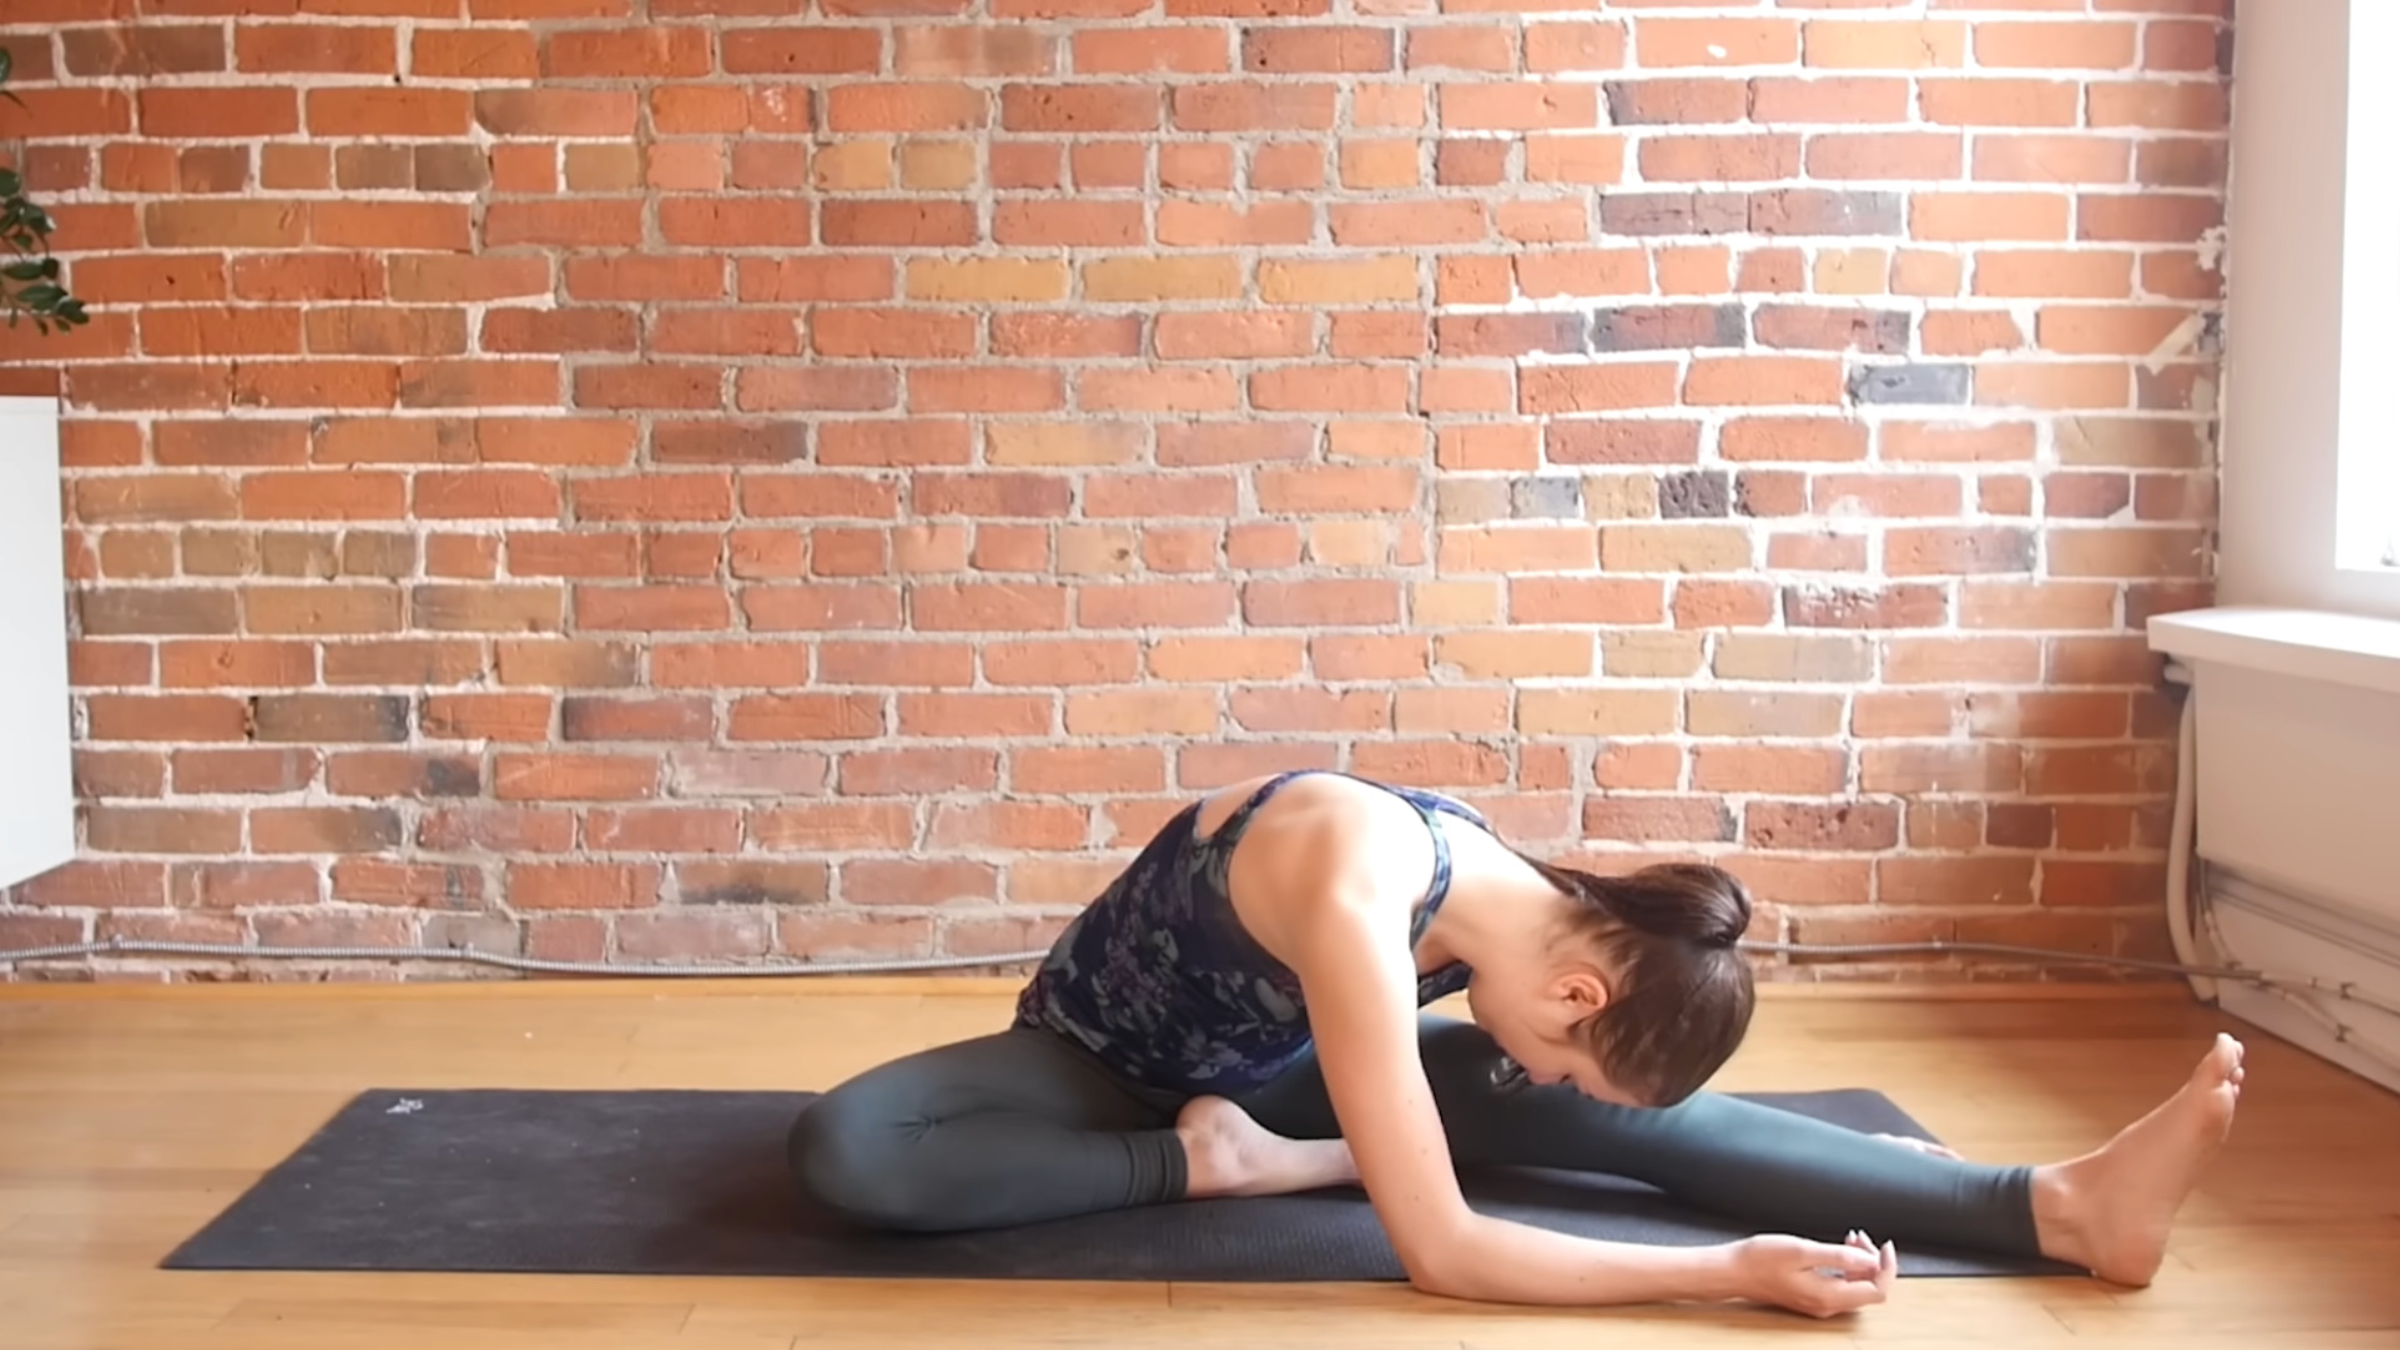
When you’re ready, use your arm strength to slowly walk your hands in and lift your chest, inch by inch. Then slowly move to the second side of the stretch, bending your right knee and straightening your left leg.
When you’re ready, push into the floor and slowly roll back up.
Child’s Pose
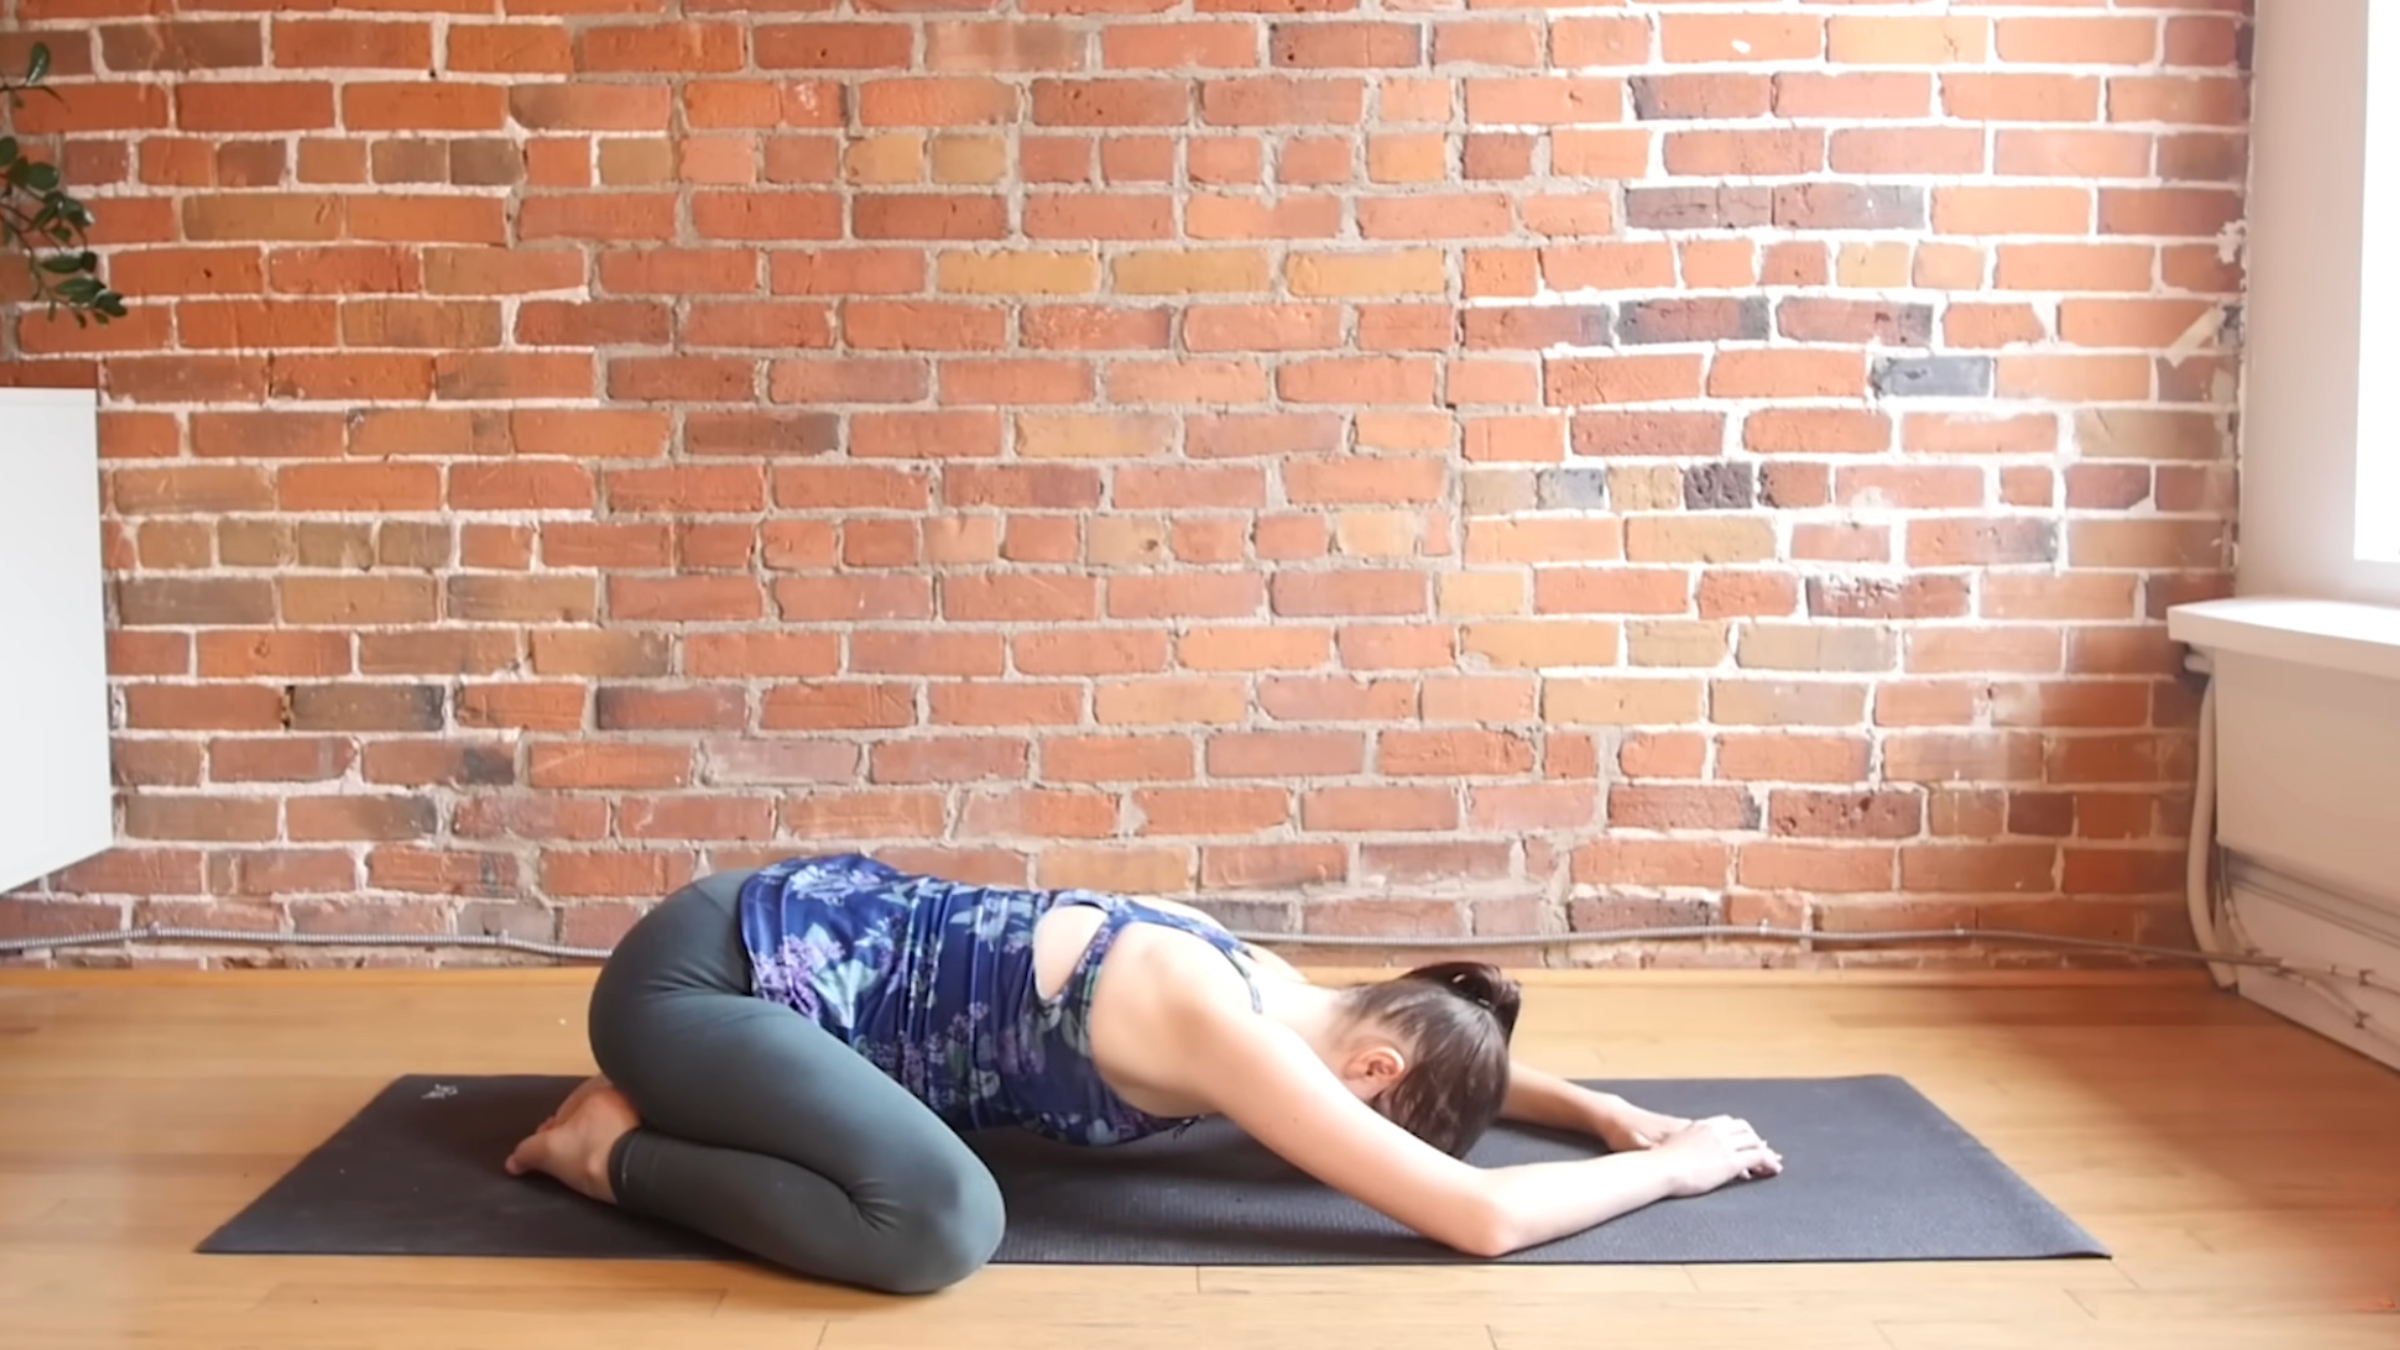
Bring your big toes together to touch, knees as wide as you would like them to be, the wider they are, the more intense the sensation will be in your hips. Reach your hips back toward your heels as you reach your arms forward in Child’s Pose. Release your forehead to the mat or you can stack your hands and rest your forehead on them. Take some time at the outset to adjust yourself so that once you find a shape that works for your body, there’s no need to fidget. You can instead relax and soften into the shape.
When you’re ready, lift yourself back up, nice and slowly.
Thread the Needle
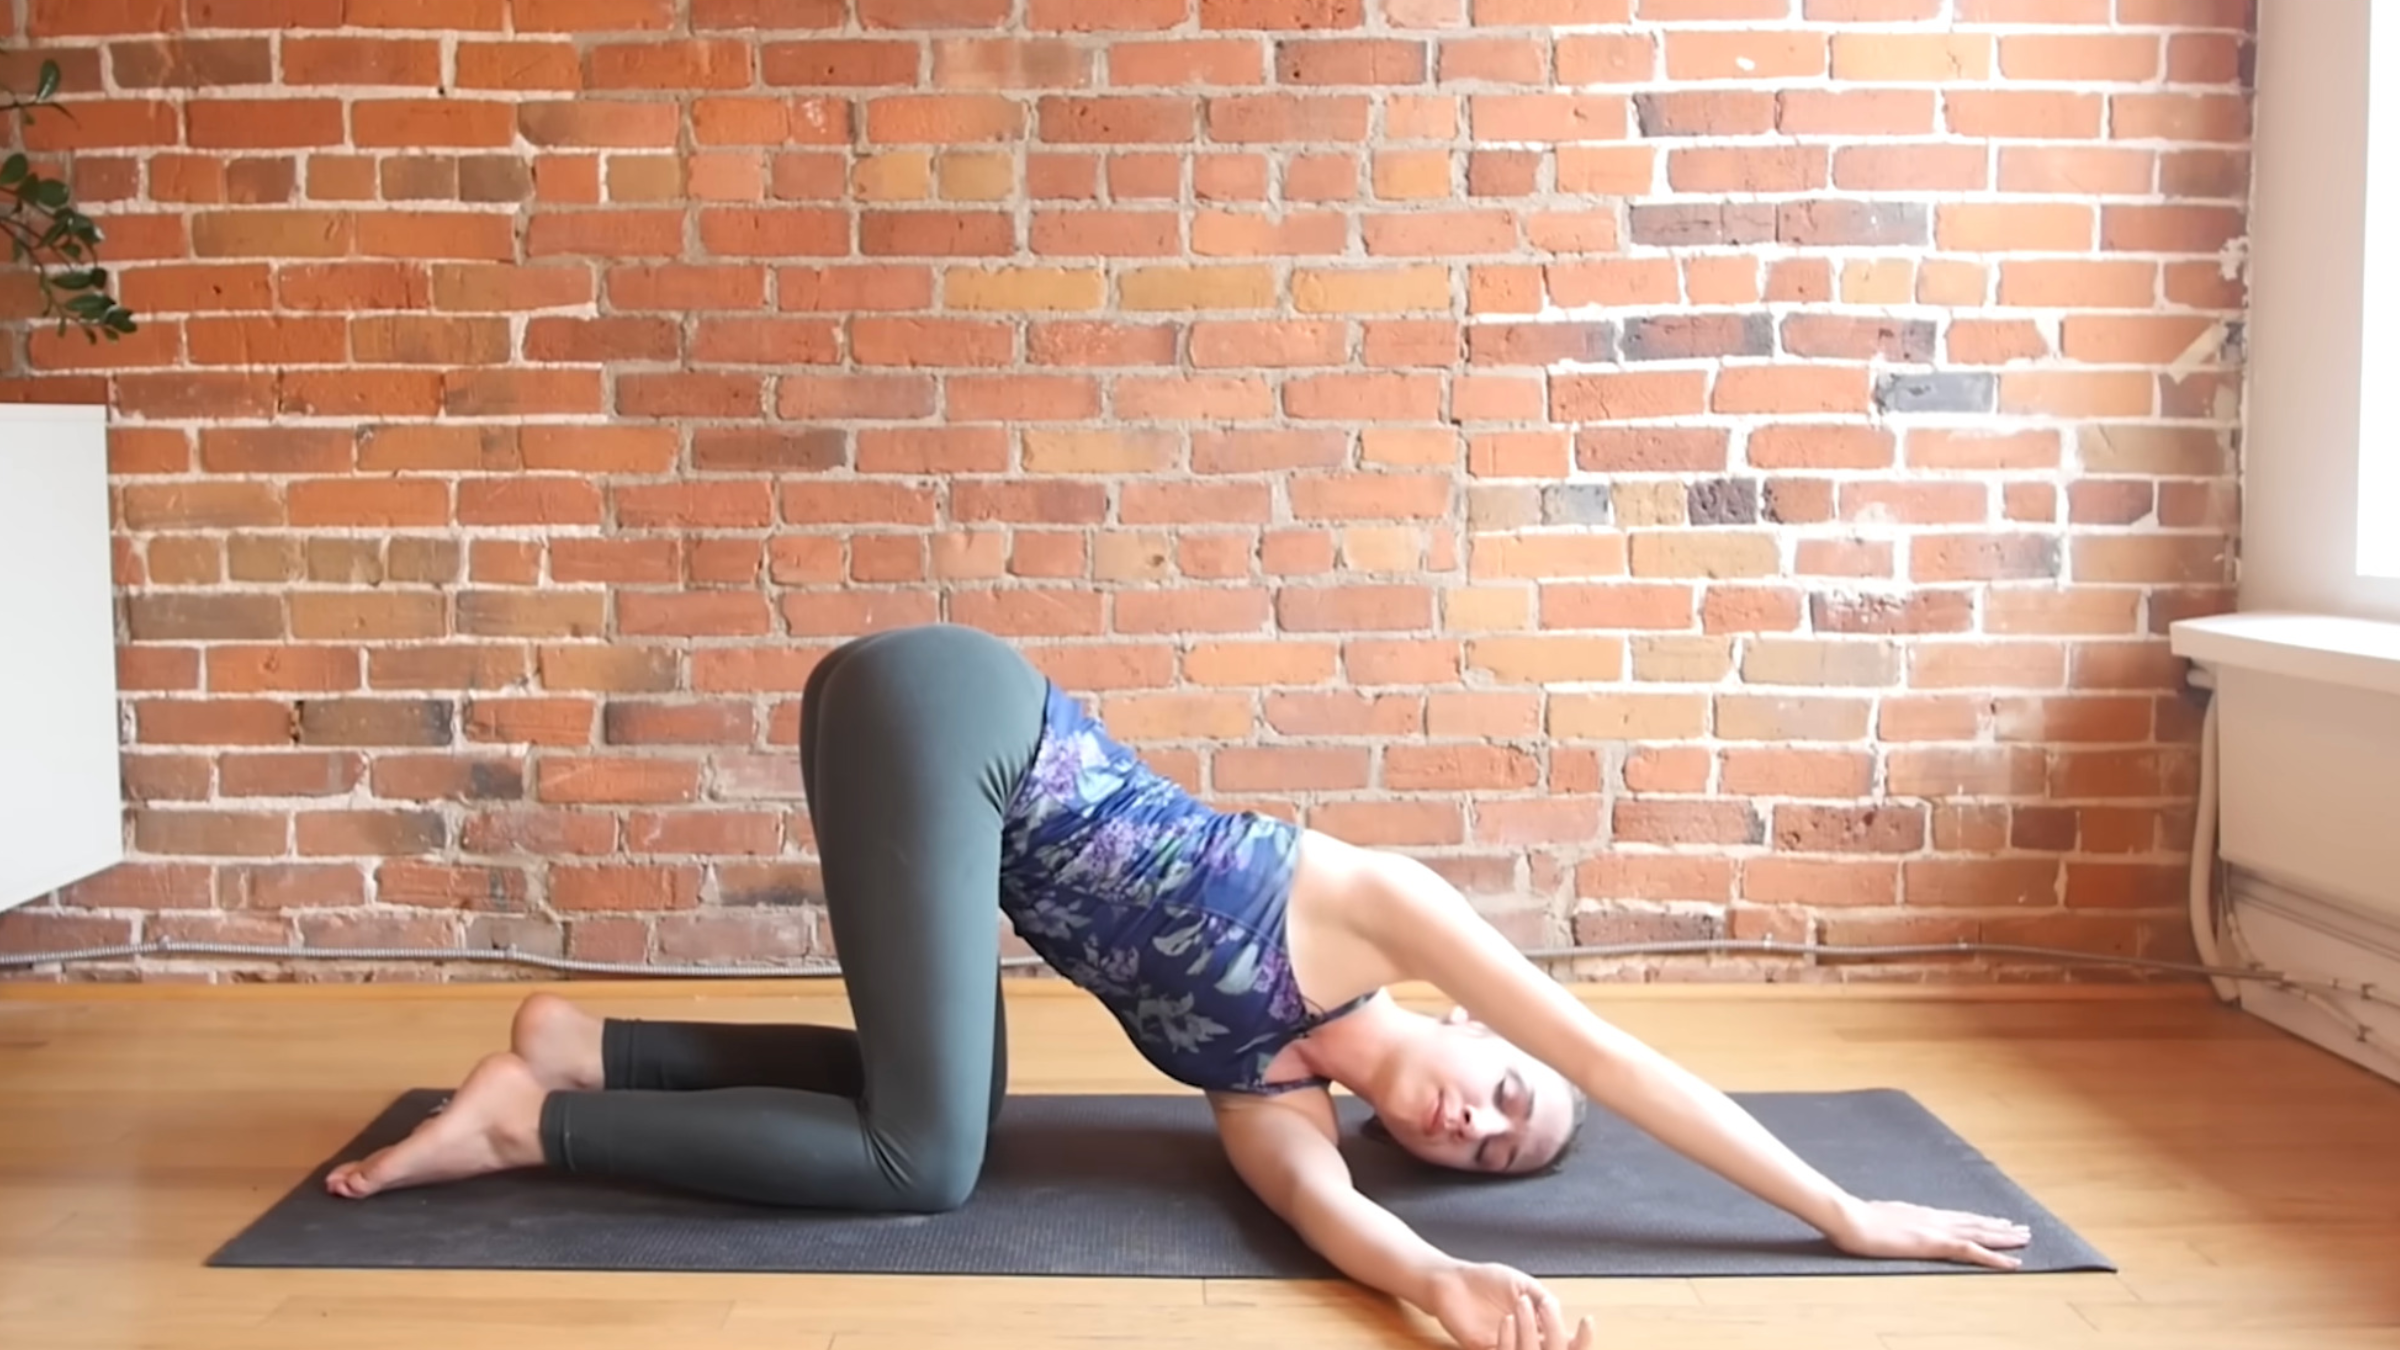
Come to your hands and knees and reach your left arm underneath you pretty much as far as it will go toward the right until your left shoulder and ear come to the mat. You can either keep your right hand where it is and come onto your right fingertips or straighten your right arm forward and push into that right palm. You’re trying to draw the right shoulder back into its socket as you thread your left arm underneath you to experience a stretch in the upper back between your shoulder blades. Sometimes the hips will shift to the side here but try to keep them over your knees. Breathe into your upper back.
When you’re ready, bring your right hand beneath your right shoulder and push down as you release your left arm and come back to hands and knees. You can take any movement here that you like.
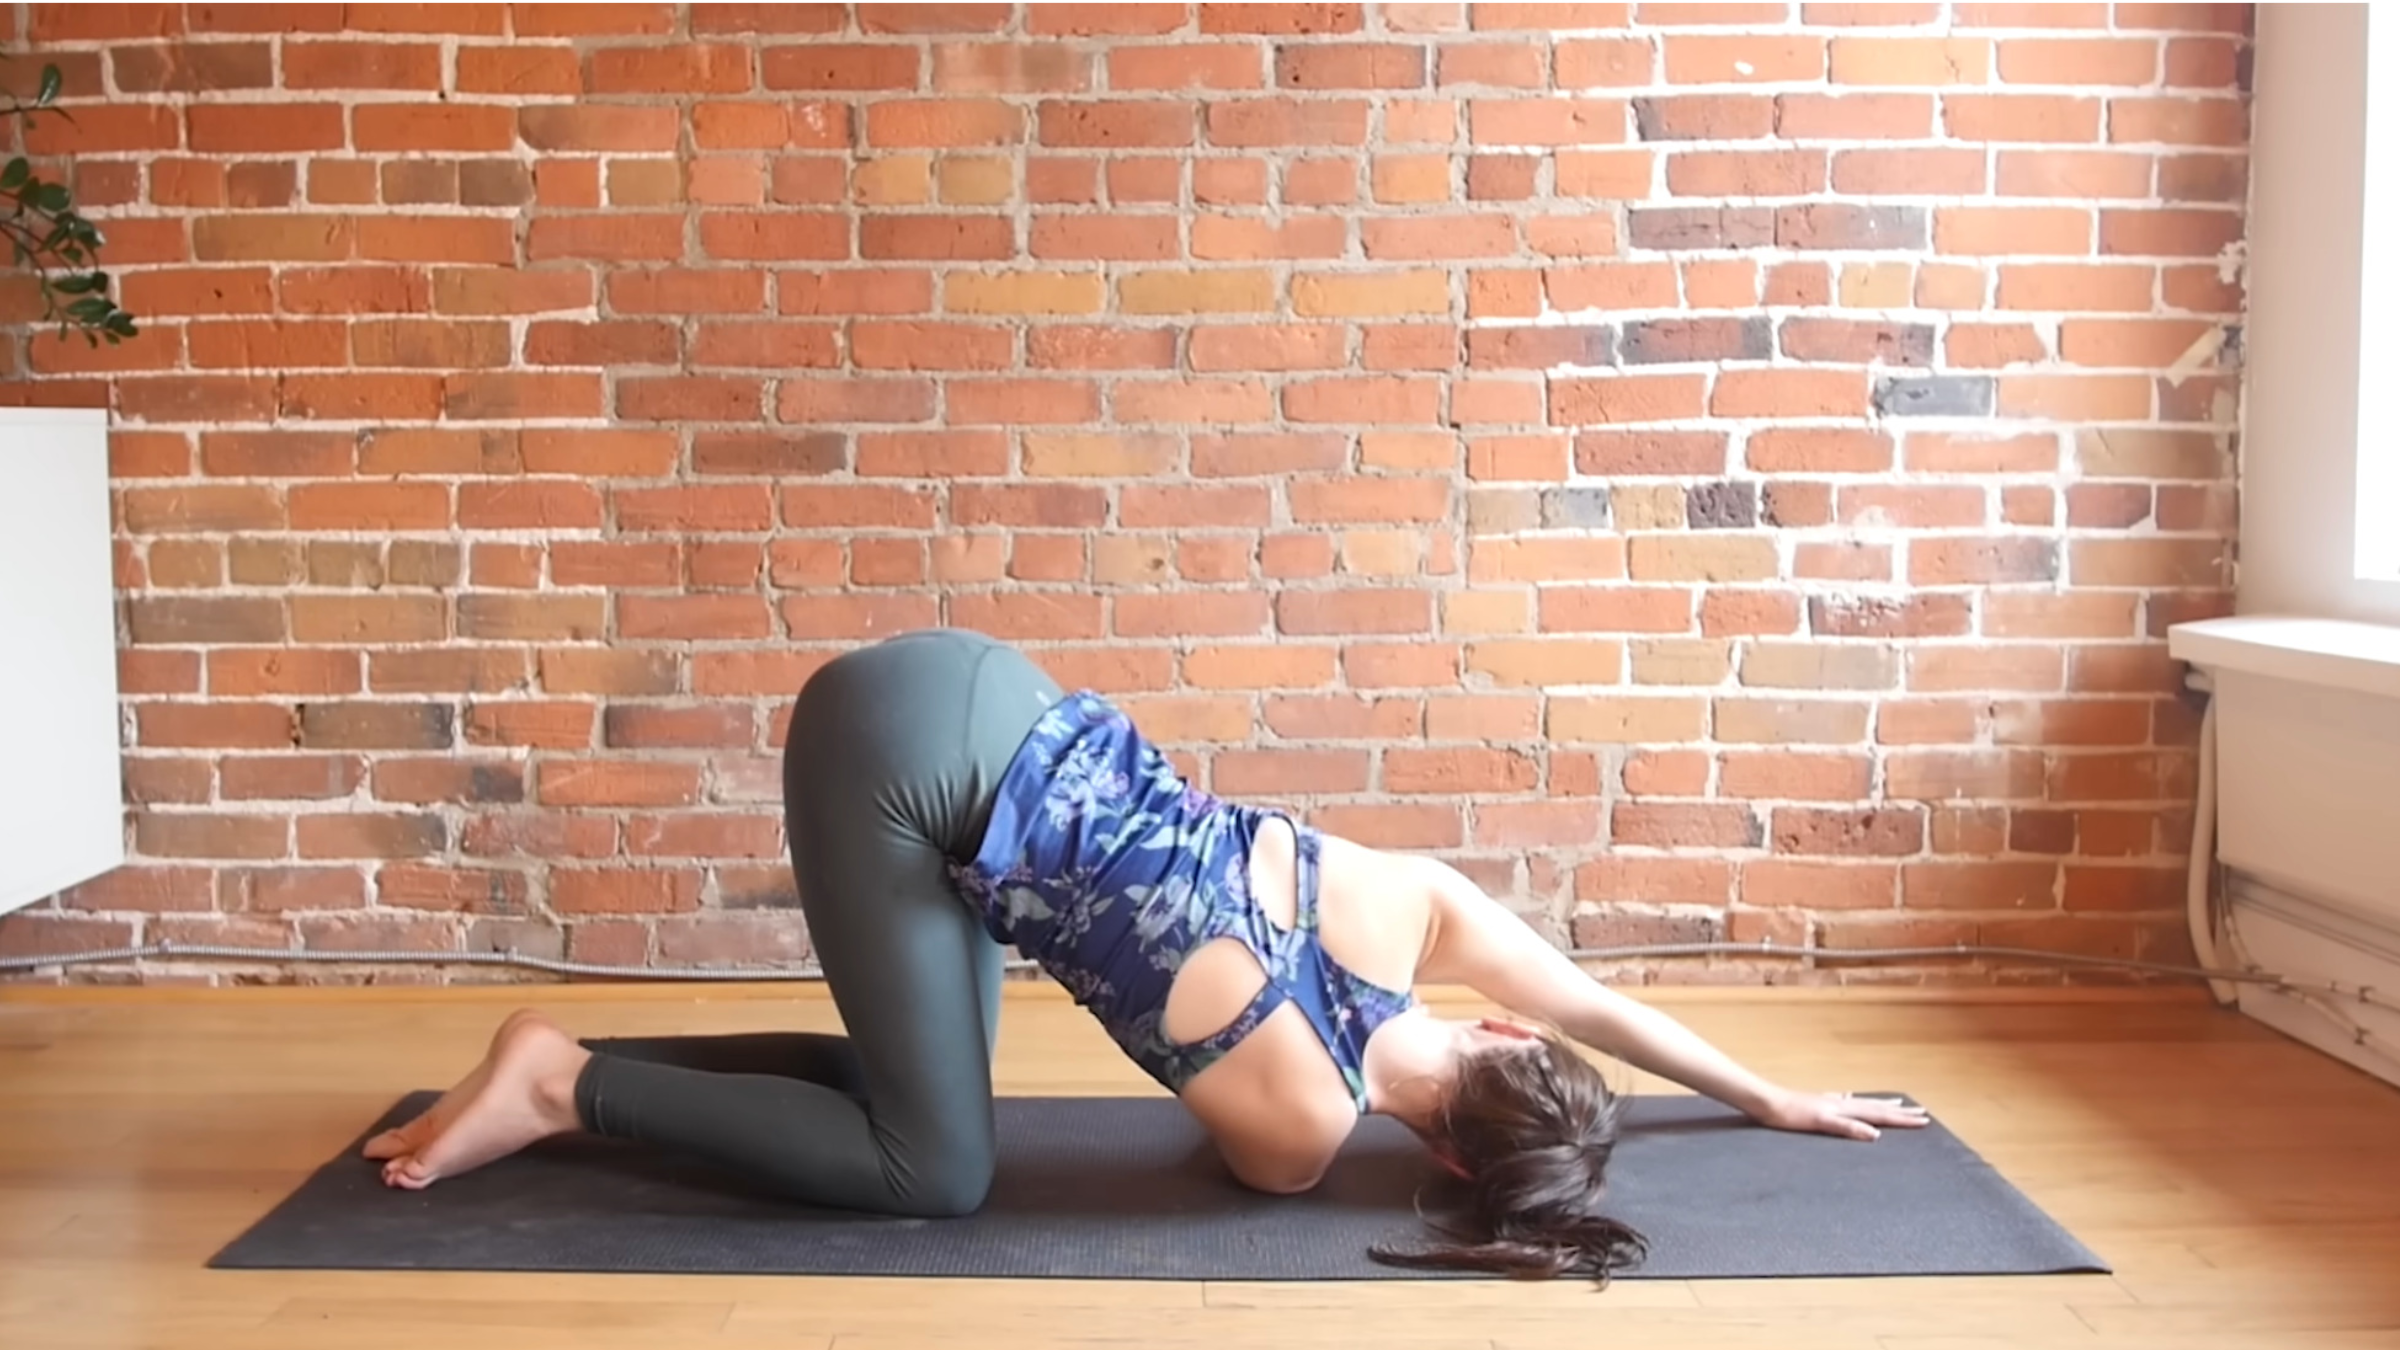
This time thread your right arm beneath you and maybe you reach your left arm forward.
Come back to hands and knees. Just noticing the effects of that shape on your upper back.
Sphinx Pose
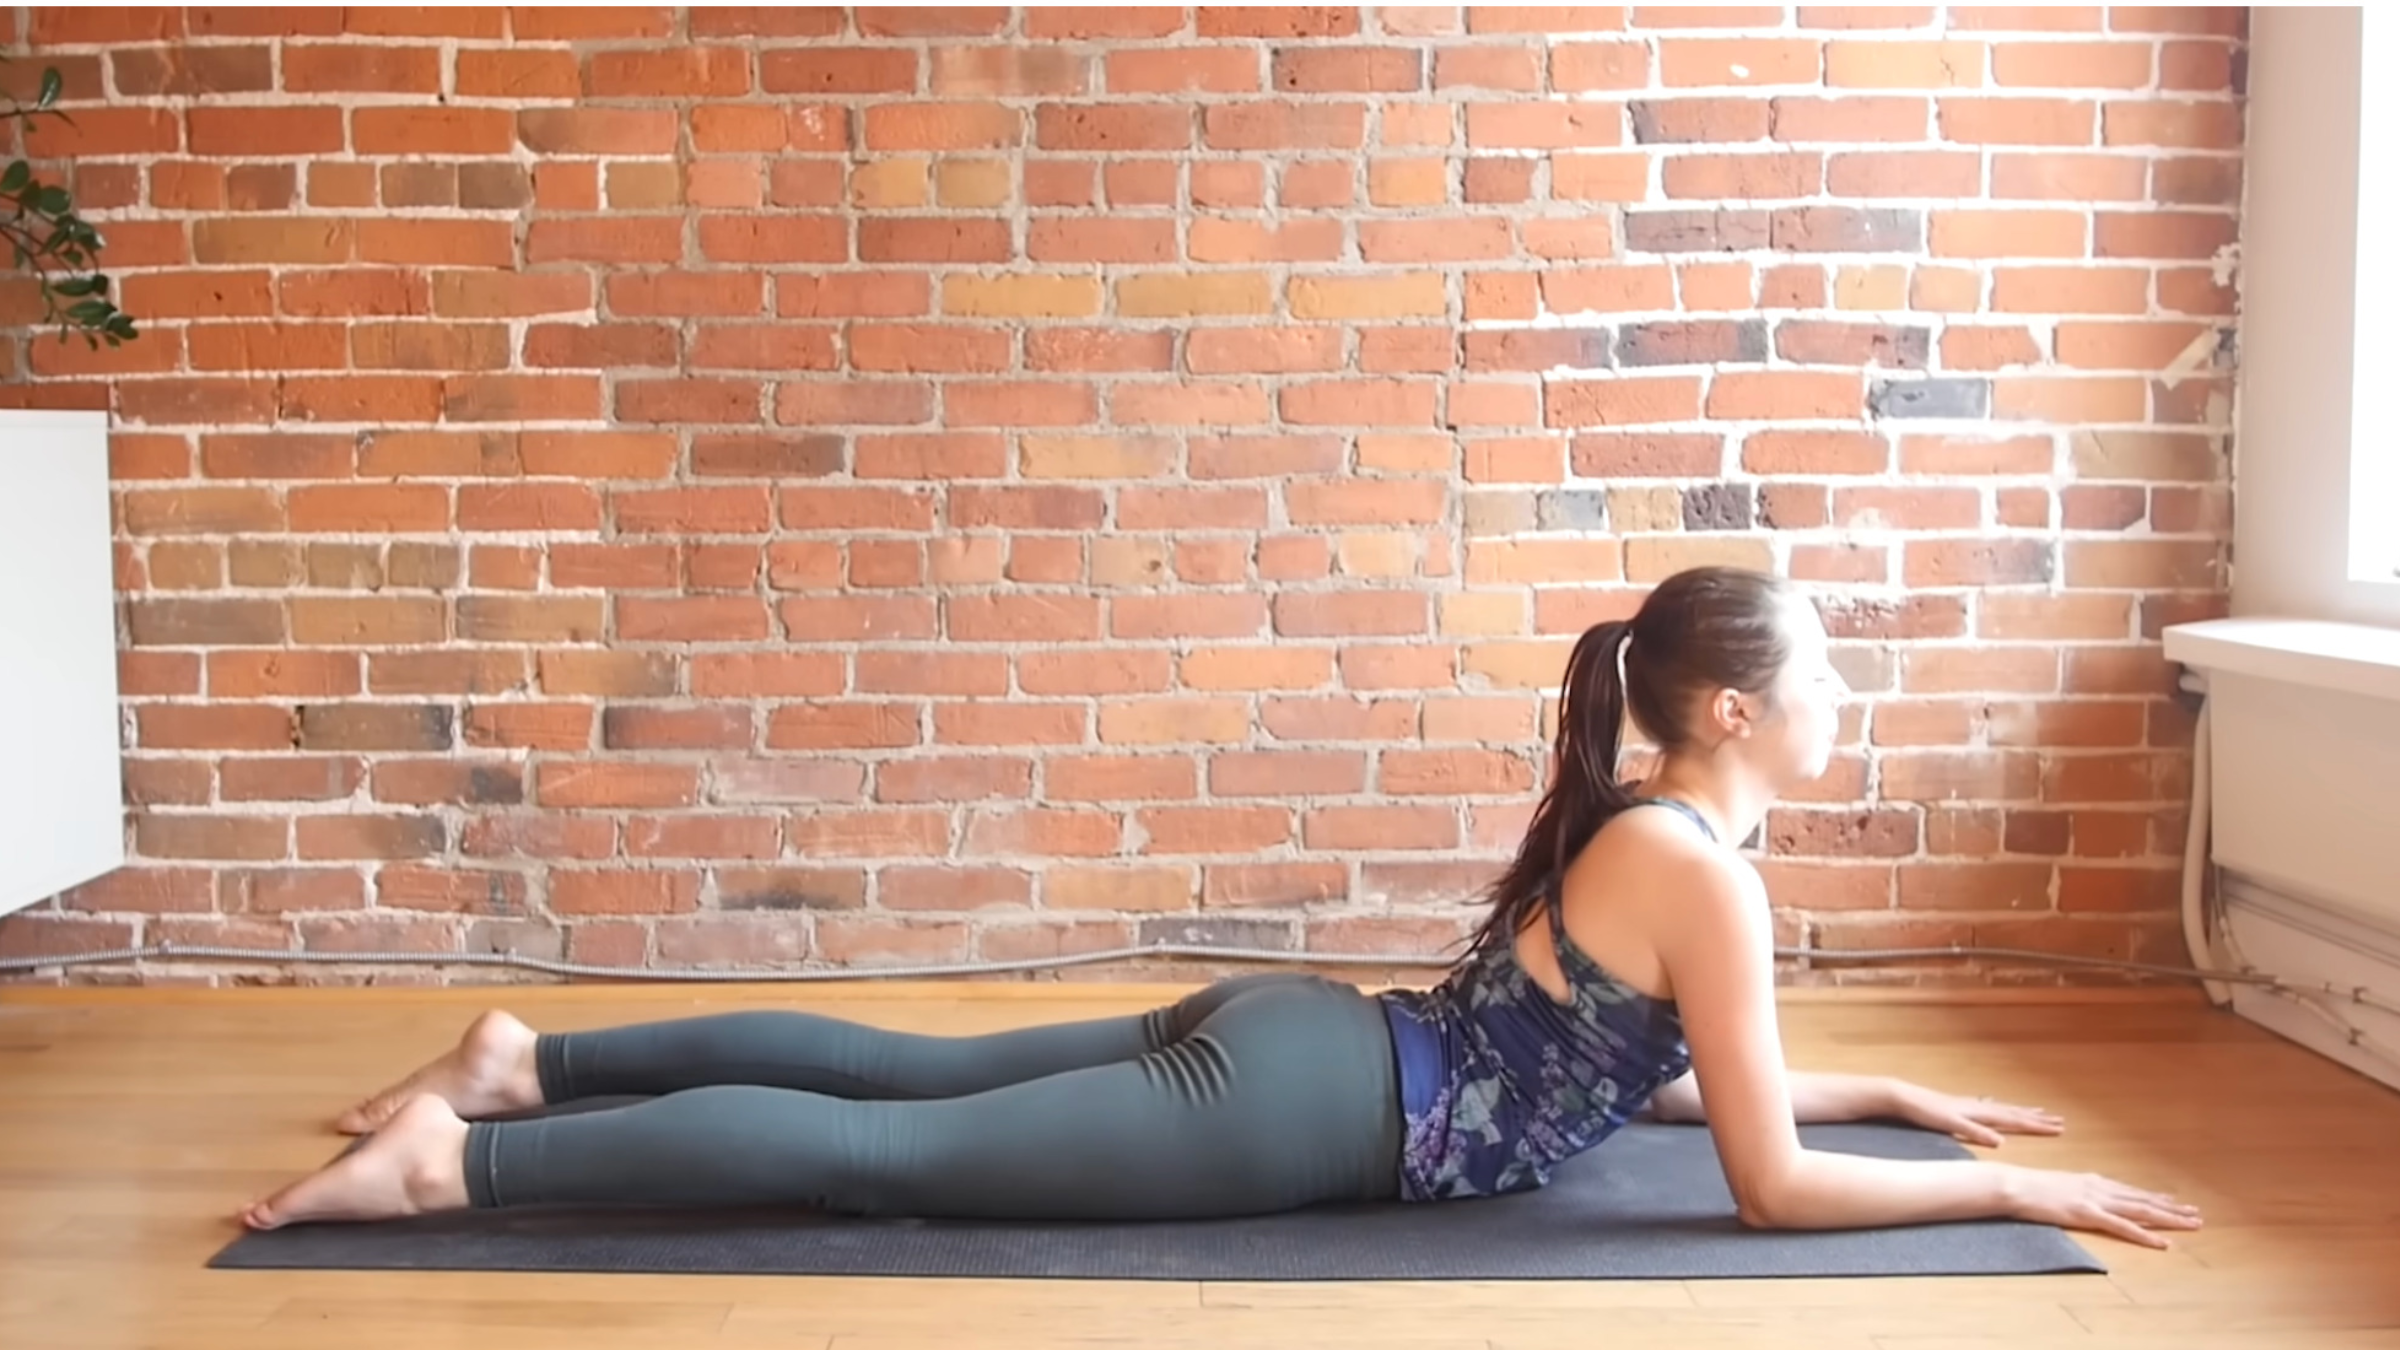
Come down onto your belly and your forearms as you point your toes back, lift your chest, and pull your shoulders back to open across your chest in Sphinx Pose. You can control the intensity of the pose by sliding your forearms a little toward the front of the mat to lessen the intensity.
Let’s slowly release and make your way into the next pose.
Lying Chest Opener
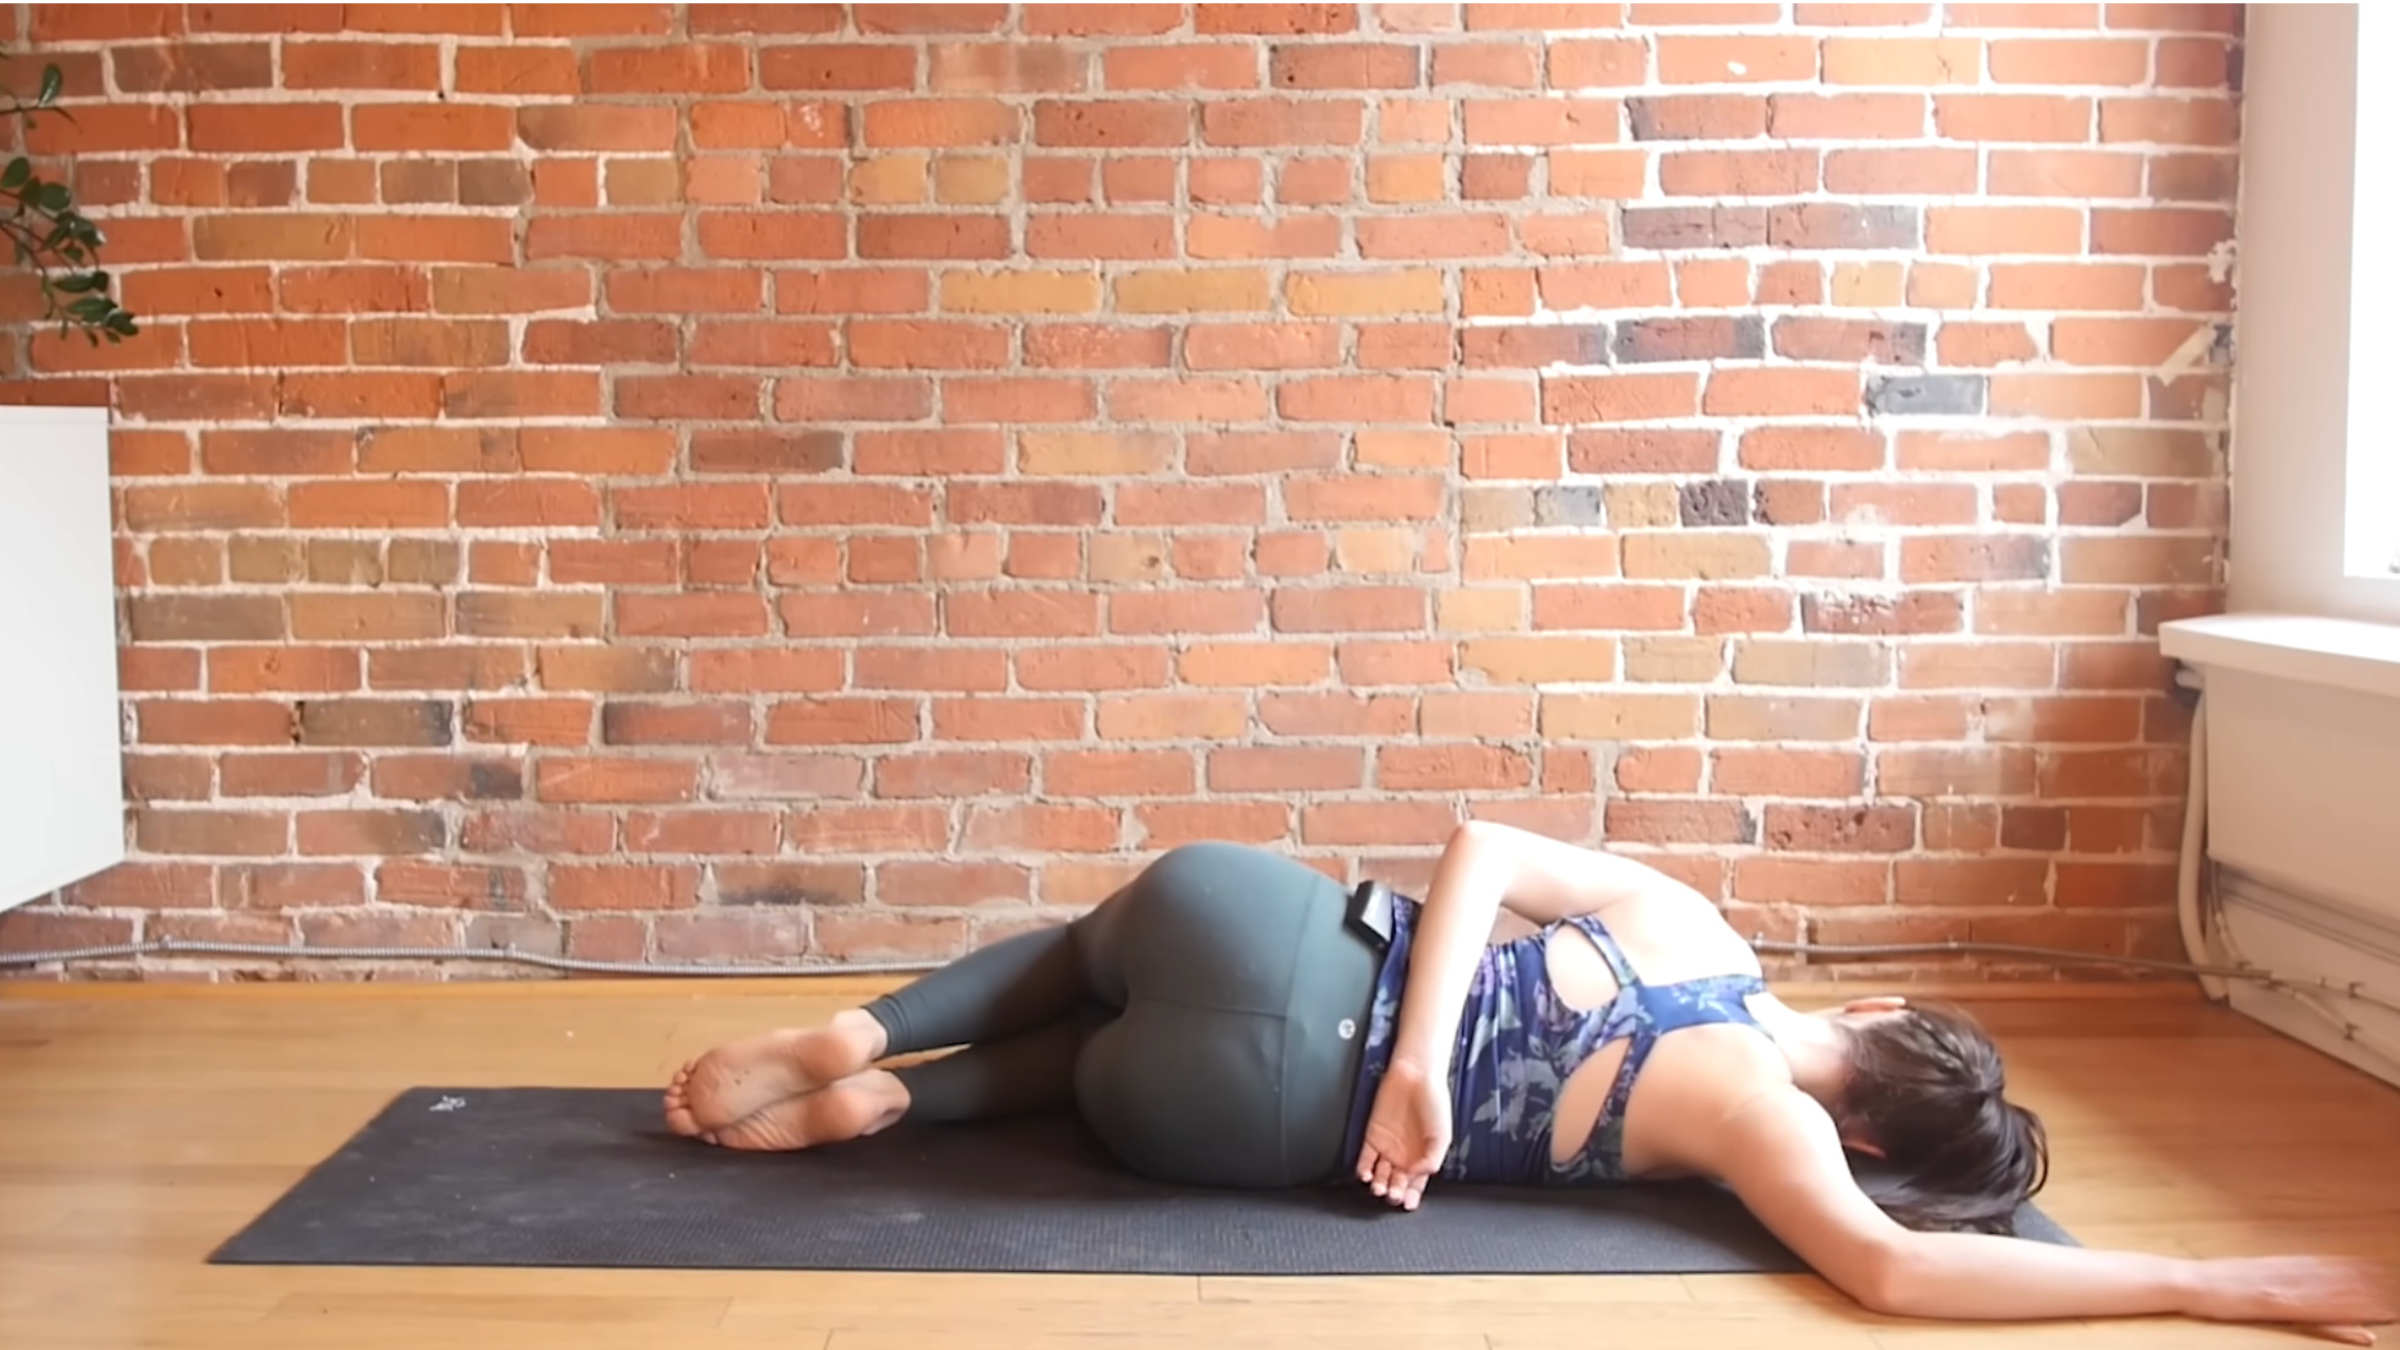
Reach your right arm straight out to the side and bend your elbow about 90 degrees and bring your elbow slightly closer to the front of the mat than your shoulder with your palm flat on the mat.
Roll onto your right hip, right shoulder, and right ear and then bend your knees. You can push your left hand into the mat in front of you or bend your left elbow and take your left arm behind your back if that feels more comfortable. This should feel like a great big stretch through your right bicep and shoulder as well as into your chest. You might want to play with the exact placement of your right elbow and left hand. You want to find a shape that allows you to feel the stretch without engaging any muscular effort.
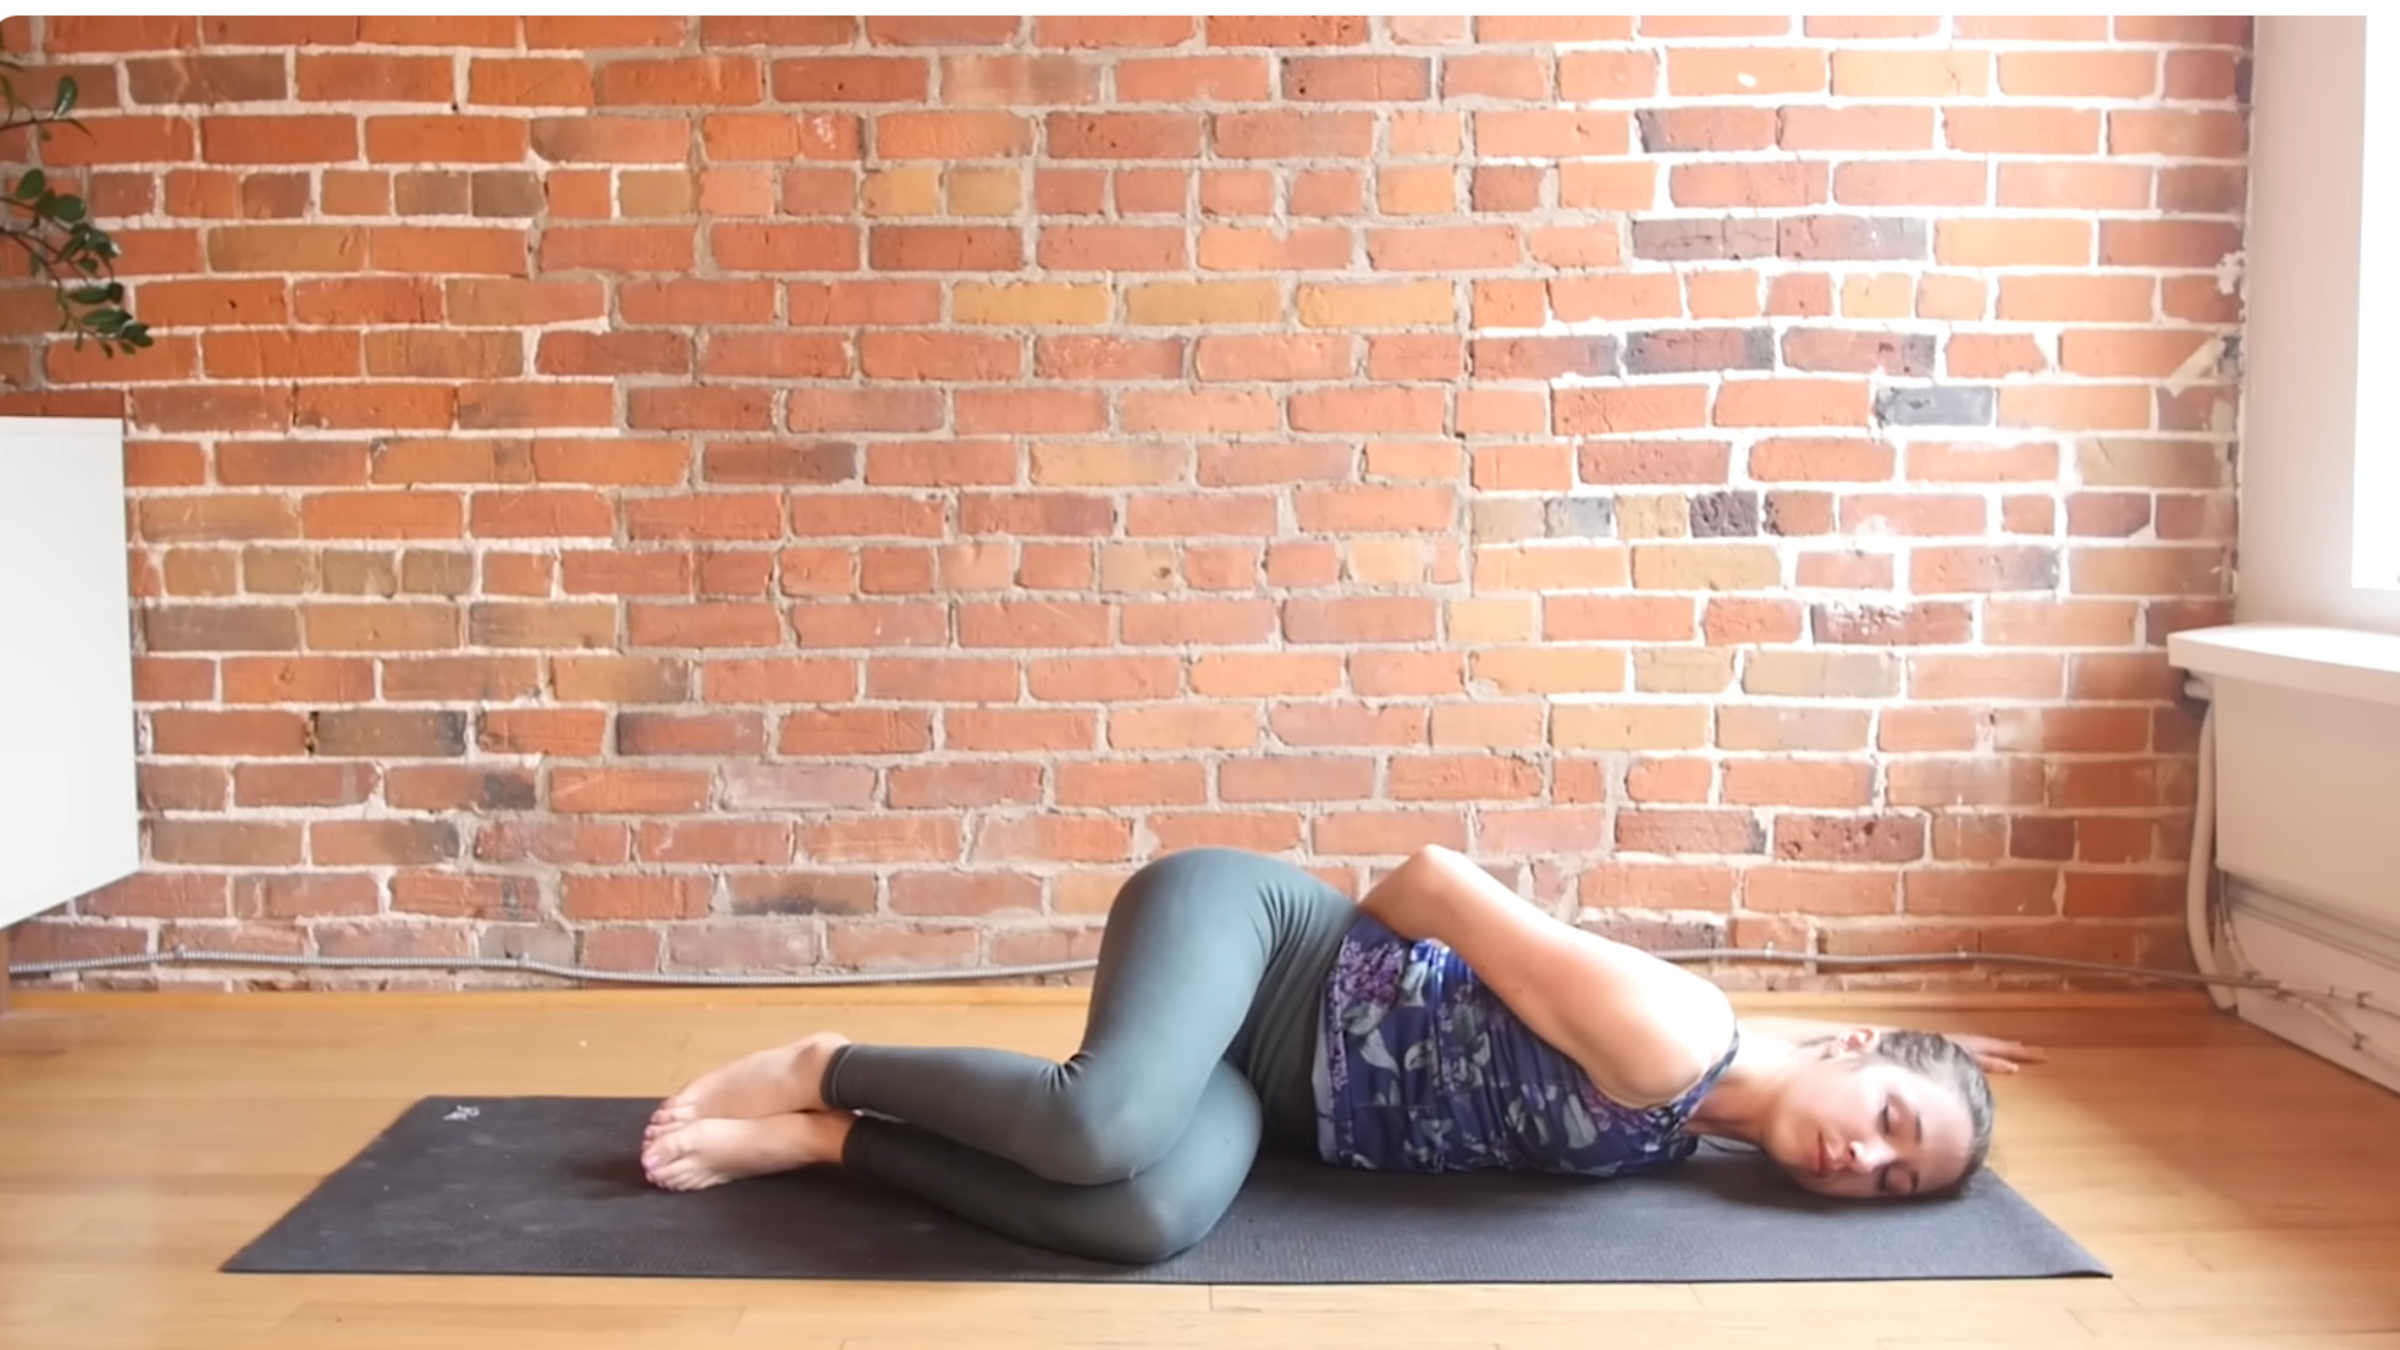
Straighten your legs and ease onto your belly before taking the stretch on the other side. Take your time and slowly release when you’re ready.
Reclined Pigeon Pose
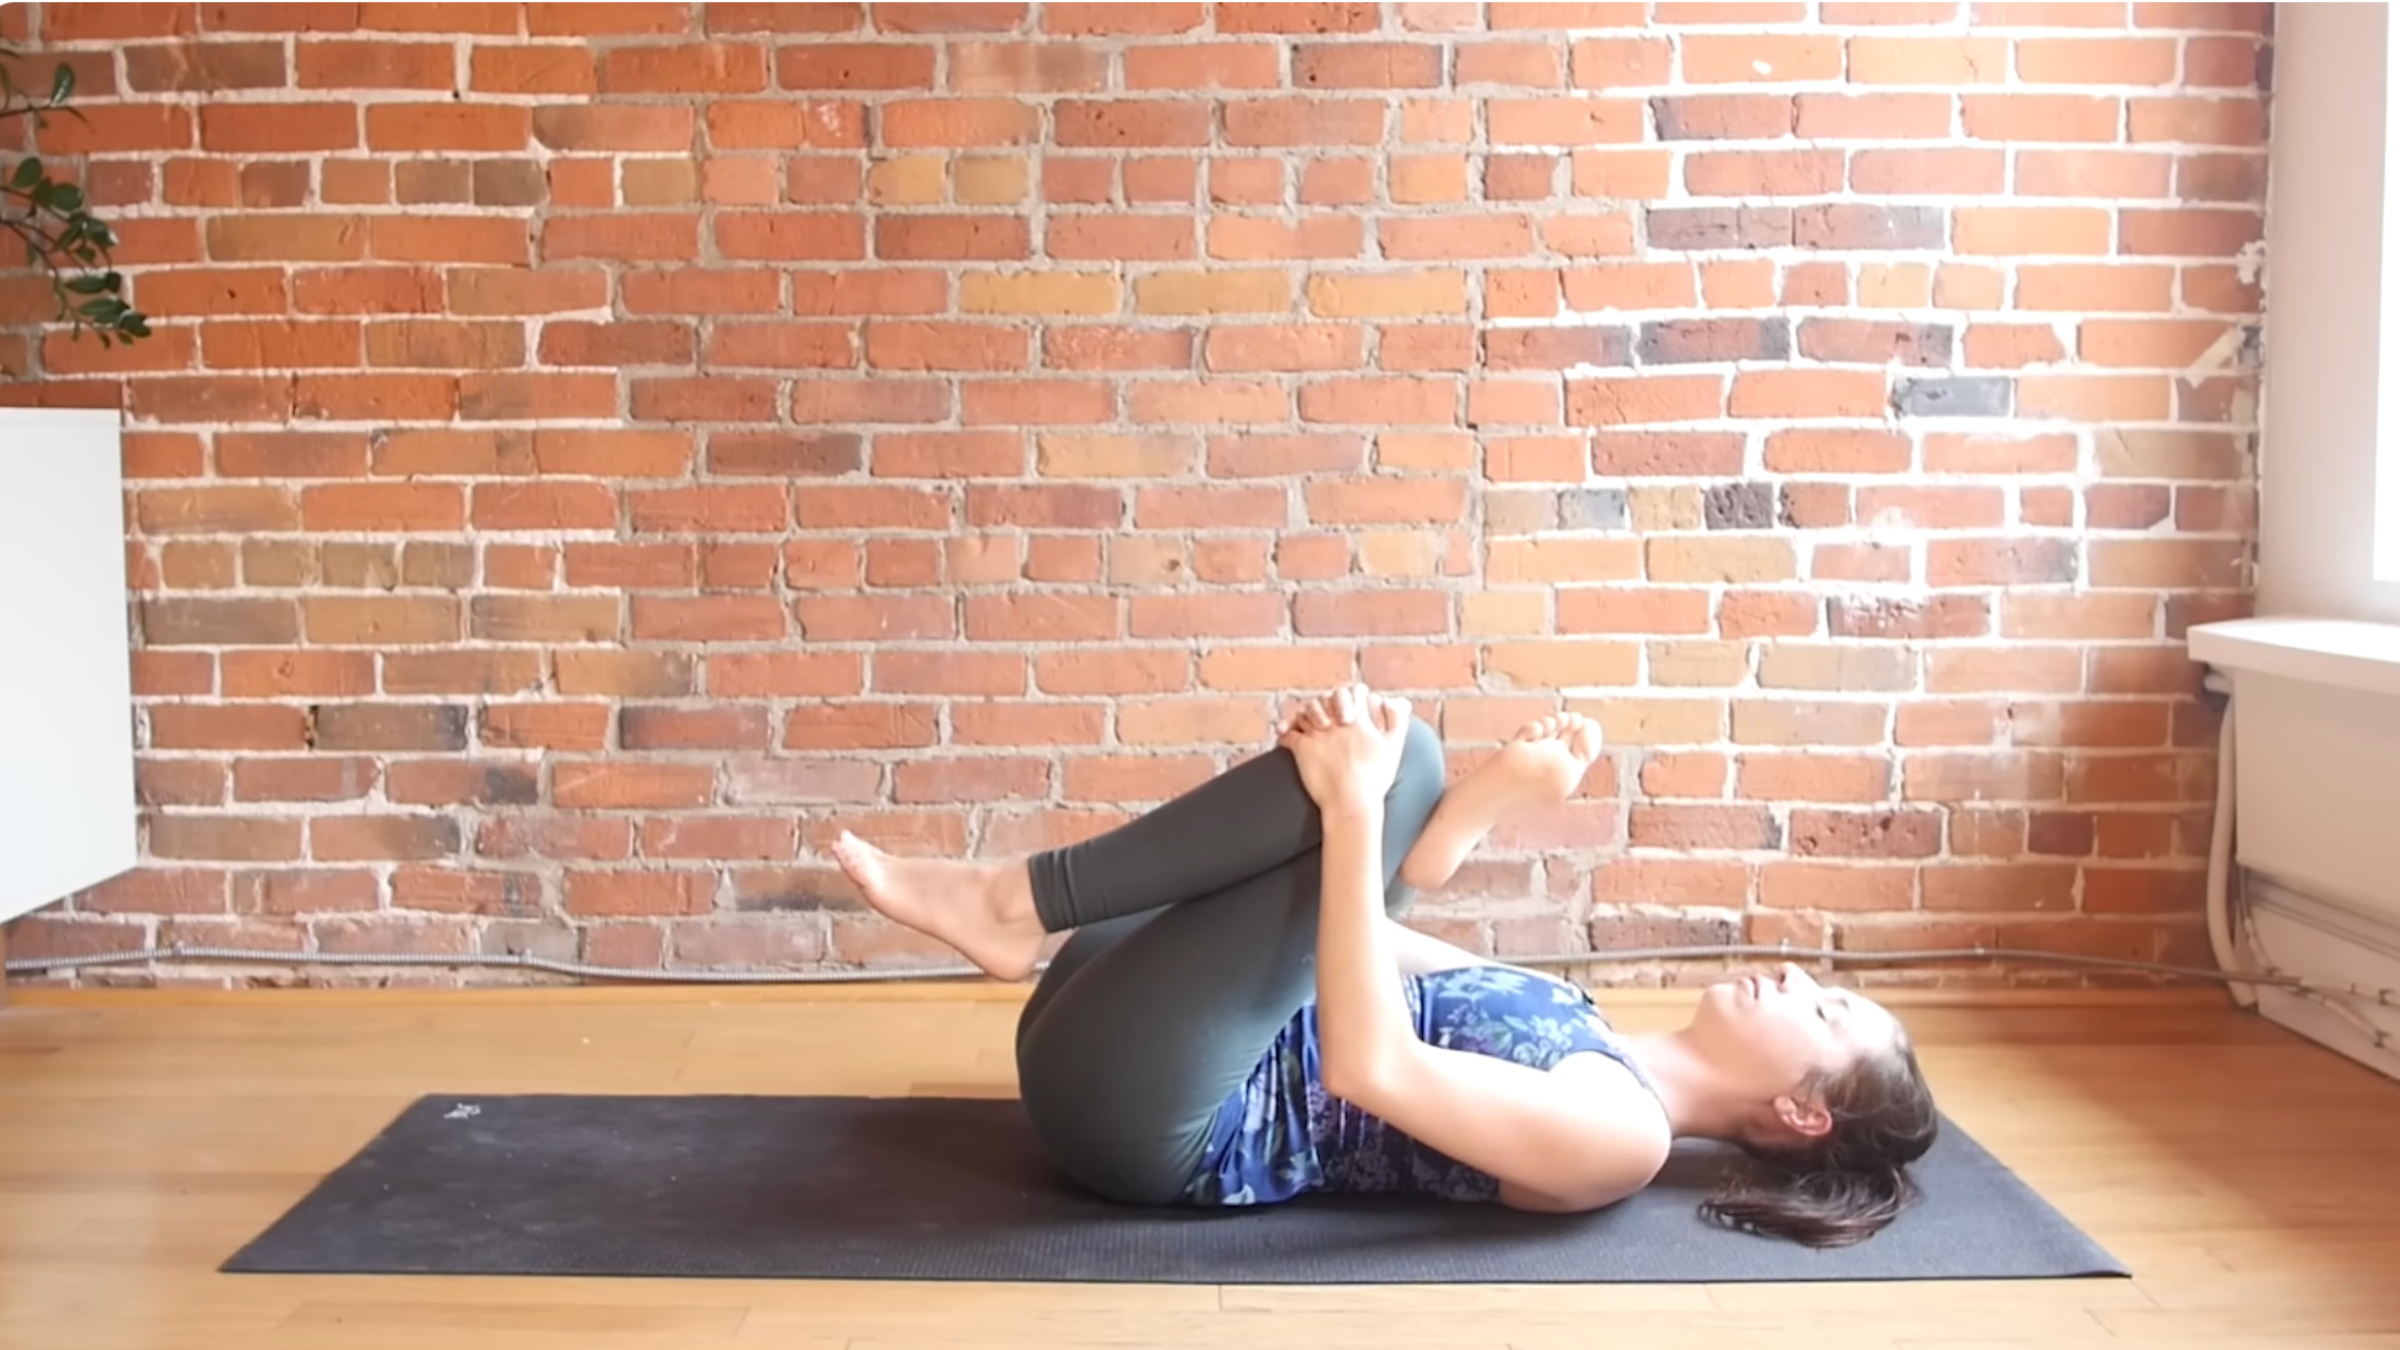
Roll over onto your back as we get into the hips and lower body. You can cross your right ankle over your left knee and hold here or reach along either side of your left leg with your arms and rest your hands on your shin. You want to press your right knee away from you.
Reclined Shoelace
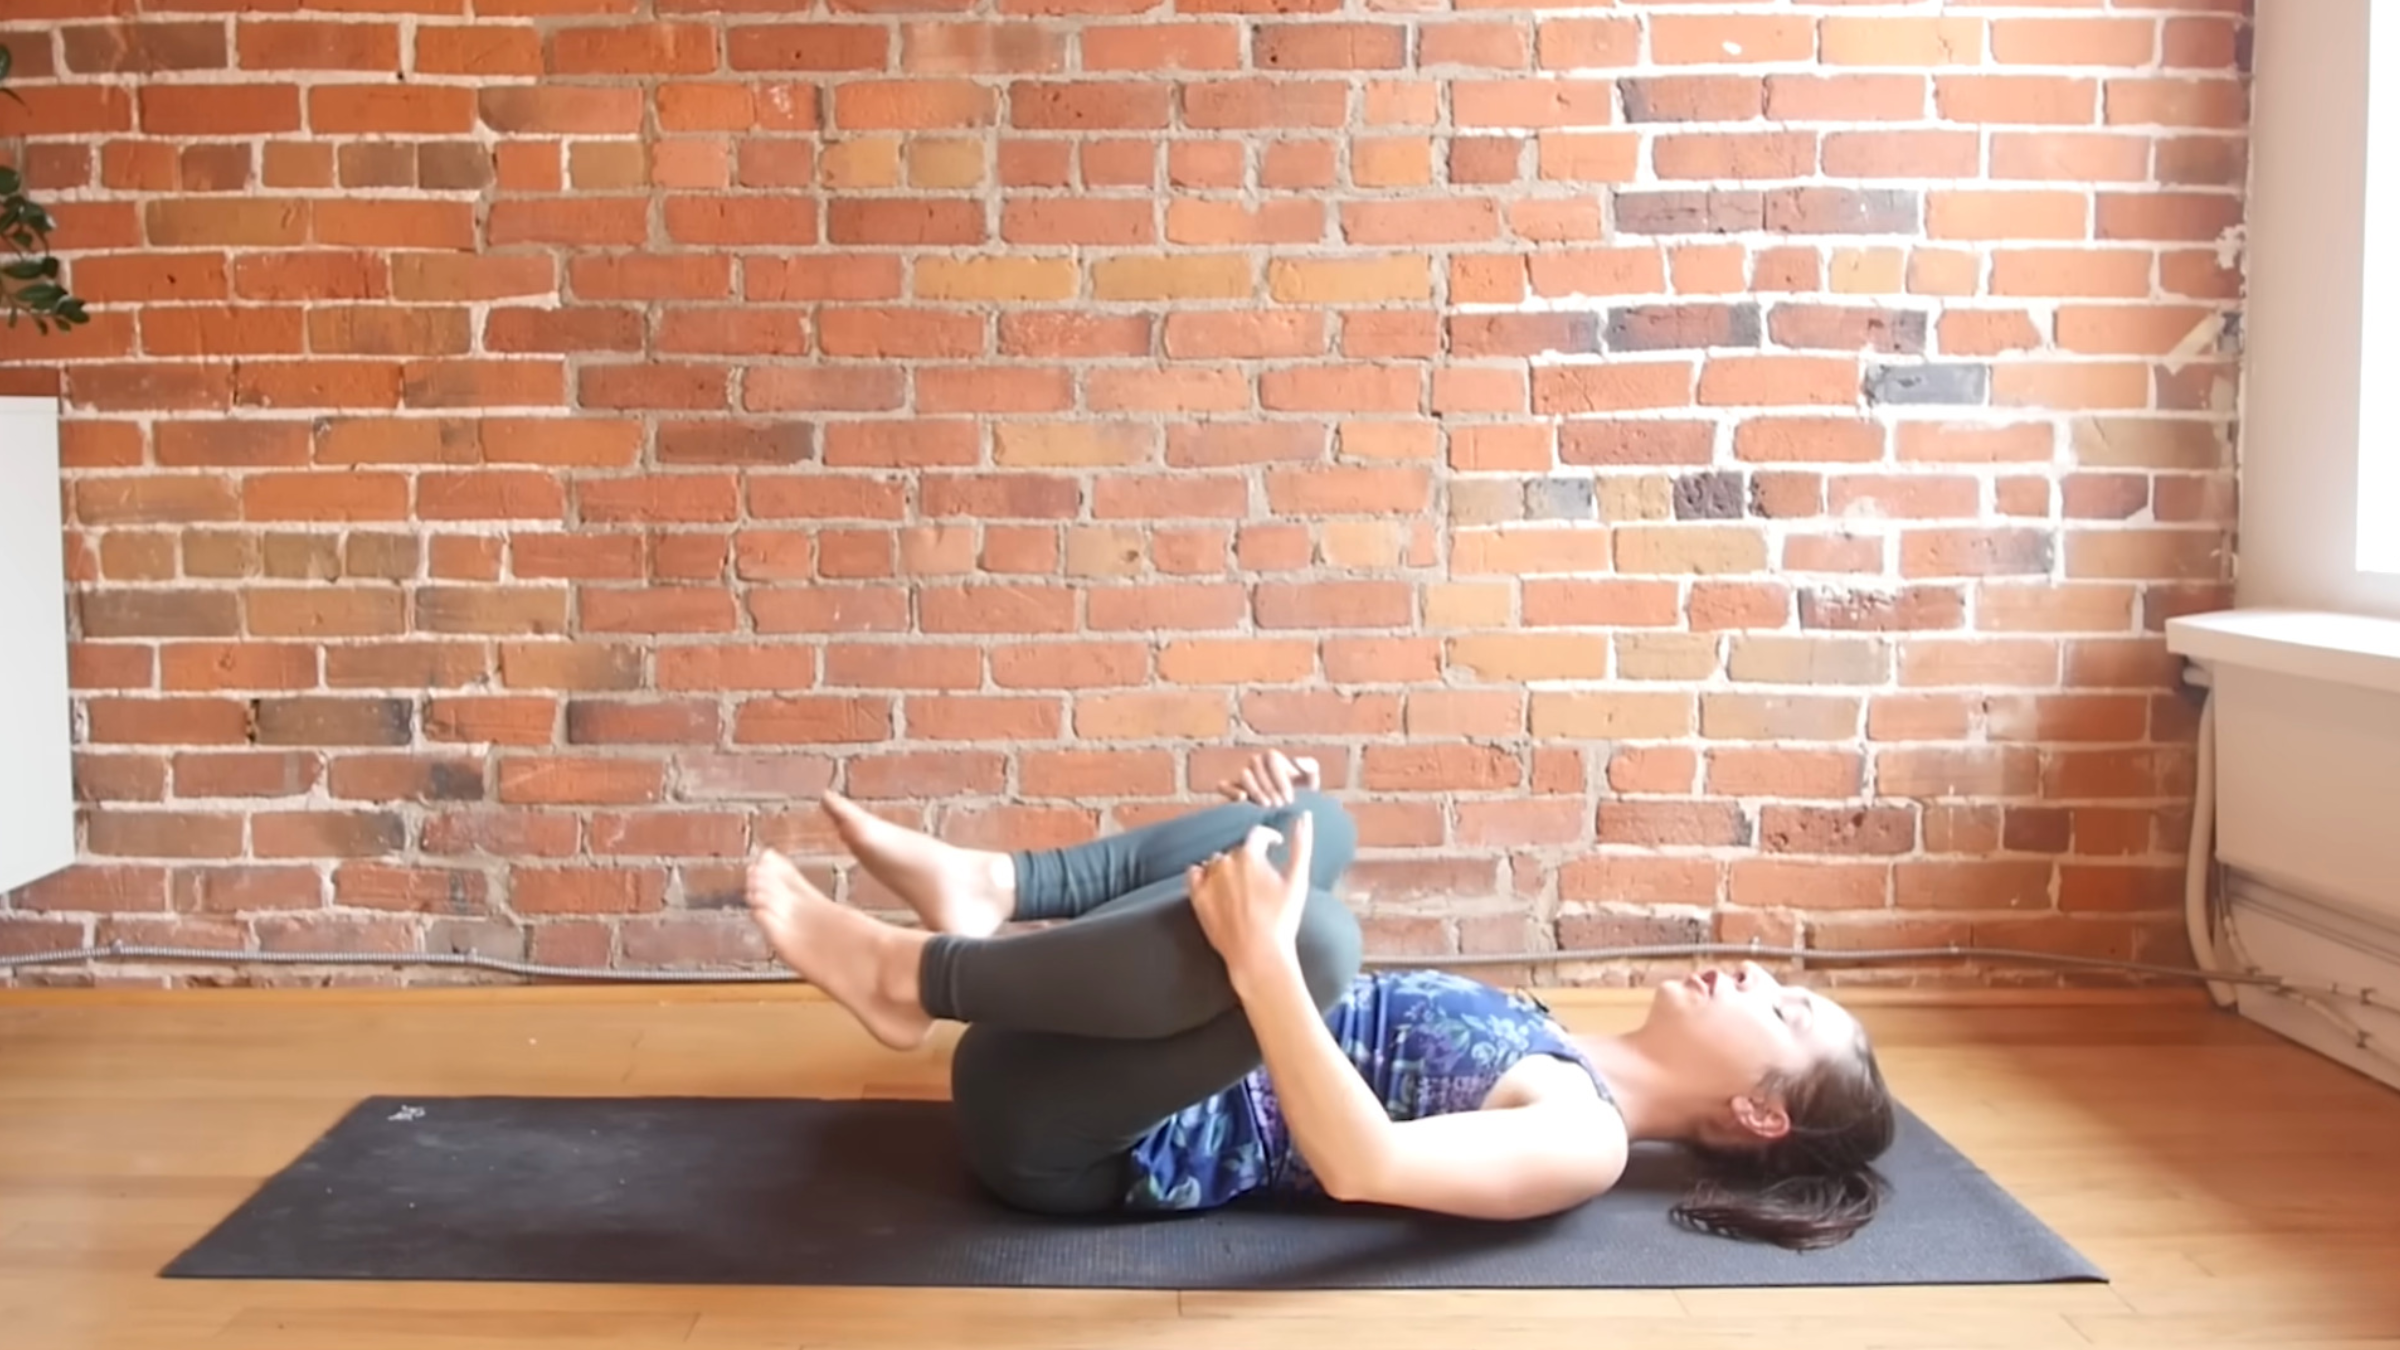
Before we come to the other side of Reclined Pigeon, we’ll come into another pose. Completely cross your right thigh over your left thigh to stack your knees. You can either bring your thighs toward your chest or grab hold of opposite feet and try to bring your feet away from each other until you feel a big stretch through your outer hips. Let your shoulders and back rest on the mat and relax your arms.
Slowly release and maybe stretch your legs out straight to integrate those poses. Then bend your knees and take Reclined Pigeon and Reclined Shoelace on the other side. When you release, stretch your legs if you like, noticing the difference.
Happy Baby Pose
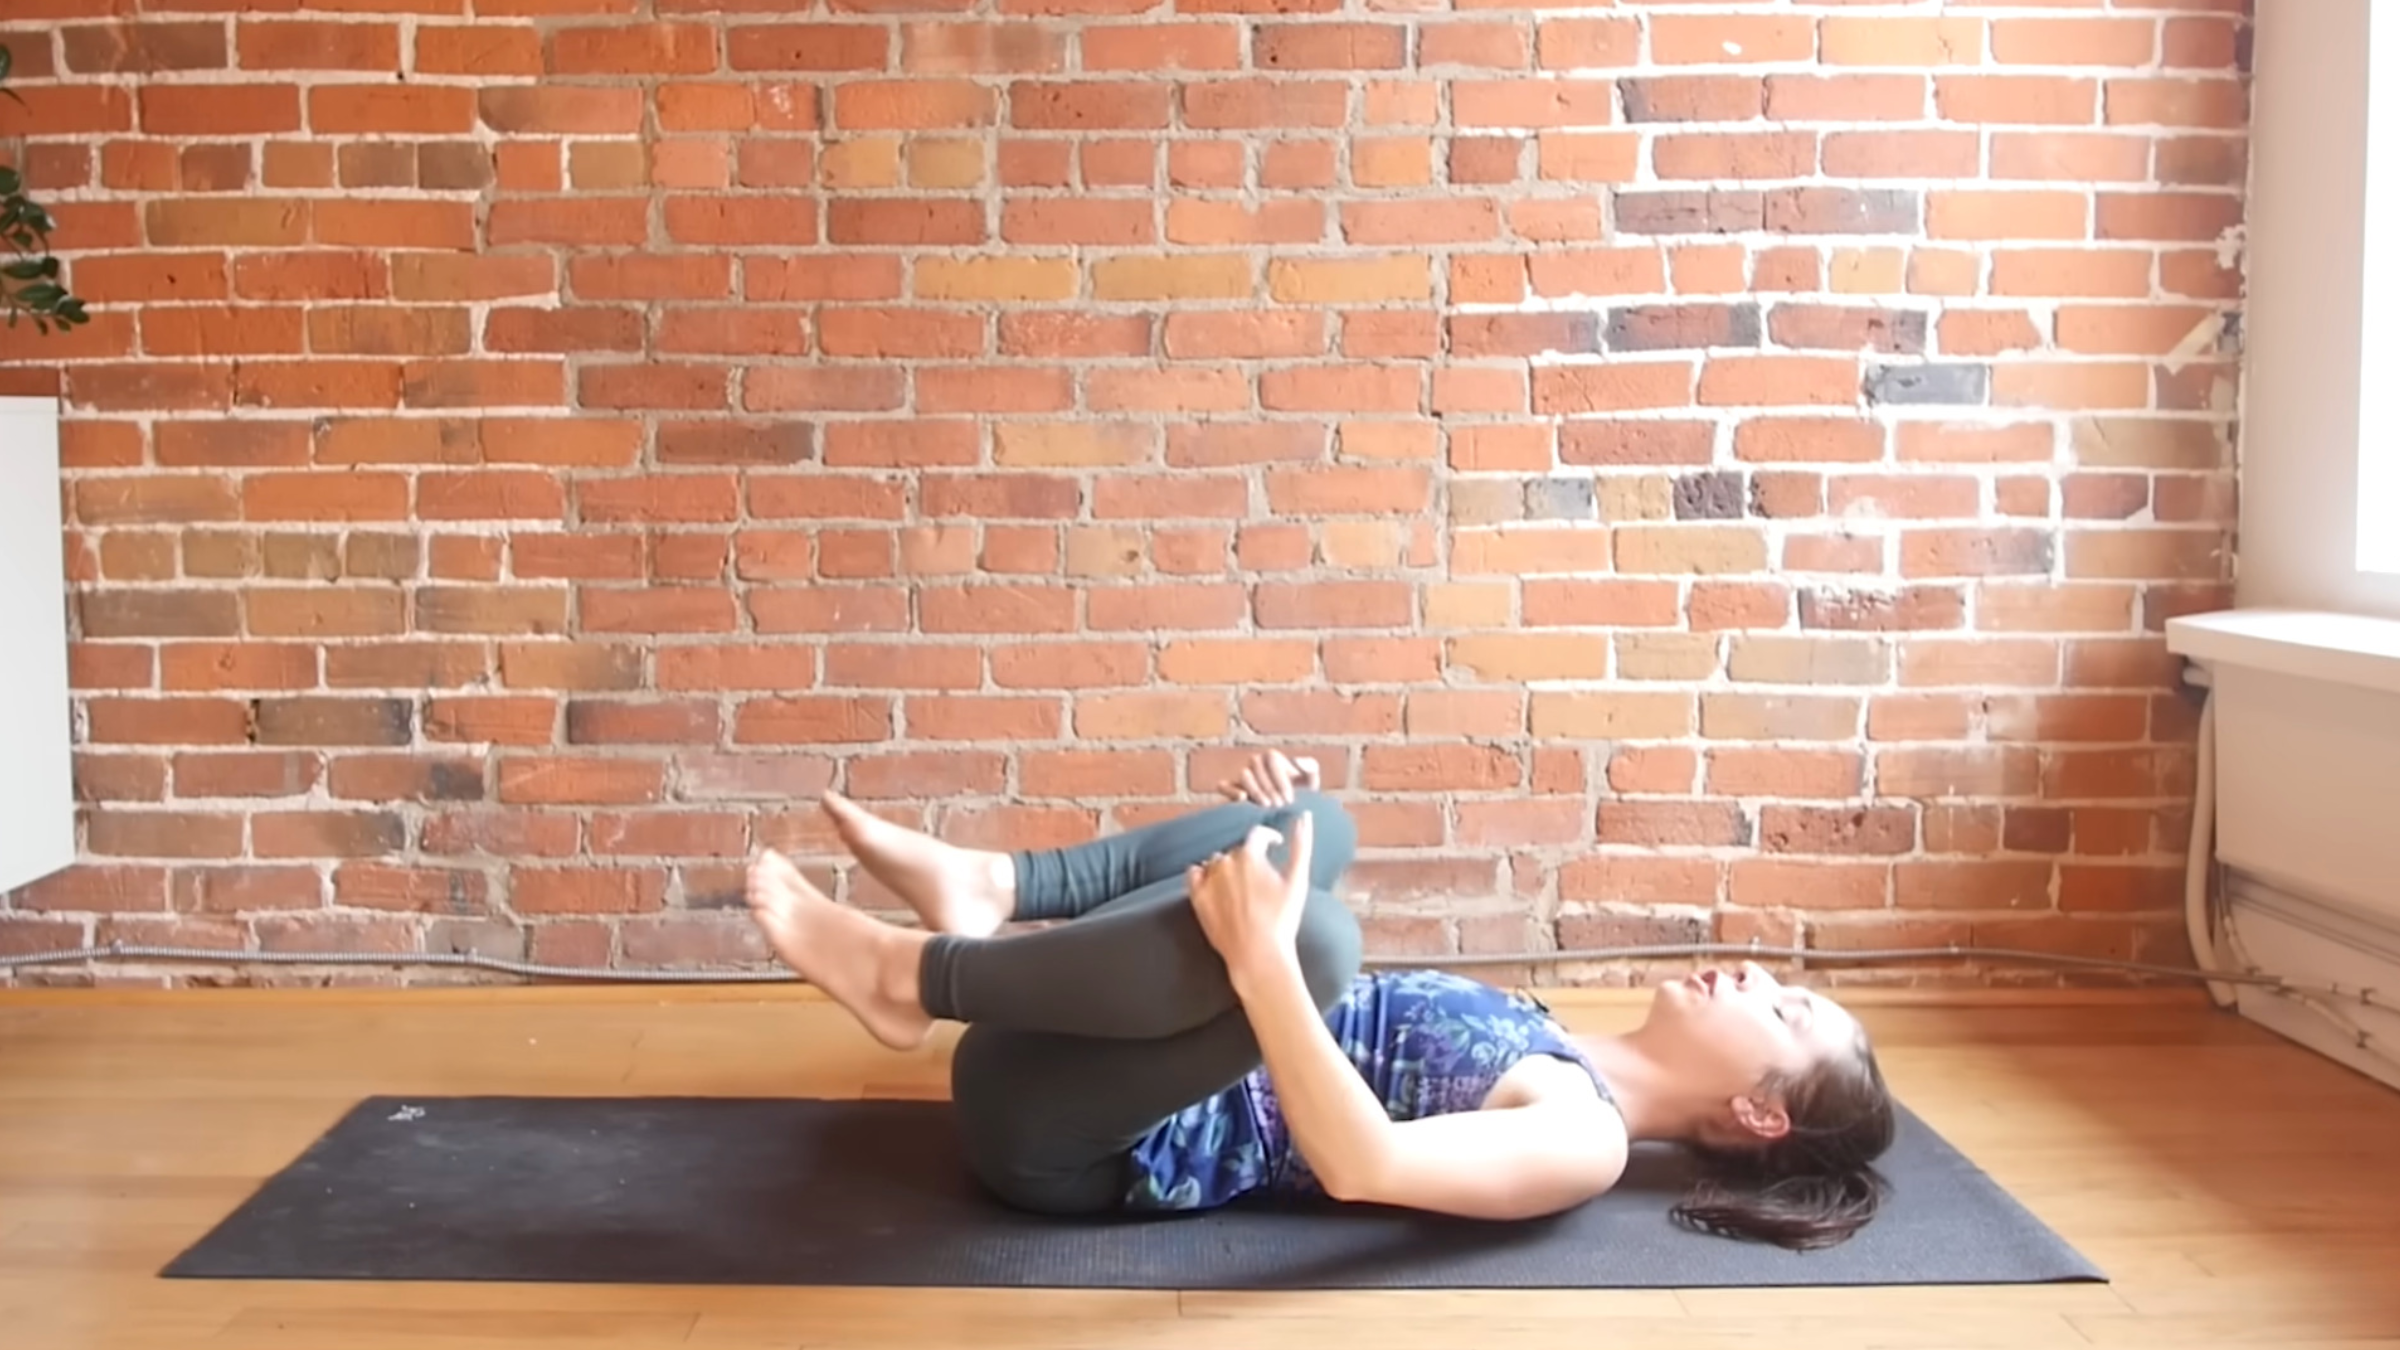
Depending on your flexibility, you might want to start by bending your knees, taking them wide, and pulling them toward your armpits. That might be more than enough stretch for you.
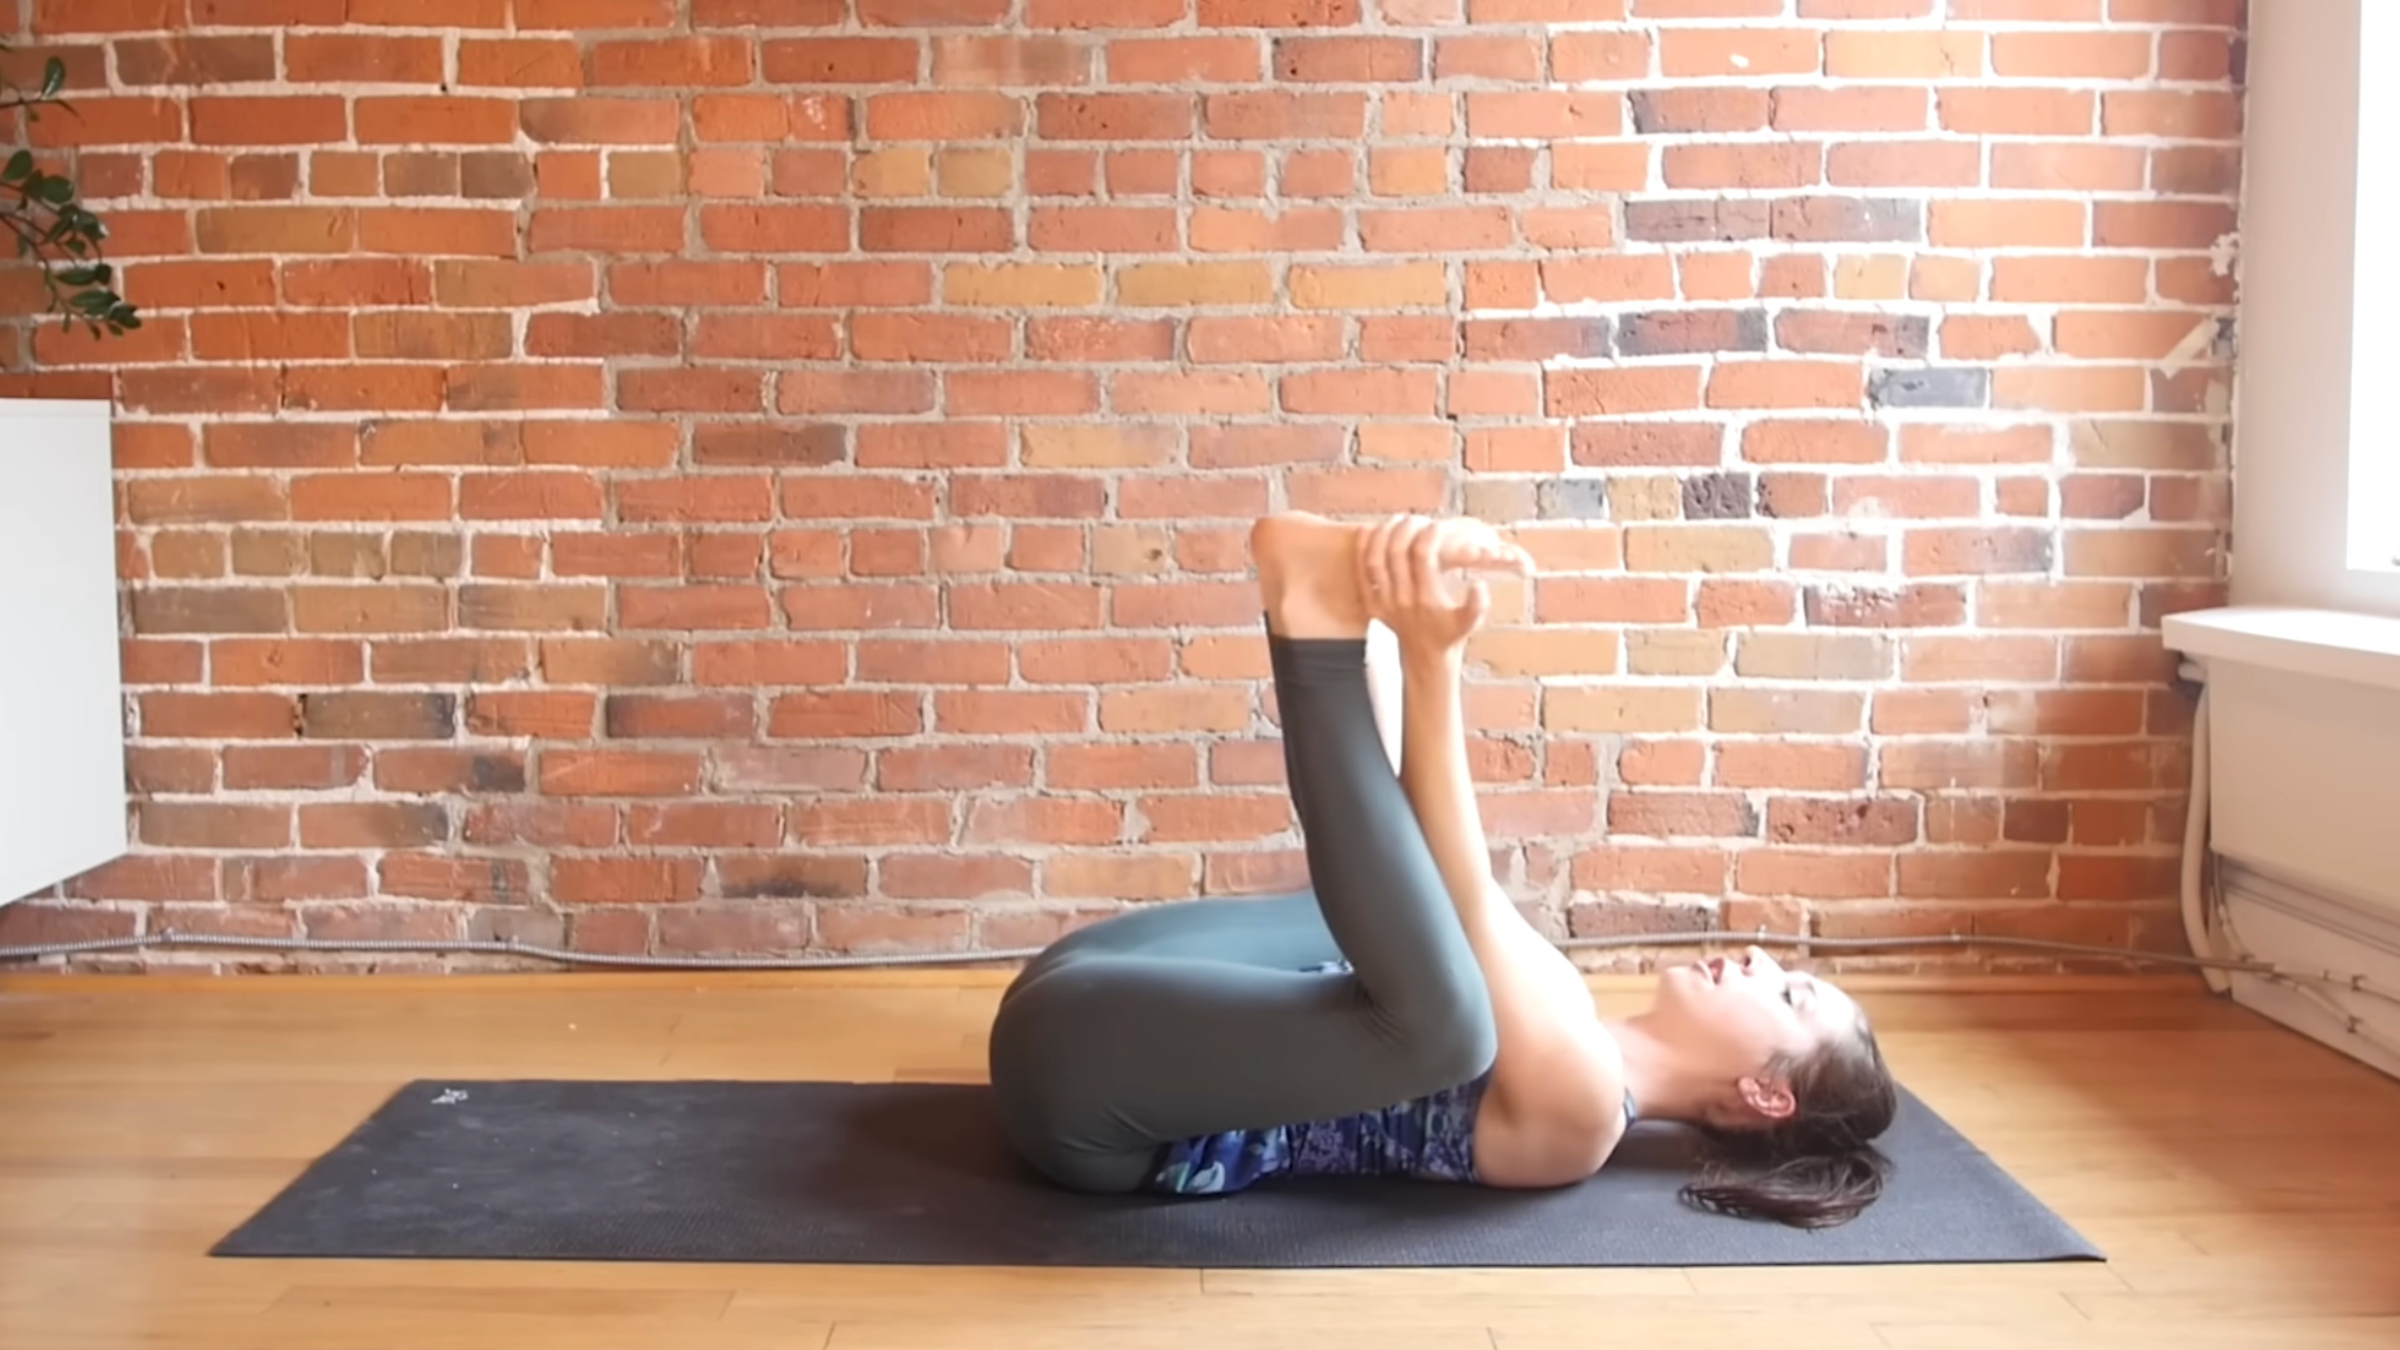
If you want to intensify the sensation, catch hold of your feet, stack your ankles over your knees, and keep your tailbone and low back on the mat. Bring your elbows to the inside of your legs and press your knees open a little wider with your arms, and drag the knees toward the mat in Happy Baby. Relax your shoulders and neck here. Try not to let your head lift off the mat. Breathe deeply into your belly, feeling it rise and fall. Relax your arms, only using minimal effort.
Stay here only a couple minutes.
Savasana
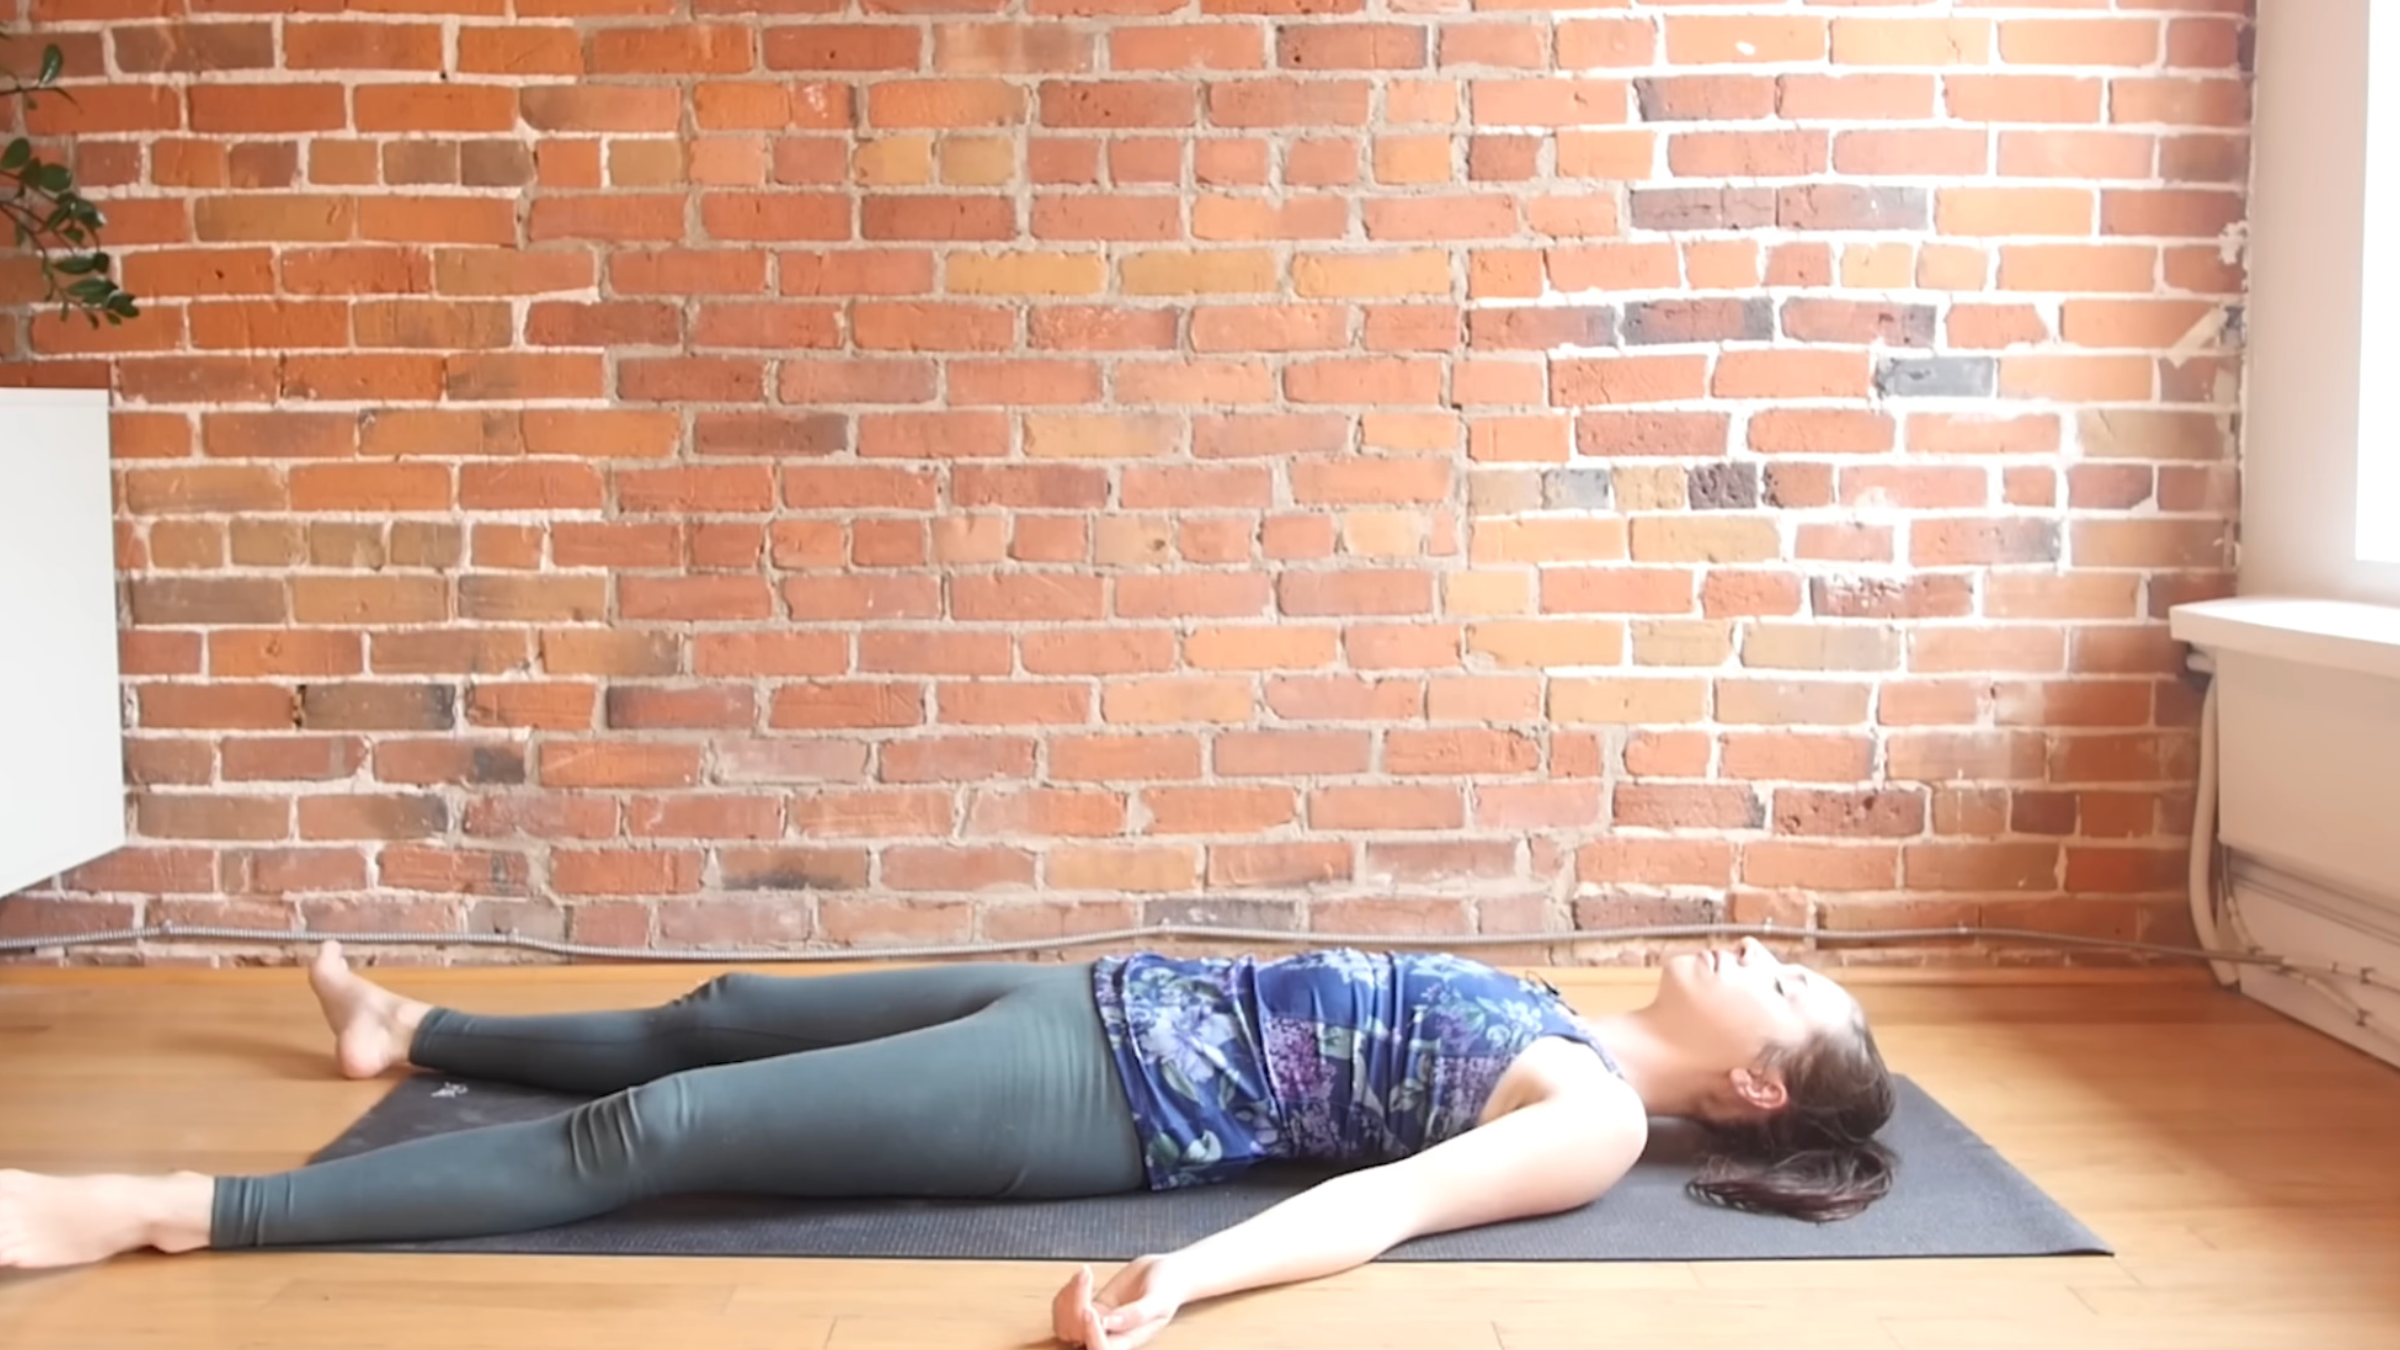
Stretch out and let yourself take up space with your arms and legs in Savasana. Take any movement here that will help you relax. Then close your eyes and turn your attention inward. This is a terrific pose to do a body scan. Allow yourself to surrender fully to gravity.
When you’re ready, begin to lengthen your breath, maybe wiggle your fingers and toes, slowly turn your head side to side, and stretch your arms overhead. Slowly roll onto one side.
Closing
Make your way to a comfortable seated position. Close your eyes and simply pause here before you return to your day or evening. Thank you for practicing this one-hour yin yoga sequence with me and let me know how you feel in your body in a comment below.